
Punch needle tutorial: How to prepare a hoop for punching
A punch needle tutorial for beginners, showing how to prepare your monks cloth in an embroidery hoop for punching.
To make your punch needle project easy to punch, you want to have your foundation fabric stretched as taut as possible. There are punch needle specific frames and hoops that you can buy that are designed to hold your fabric stretched and tight (e.g Morgan no slip hoop), however it is possible to get your fabric tight enough for punching in an embroidery hoop.
This method is only suitable if you wish to leave the piece in the embroidery hoop once you've finished punching. If you want to finish your piece in a different way, you'll need to use a frame or gripper hoop.
Materials for punch needle hoop
- Embroidery hoop
- Monks cloth (or alternative punch needle fabric)
- Strong glue
- Screwdriver (optional)
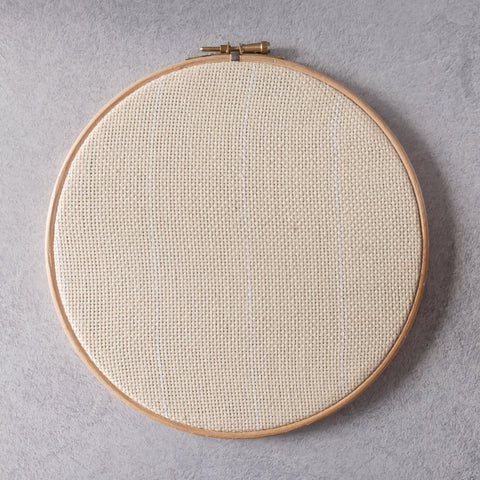
First you need to stretch your fabric in the hoop. The aim is to get your fabric as taut as possible as this makes it easier for the punch needle to move through the fabric, makes your stitches even and makes punching more forgiving on your hands. Don't scrimp here, a little preparation will go a long way.
Stretching the punch needle fabric
Separate the hoop and place fabric between the inner and outer rings. Tighten the screw and then stretch the fabric tight as possible. Alternate stretching fabric and tightening the screw.

Tightening the hoop
Depending on the type of embroidery hoop you have, you can use a screwdriver to help tighten the screw.

Trimming the excess fabric
If your punch needle fabric has guidelines on it, try to ensure that they are straight. With your fabric stretched as tight as possible, trim any excess fabric off so that roughly 1 cm is left around the edge.

Gluing the hoop
Using your strong glue, apply to the inside edge of the embroidery hoop. Try not to get any glue on the punching area of your fabric. If you do, wipe it off with some tissue or excess fabric. Be liberal and paint all the way around the inner edge of the hoop.

Securing the fabric
Once you have applied the glue, press the trimmed edge onto the glue. Be careful if using your hands not to get glue on them, or wash as needed. Go around the edge a couple of times to ensure the fabric is pressed down securely.

Punch needle hoop complete!
Leave the glue to dry and you are done! The fabric should now be secured in your embroidery hoop and ready for your punch needle project.
If you want to make your own punch needle wall hanging but aren't sure where to start, check out the range of complete punch needle kits for beginners.