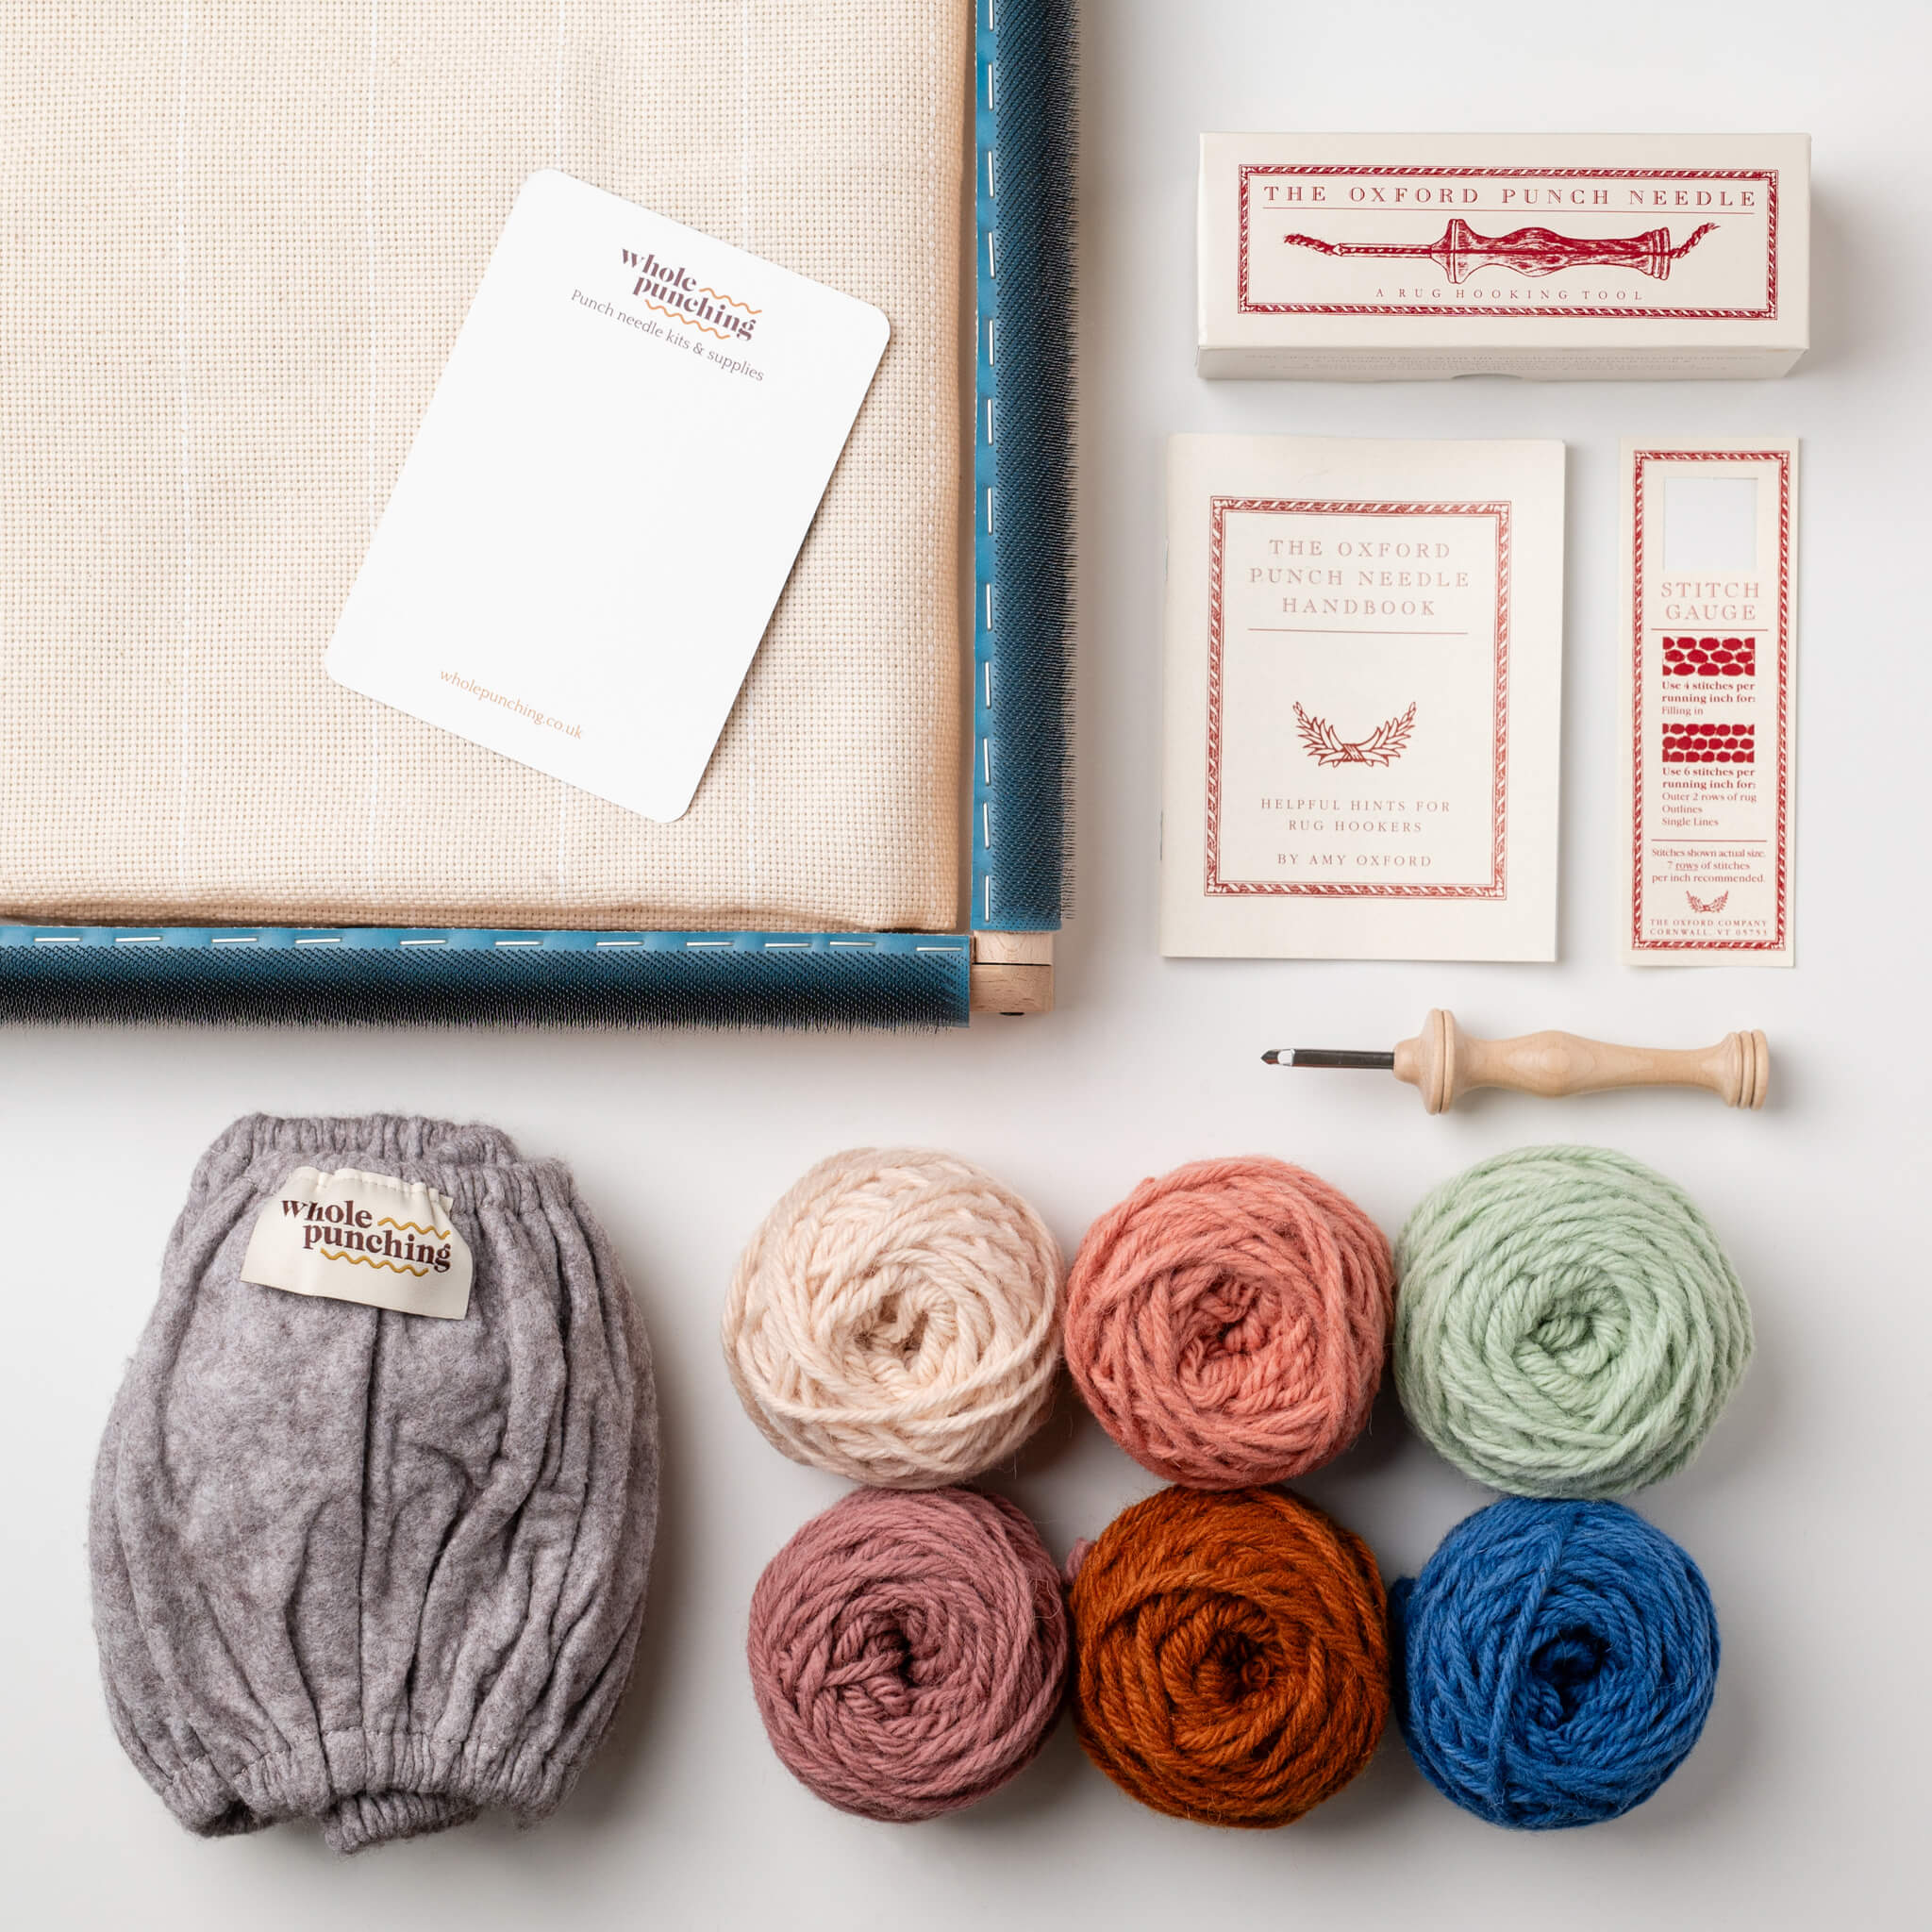
Punch needle is a fantastic, accessible craft that is suitable for anyone, from the experienced maker to someone getting started with crafting for the first time. You don’t need too much kit to get going – there are just four key components required to start your first project.
This guide is intended to give you a whistle stop tour of the key materials you need to get started with punch needle. I’ve tried to keep it nice and short as if you’re anything like me, you’d rather be crafting than reading!
Most important tool - the punch needle
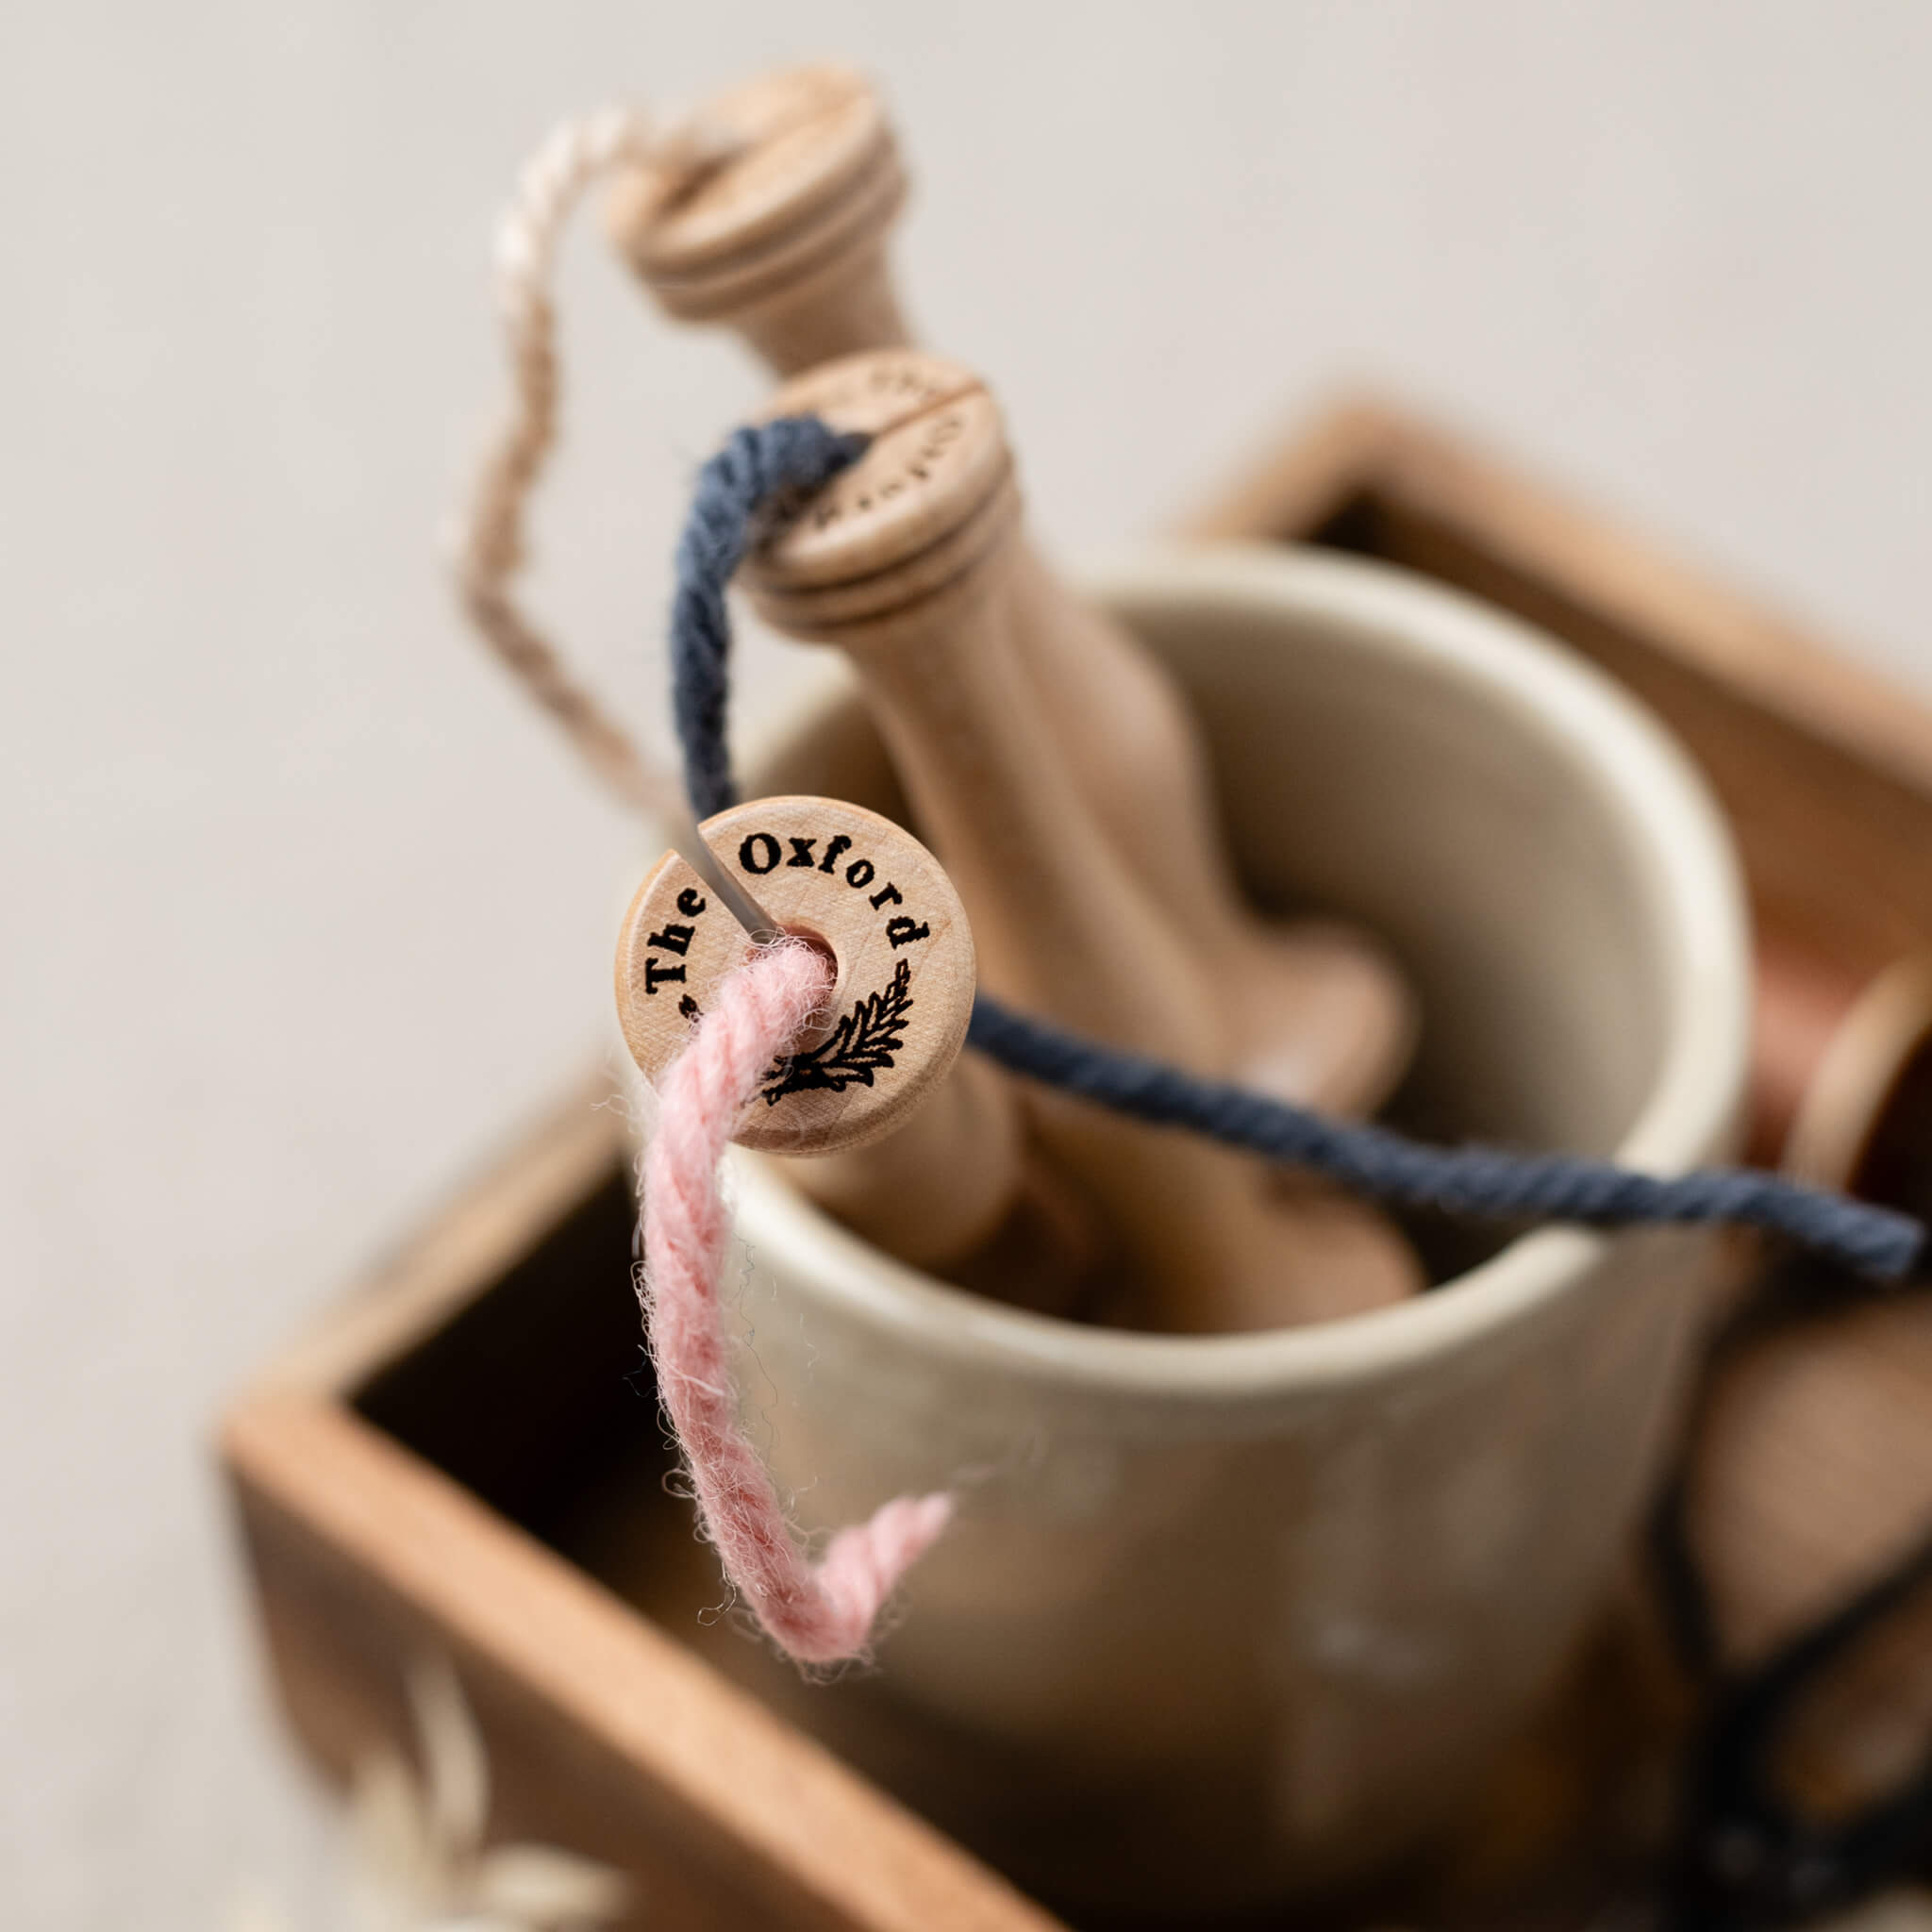
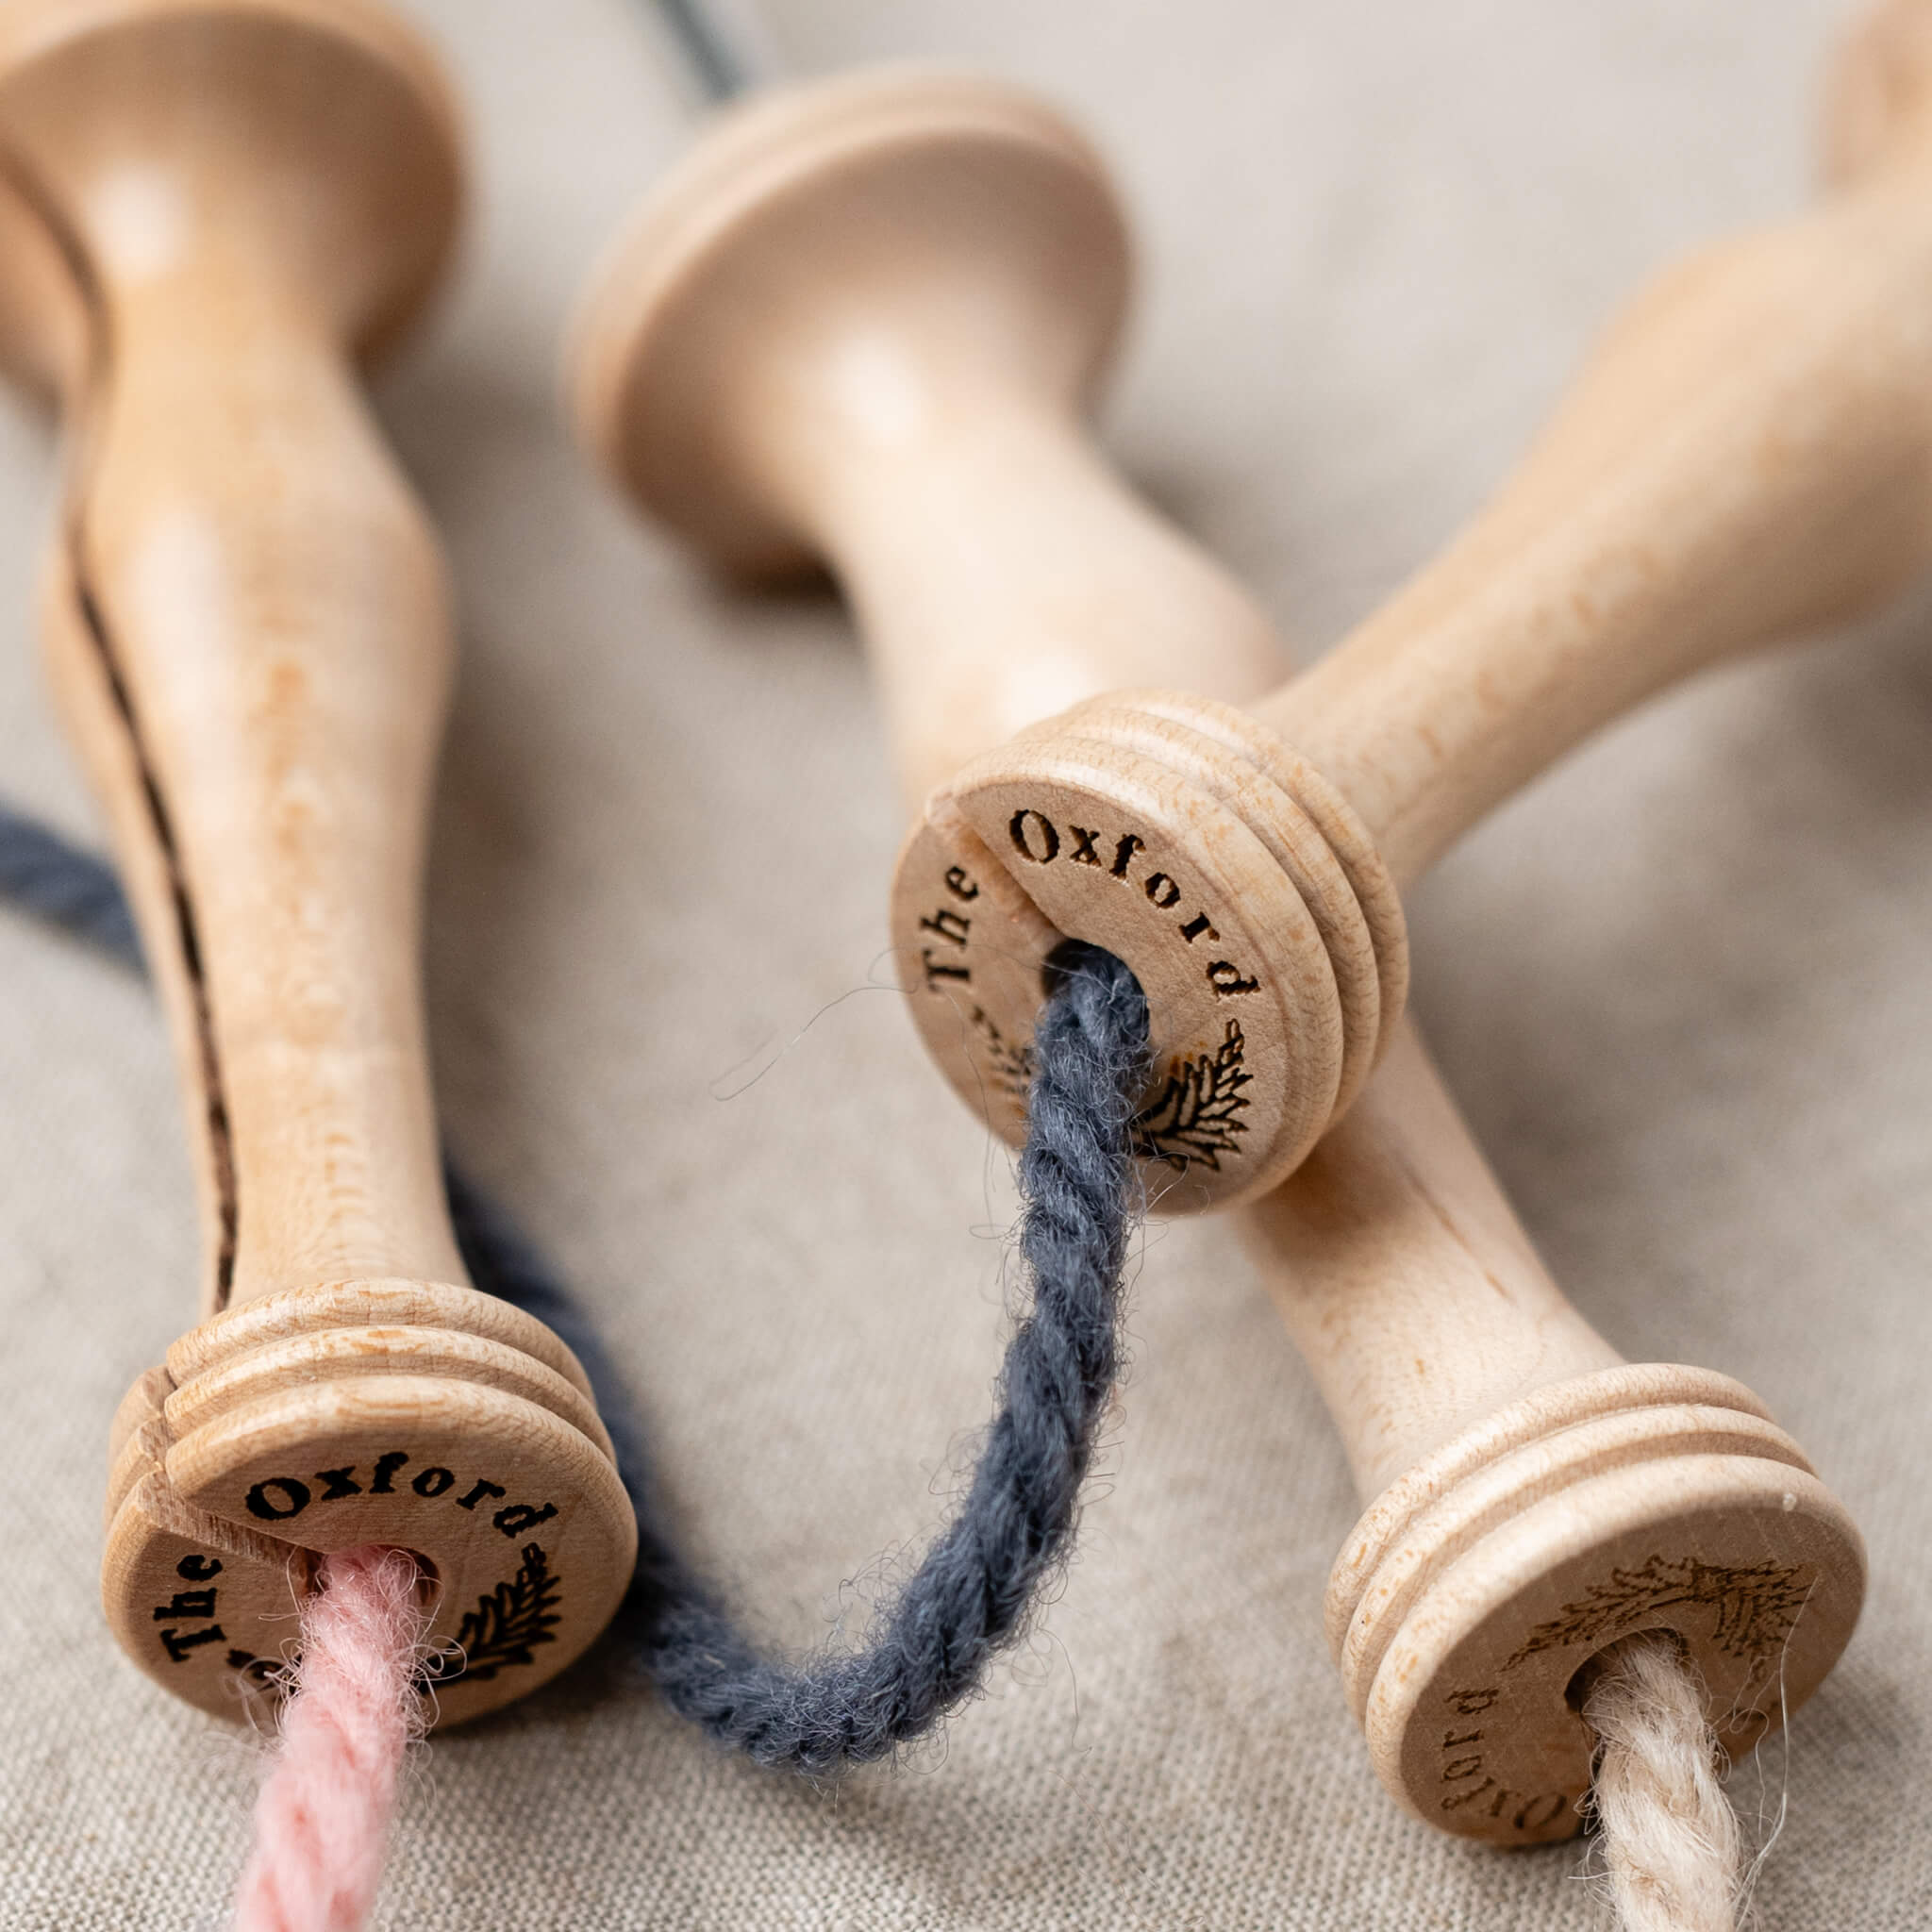
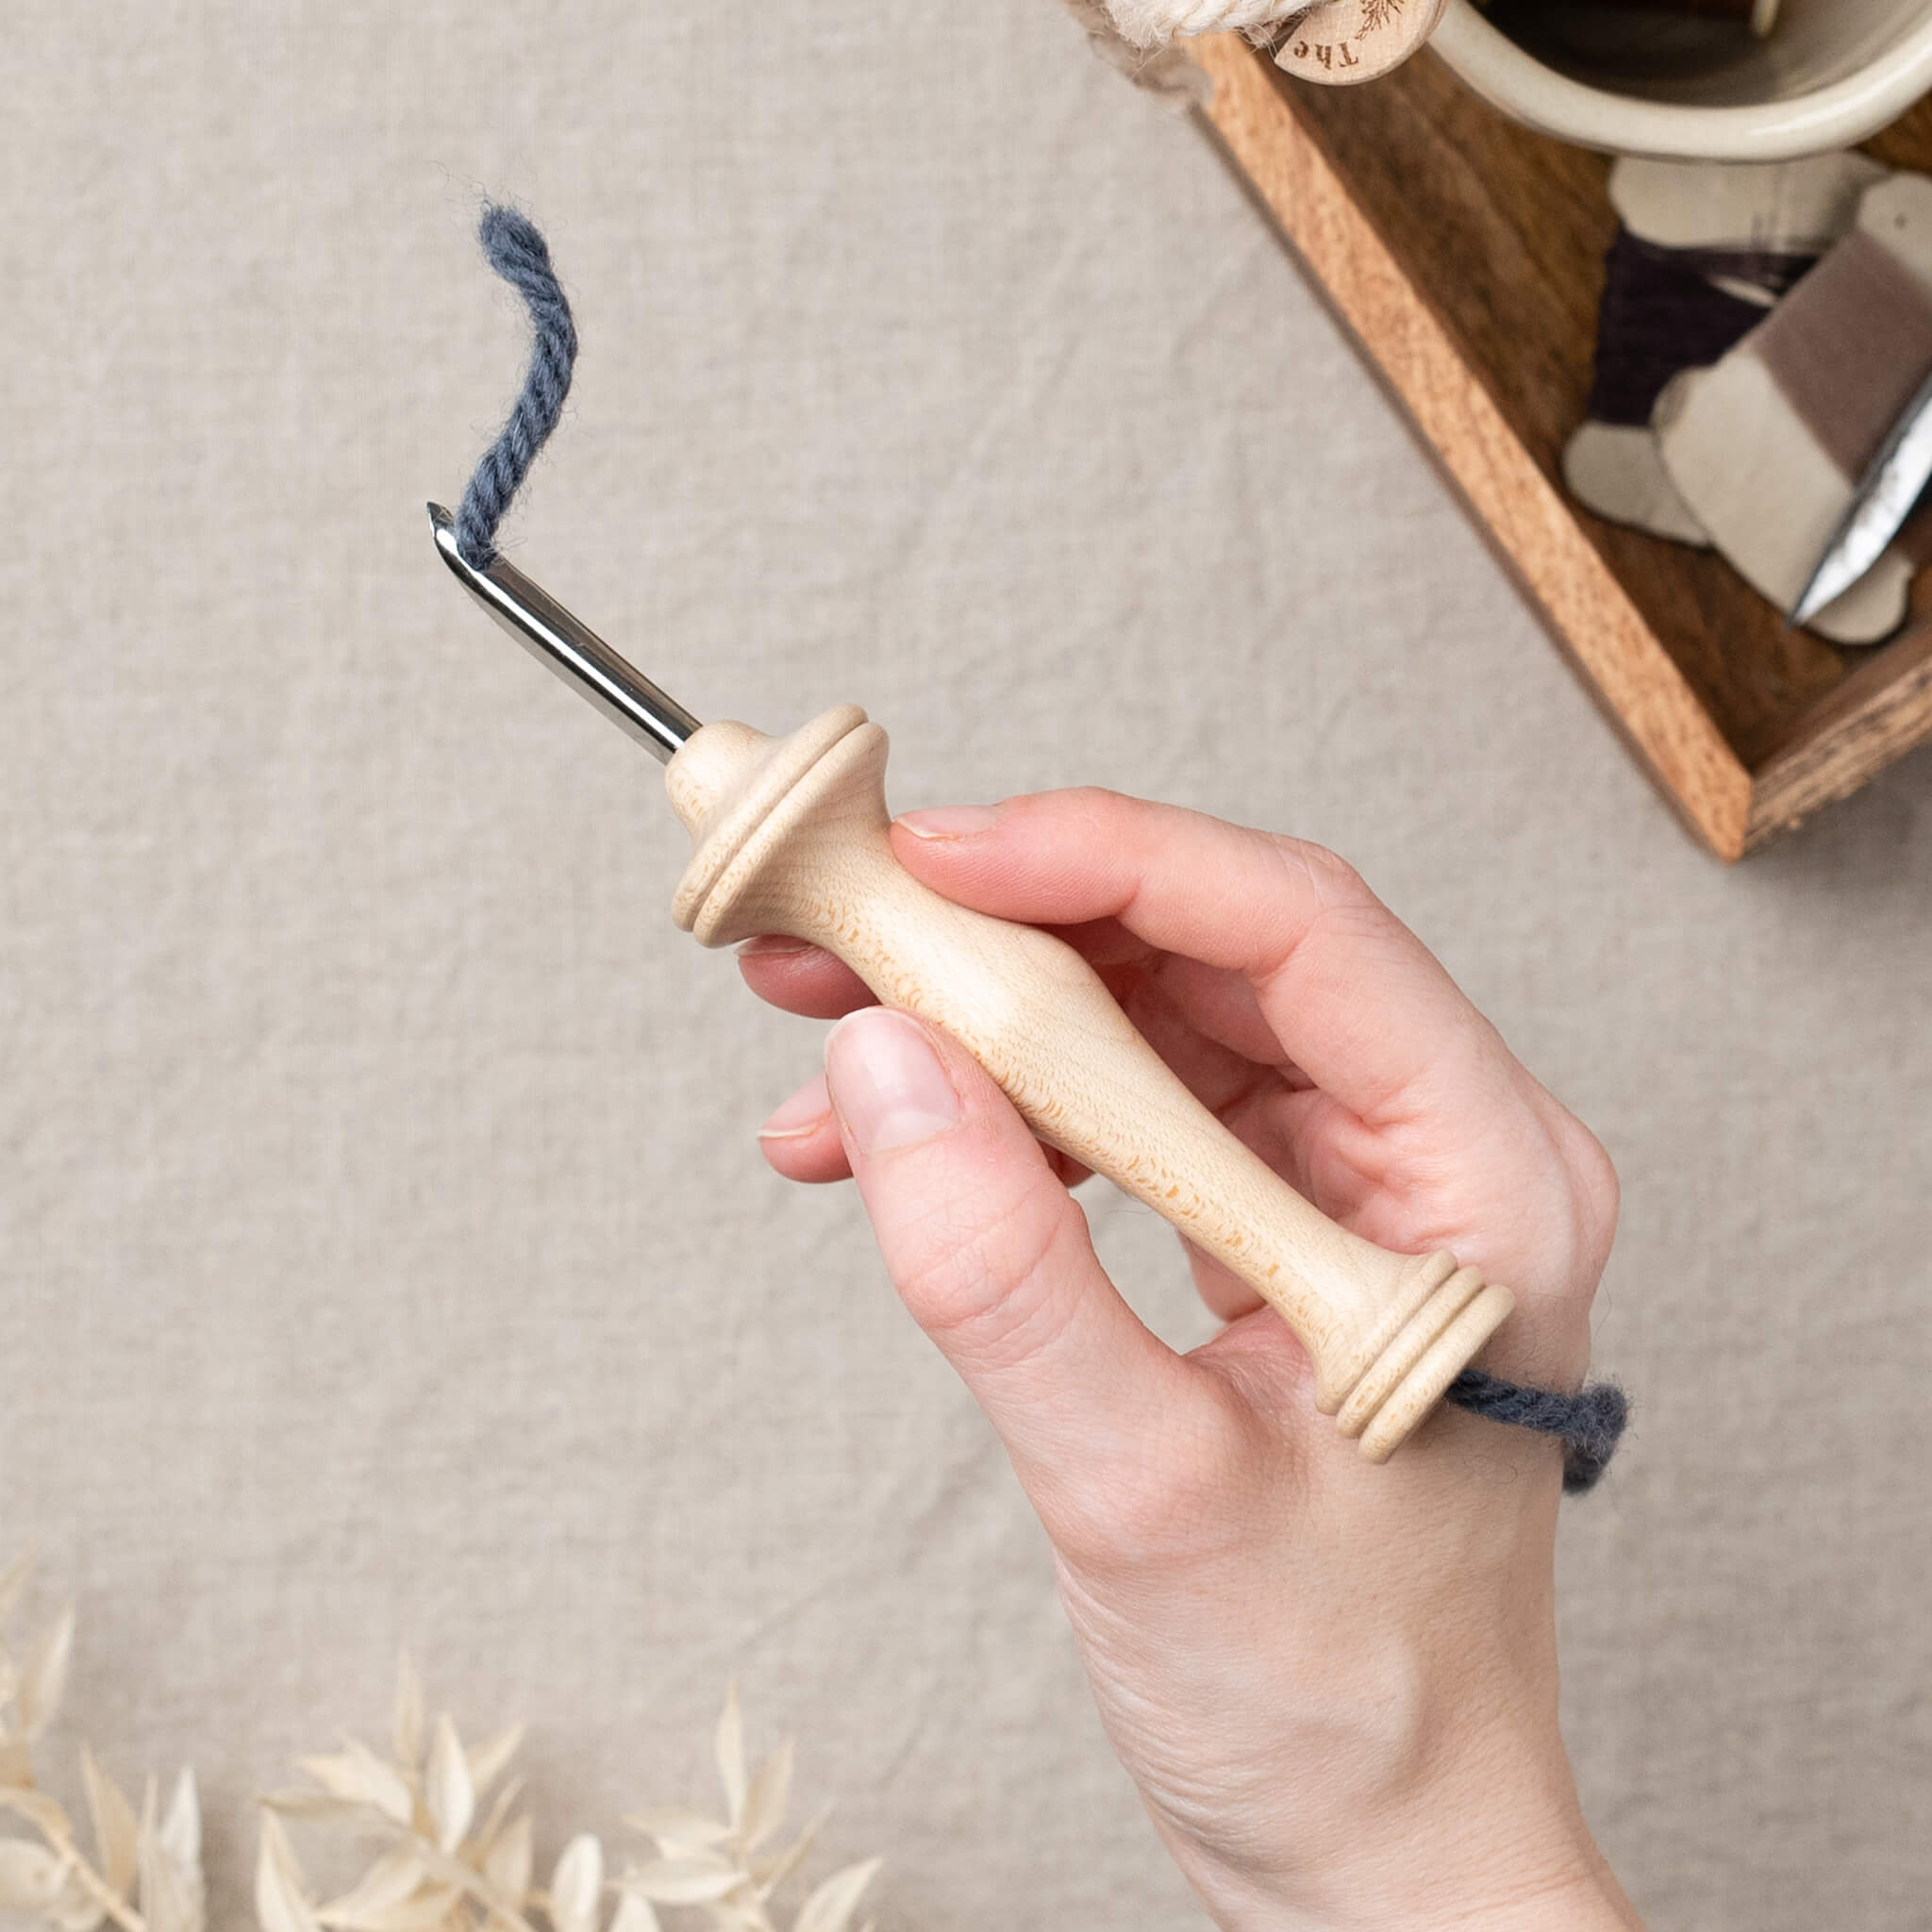
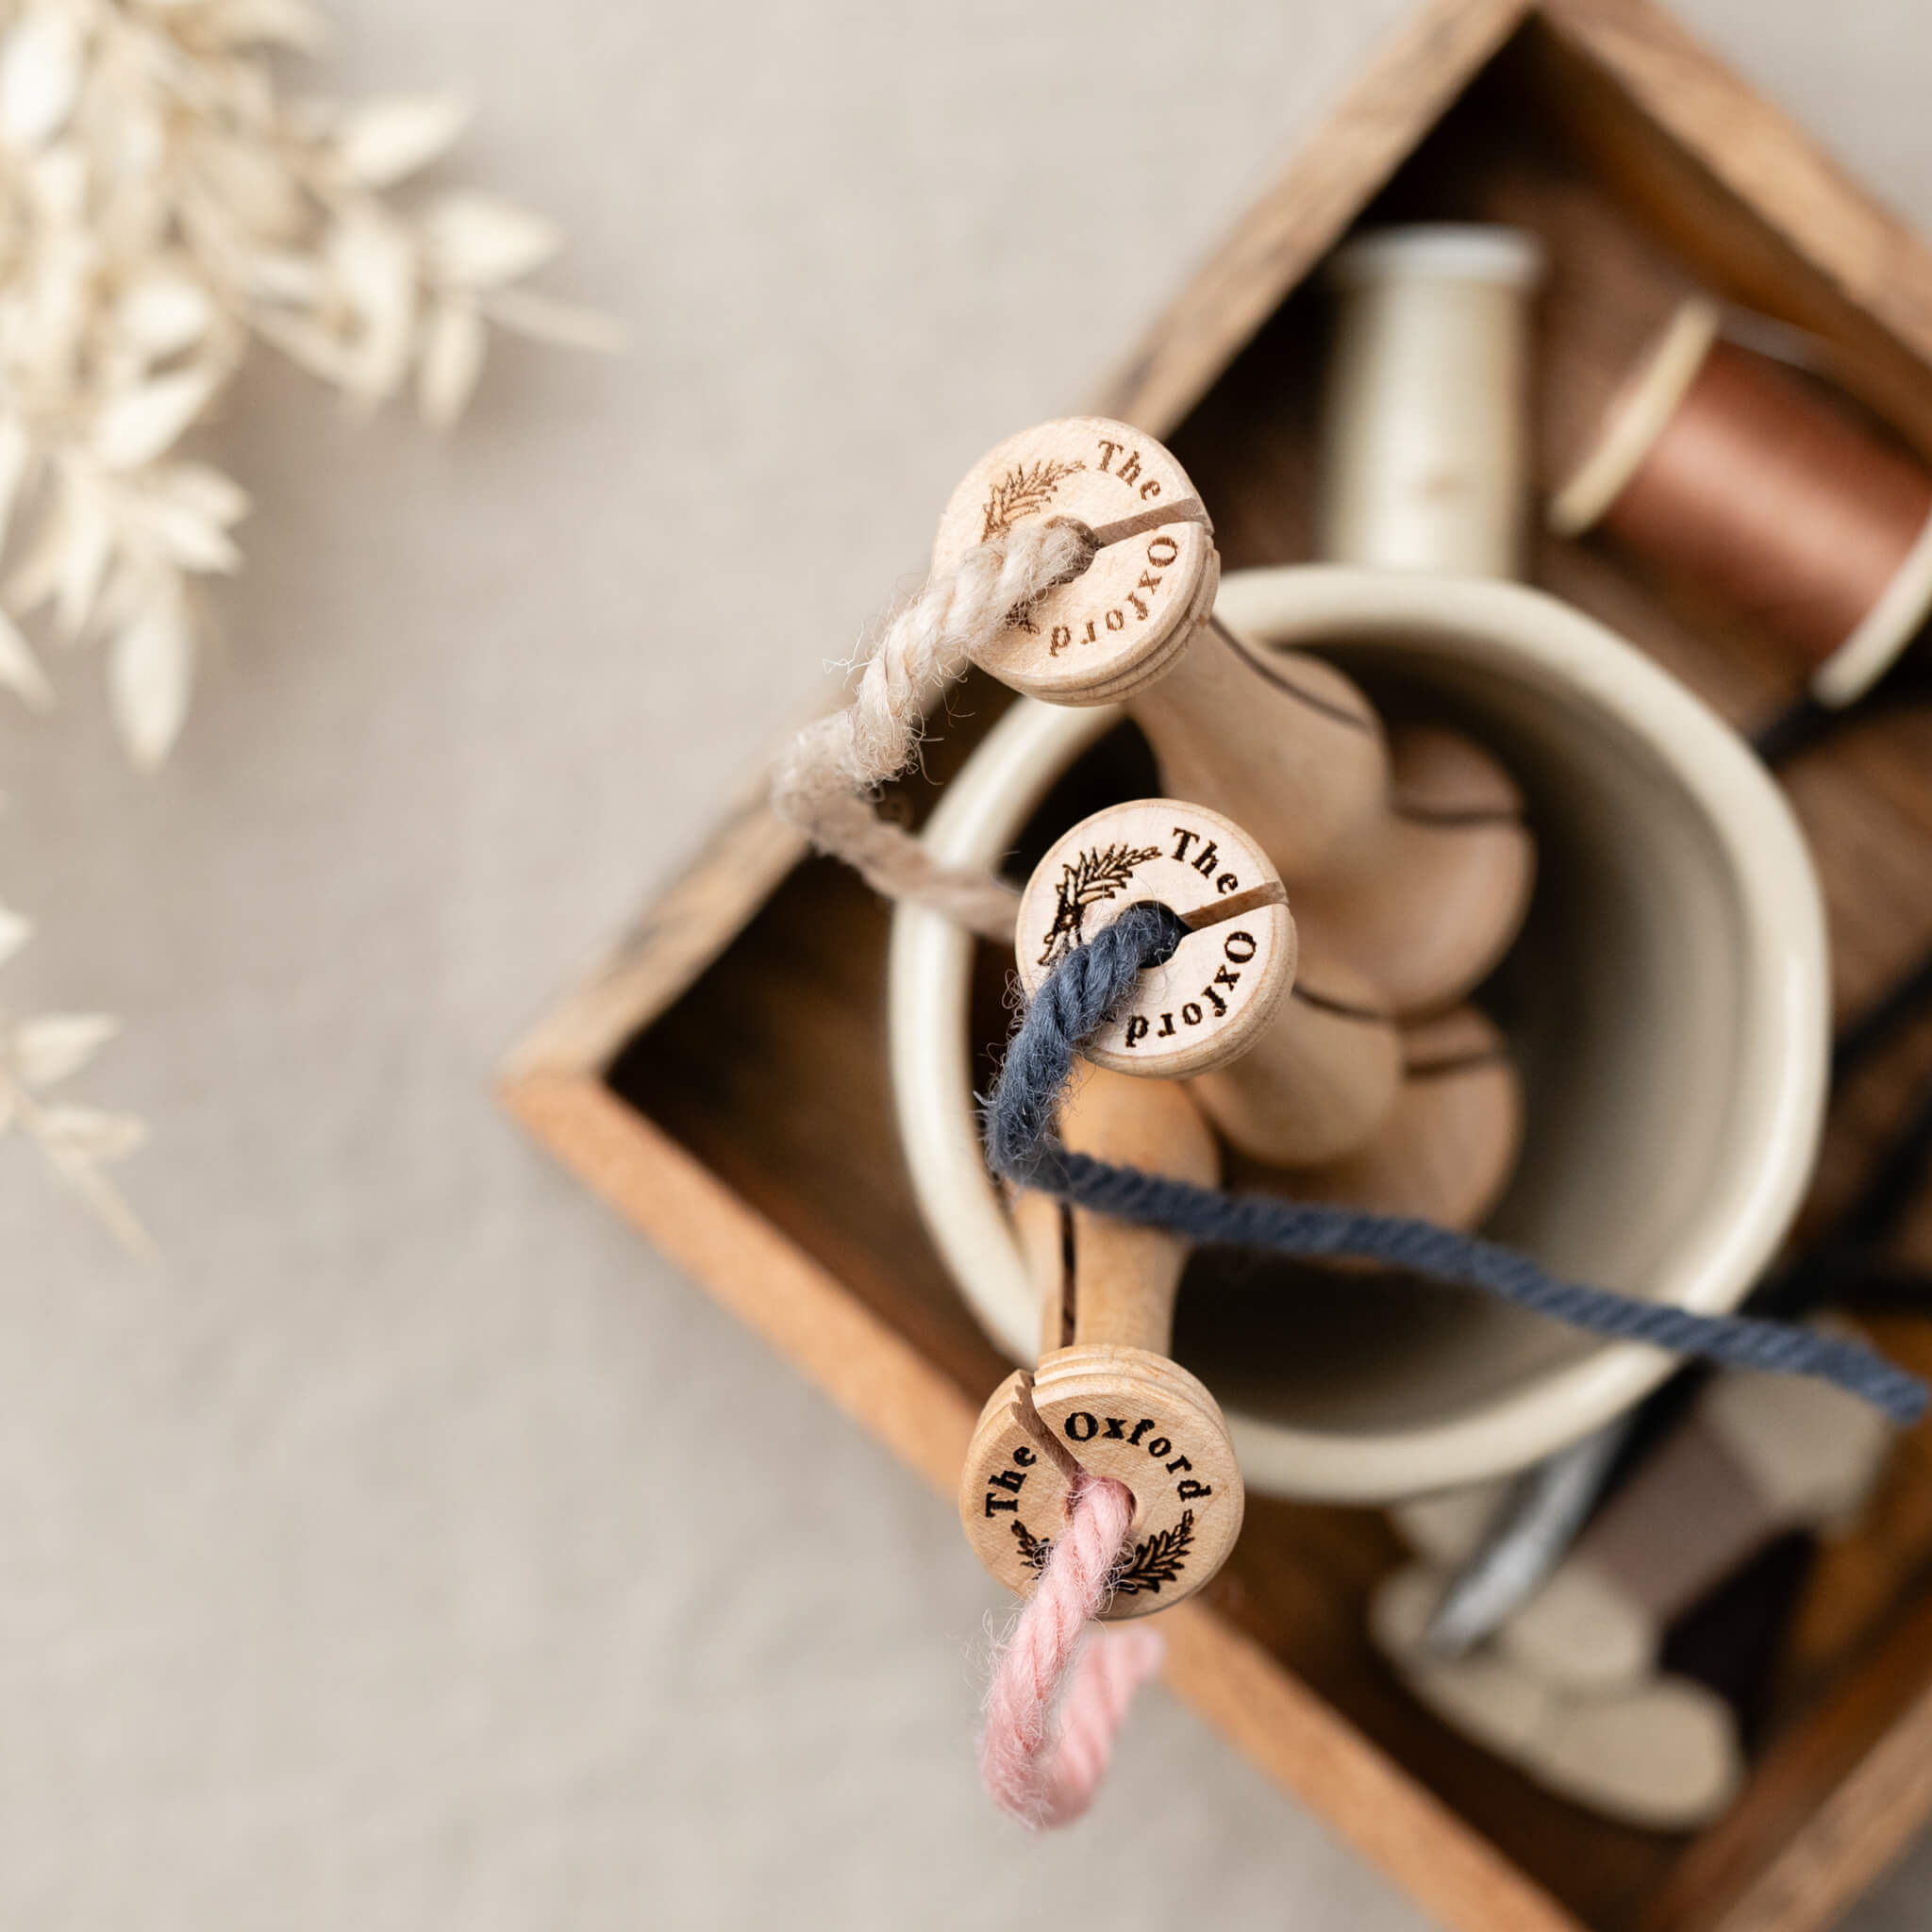
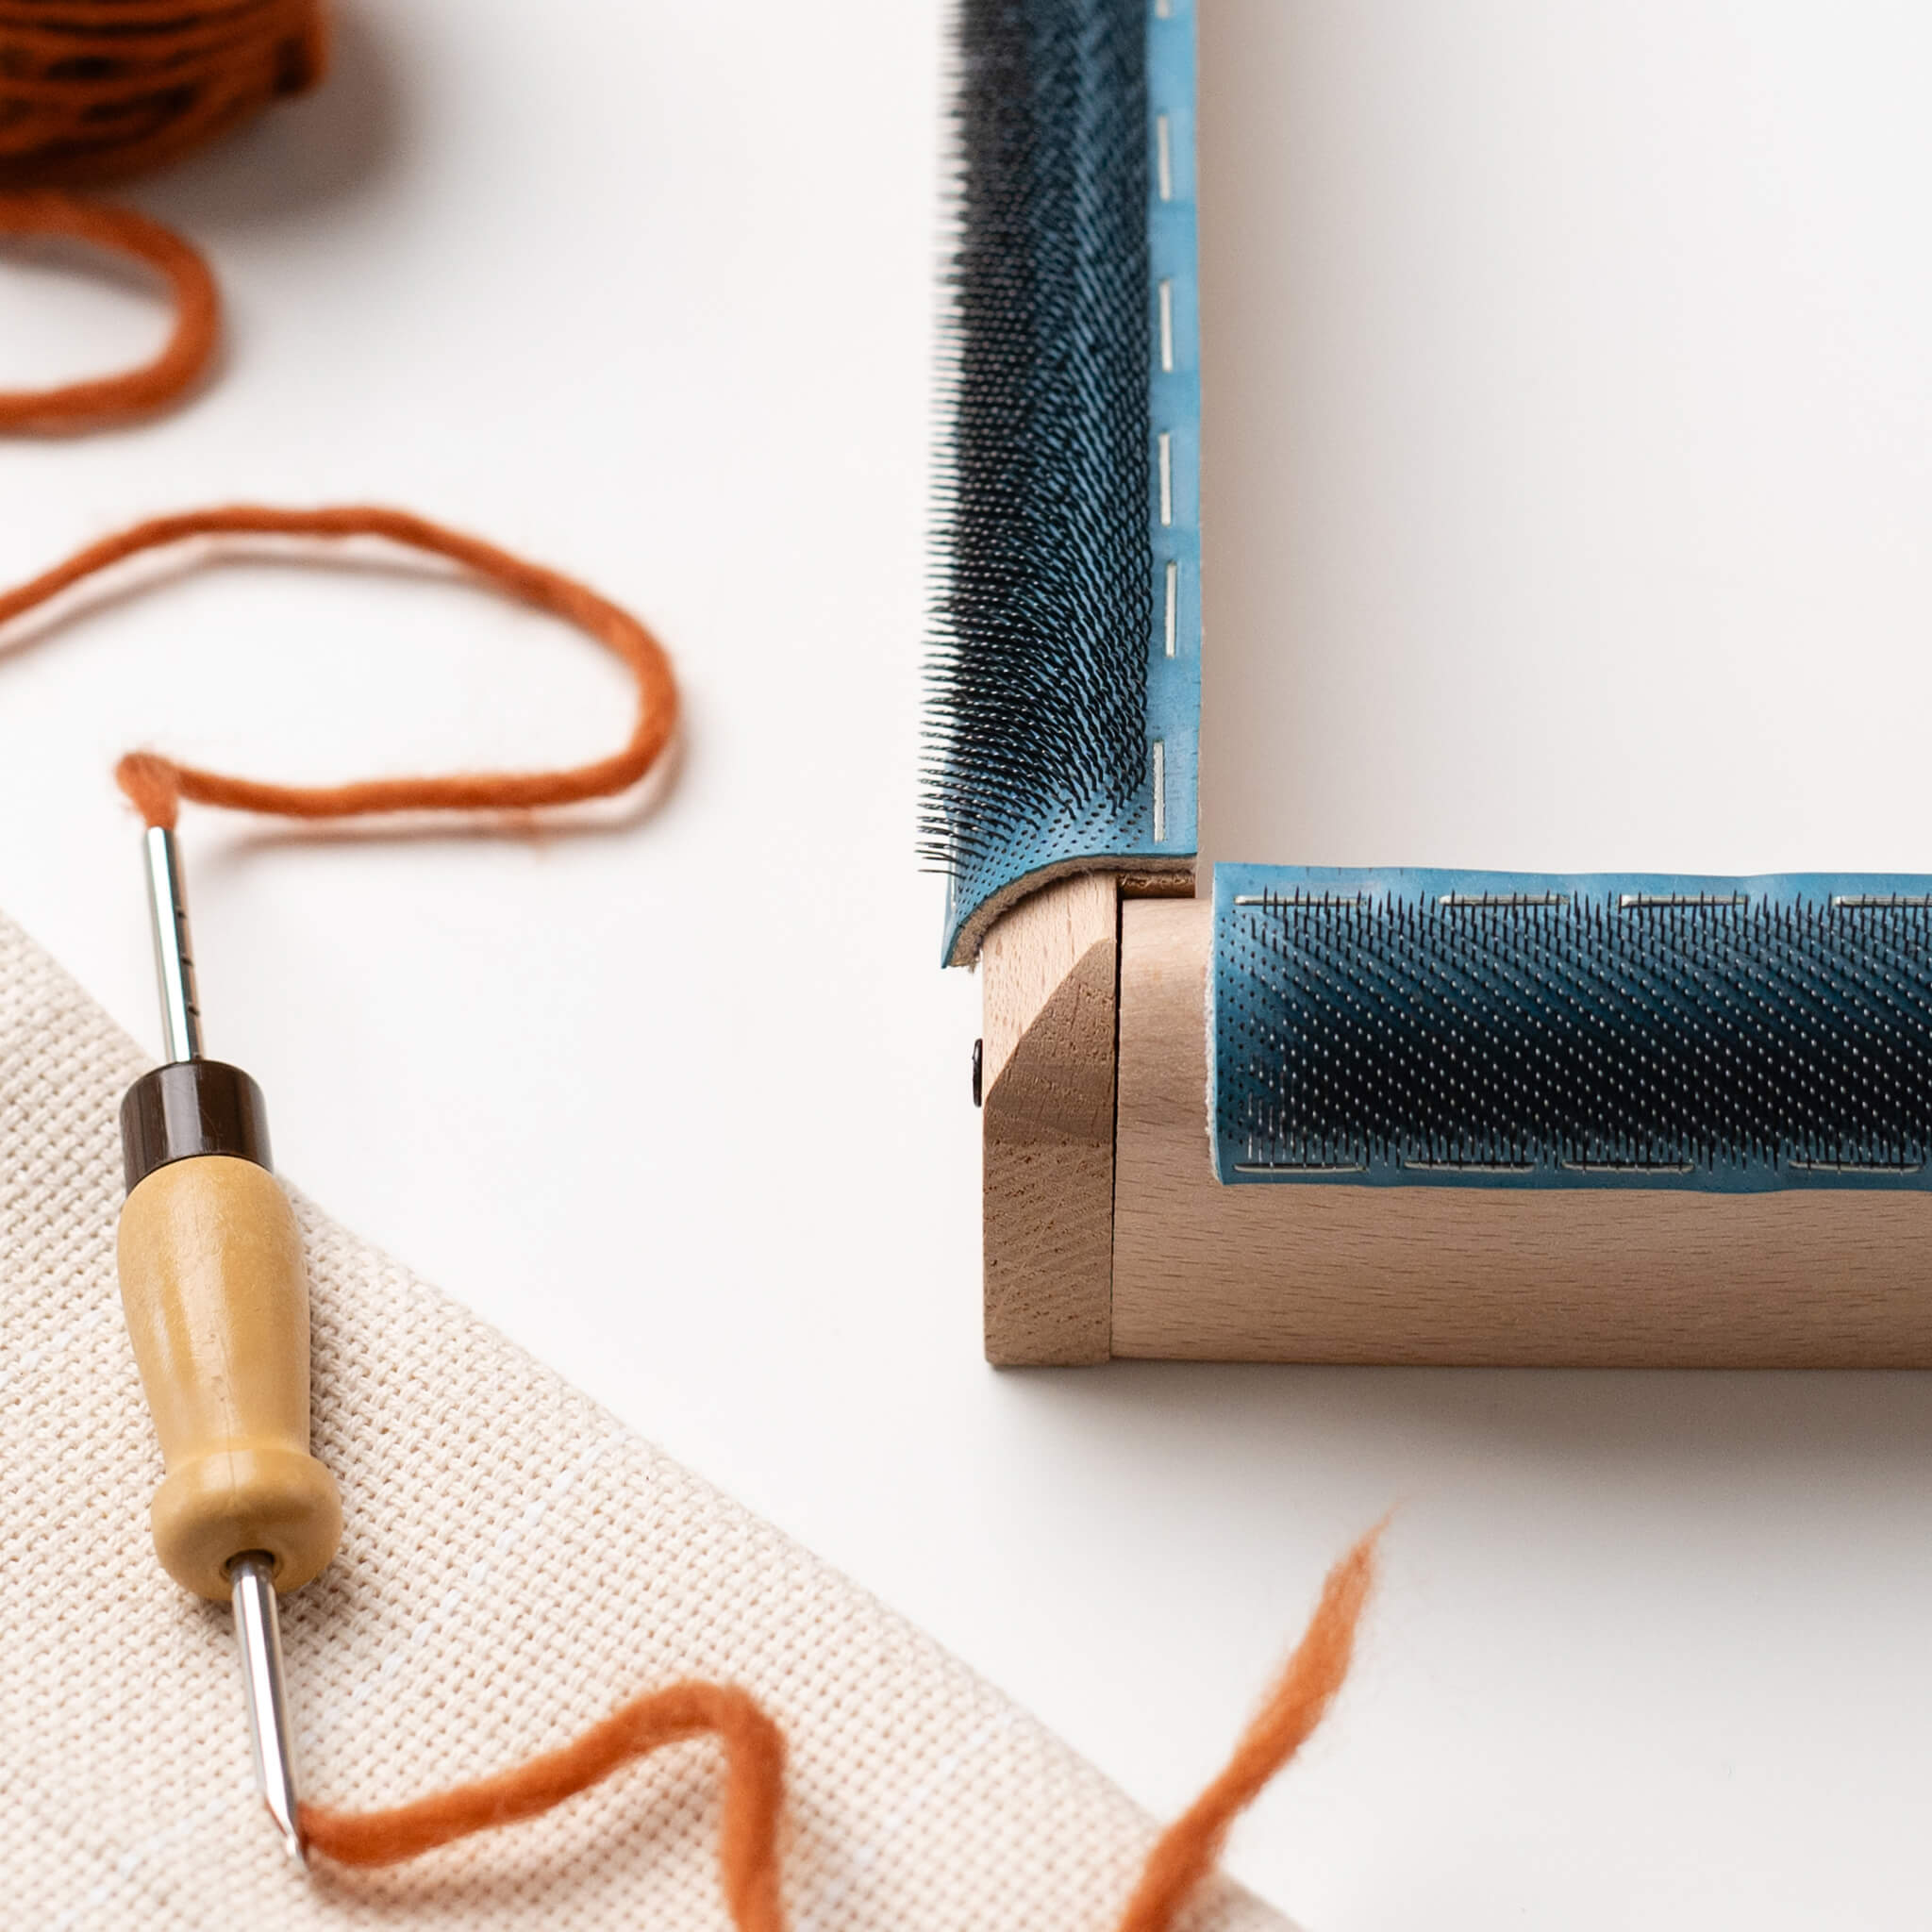
The first thing you need is perhaps the most obvious – the punch needle itself. These come in different shapes and sizes but all work the same way, allowing a continuous length of yarn to run through a channel and out a tip.

Some punch needles will require a threader to get the yarn into the channel, and each punch needle will be designed for a particular thickness of yarn - the thicker / wider punch needles will also allow you to double or triple up thinner strands of yarn if you need to.
Punch needles create flat stitches on the working side of your piece and loop stitches on the reverse. Some punch needles (like the Oxford punch needles) are a fixed size – this means your loops will be a standard height. Others (like the Lavor punch needles) are adjustable so that you can create different loop heights with one needle.

The best punch needle for you will depend on your personal preferences and also the kind of projects you are making. Thicker punch needles like the regular Oxfords and the chunky 5.5 mm Lavor needles are better suited to making larger projects as they take thicker yarn. A fine punch needle like the Ultra punch or the fine Lavor punch needle set will take much finer yarn or embroidery floss and will be more useful for small, intricate work.
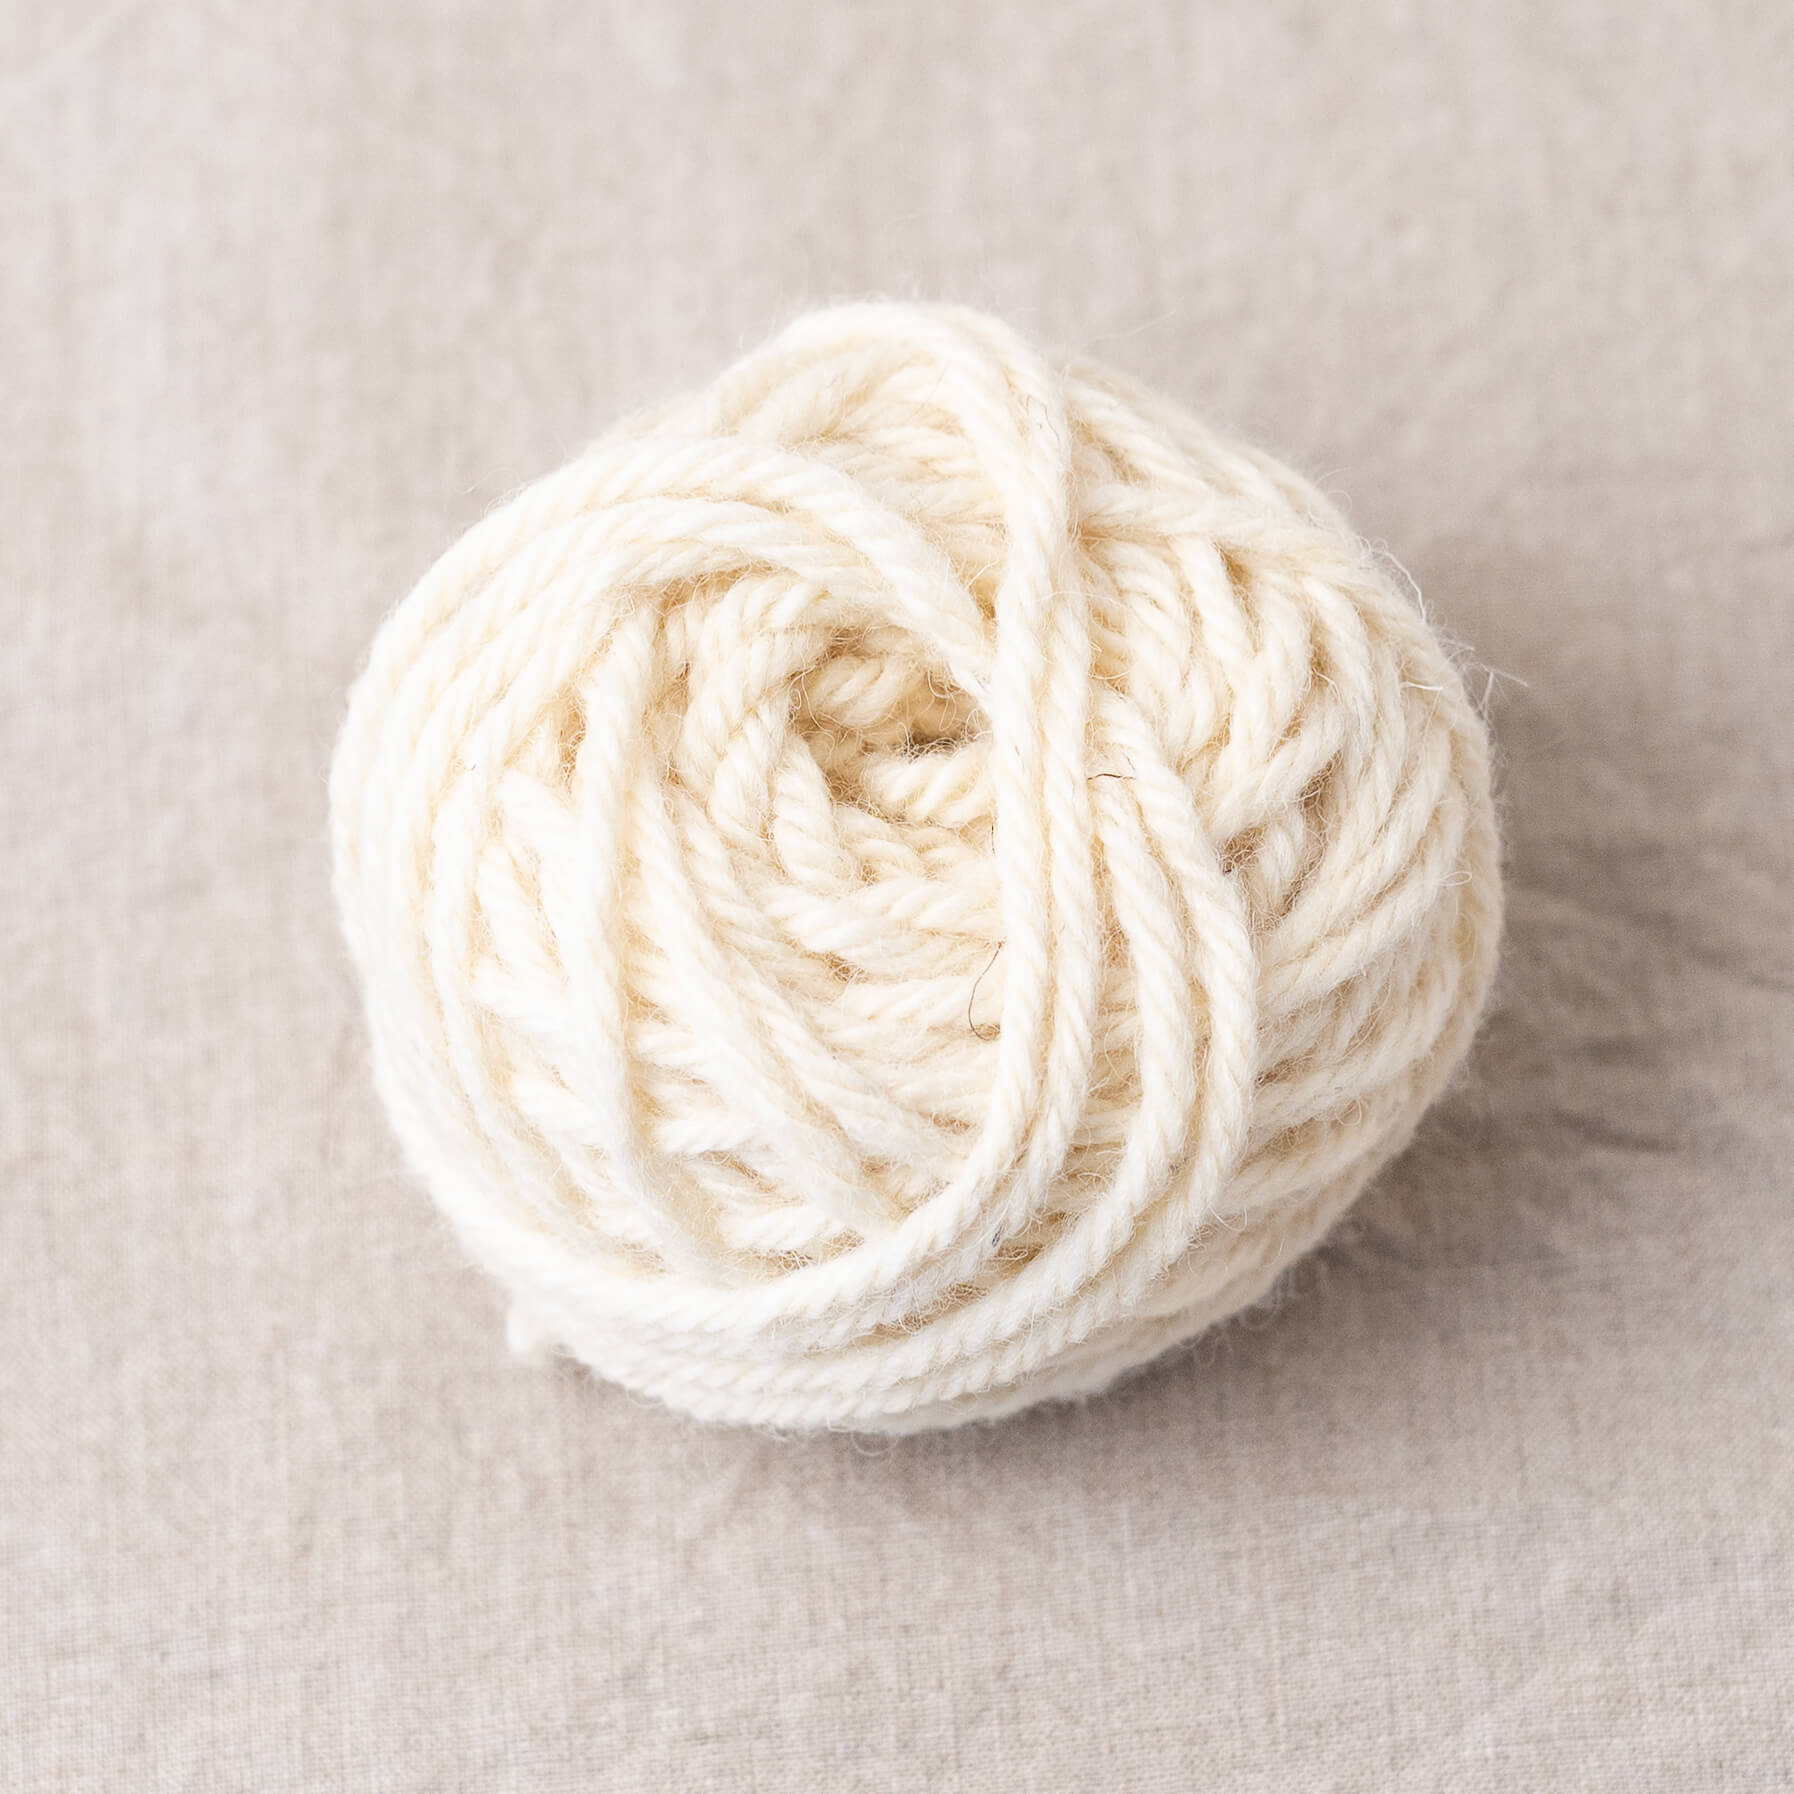
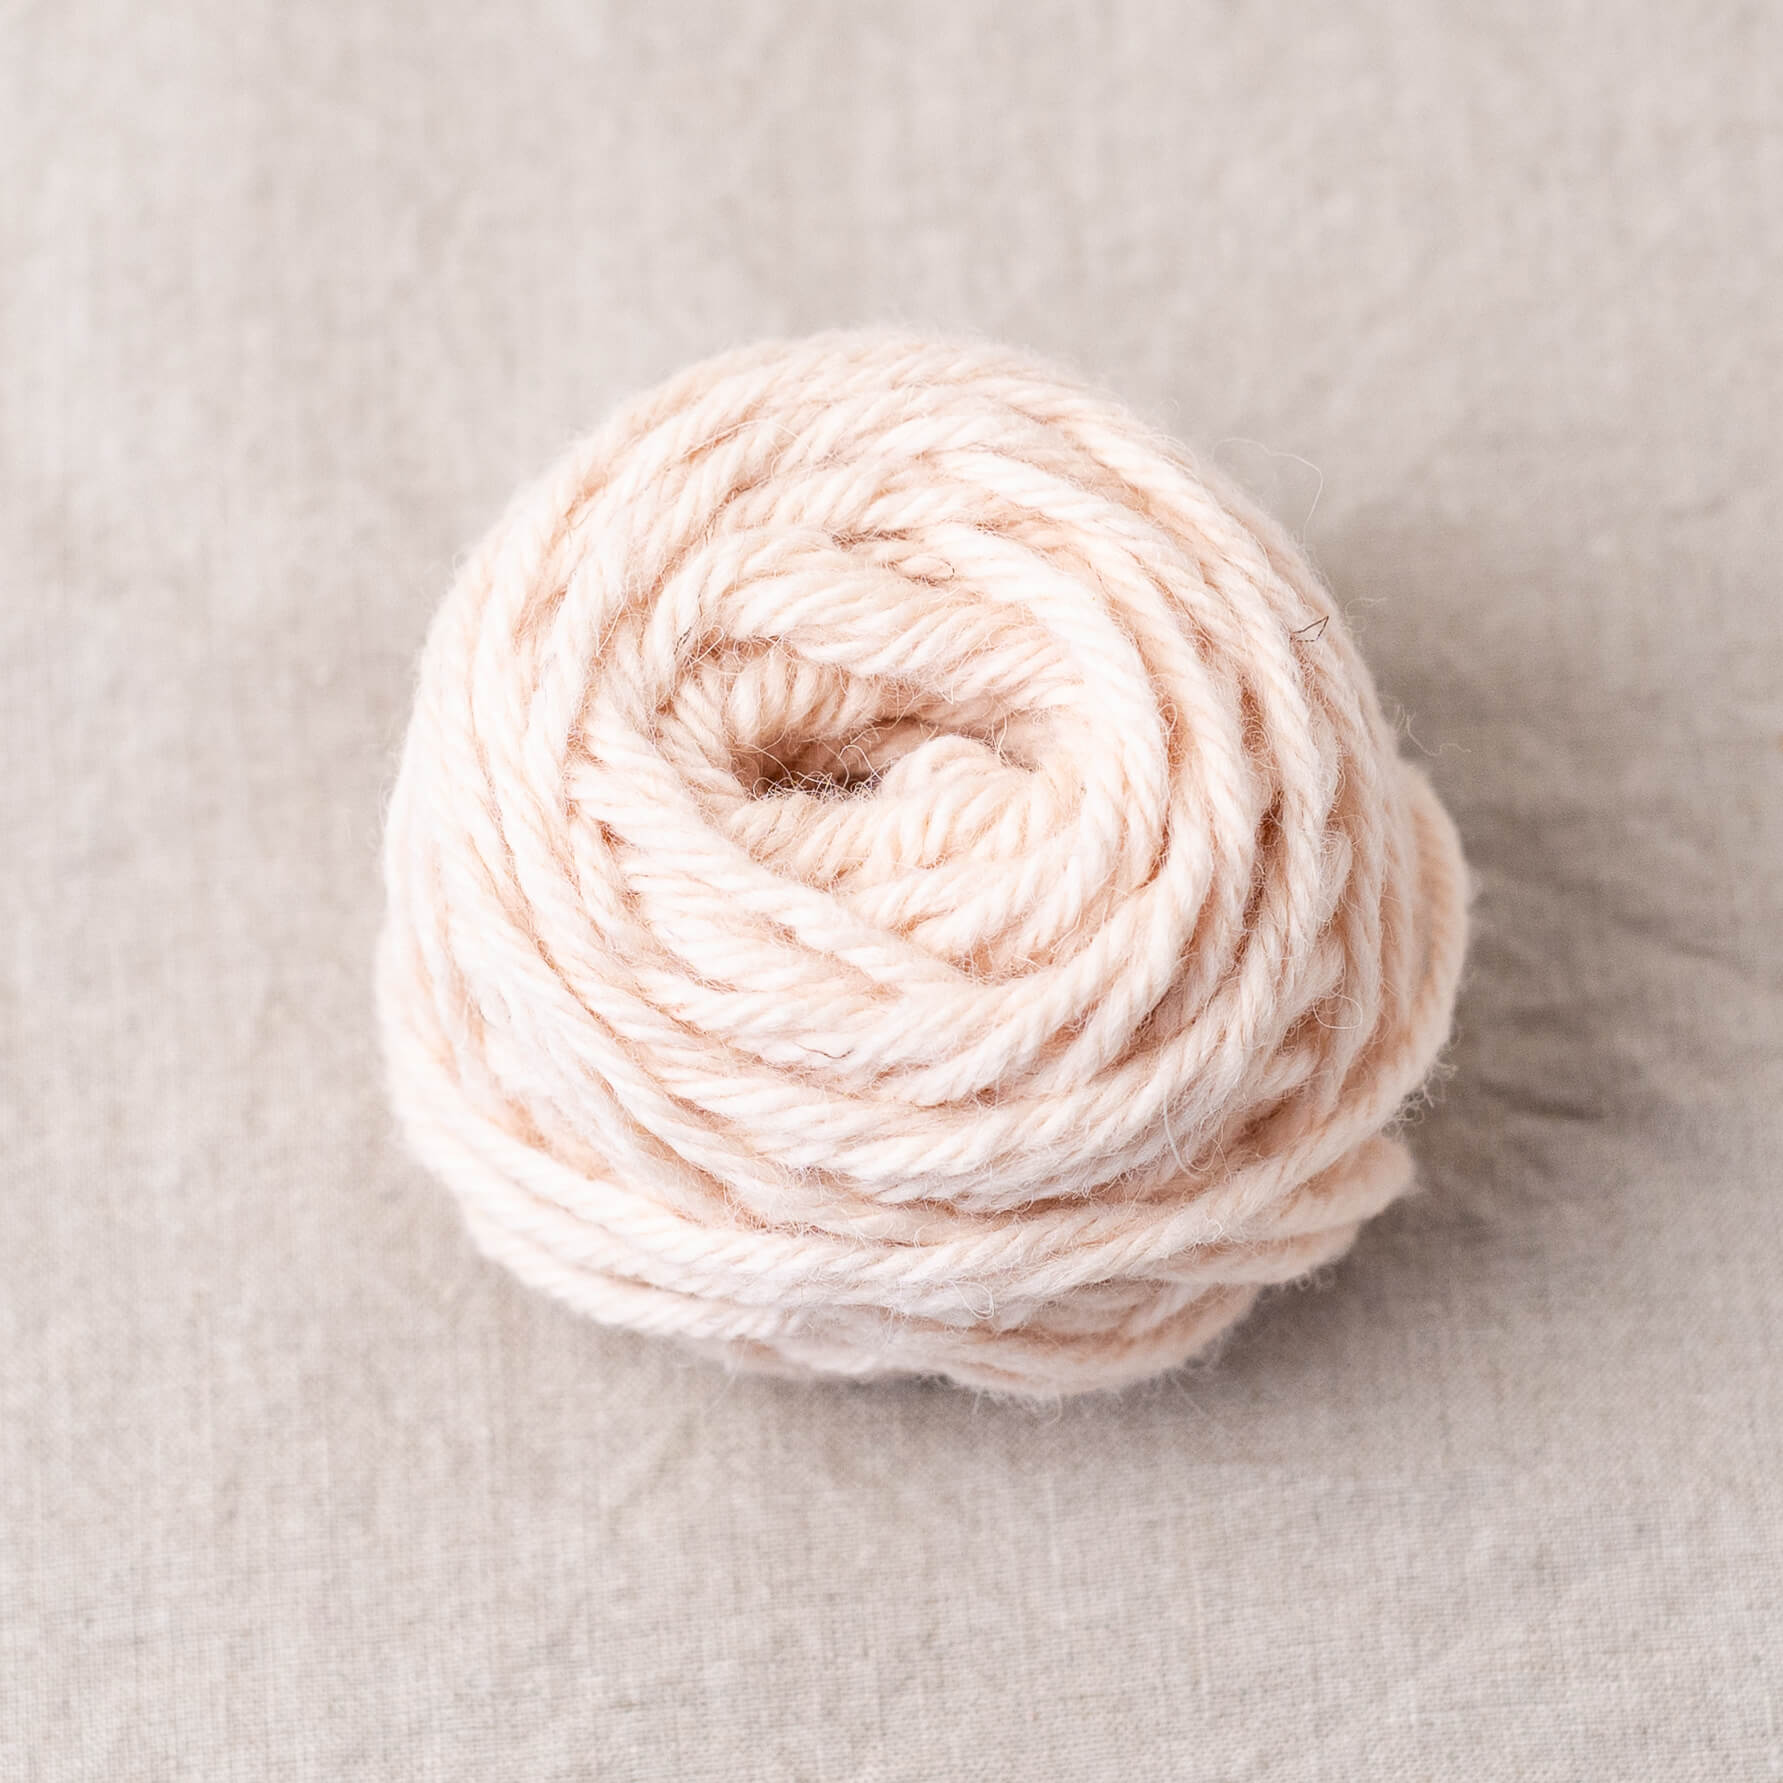
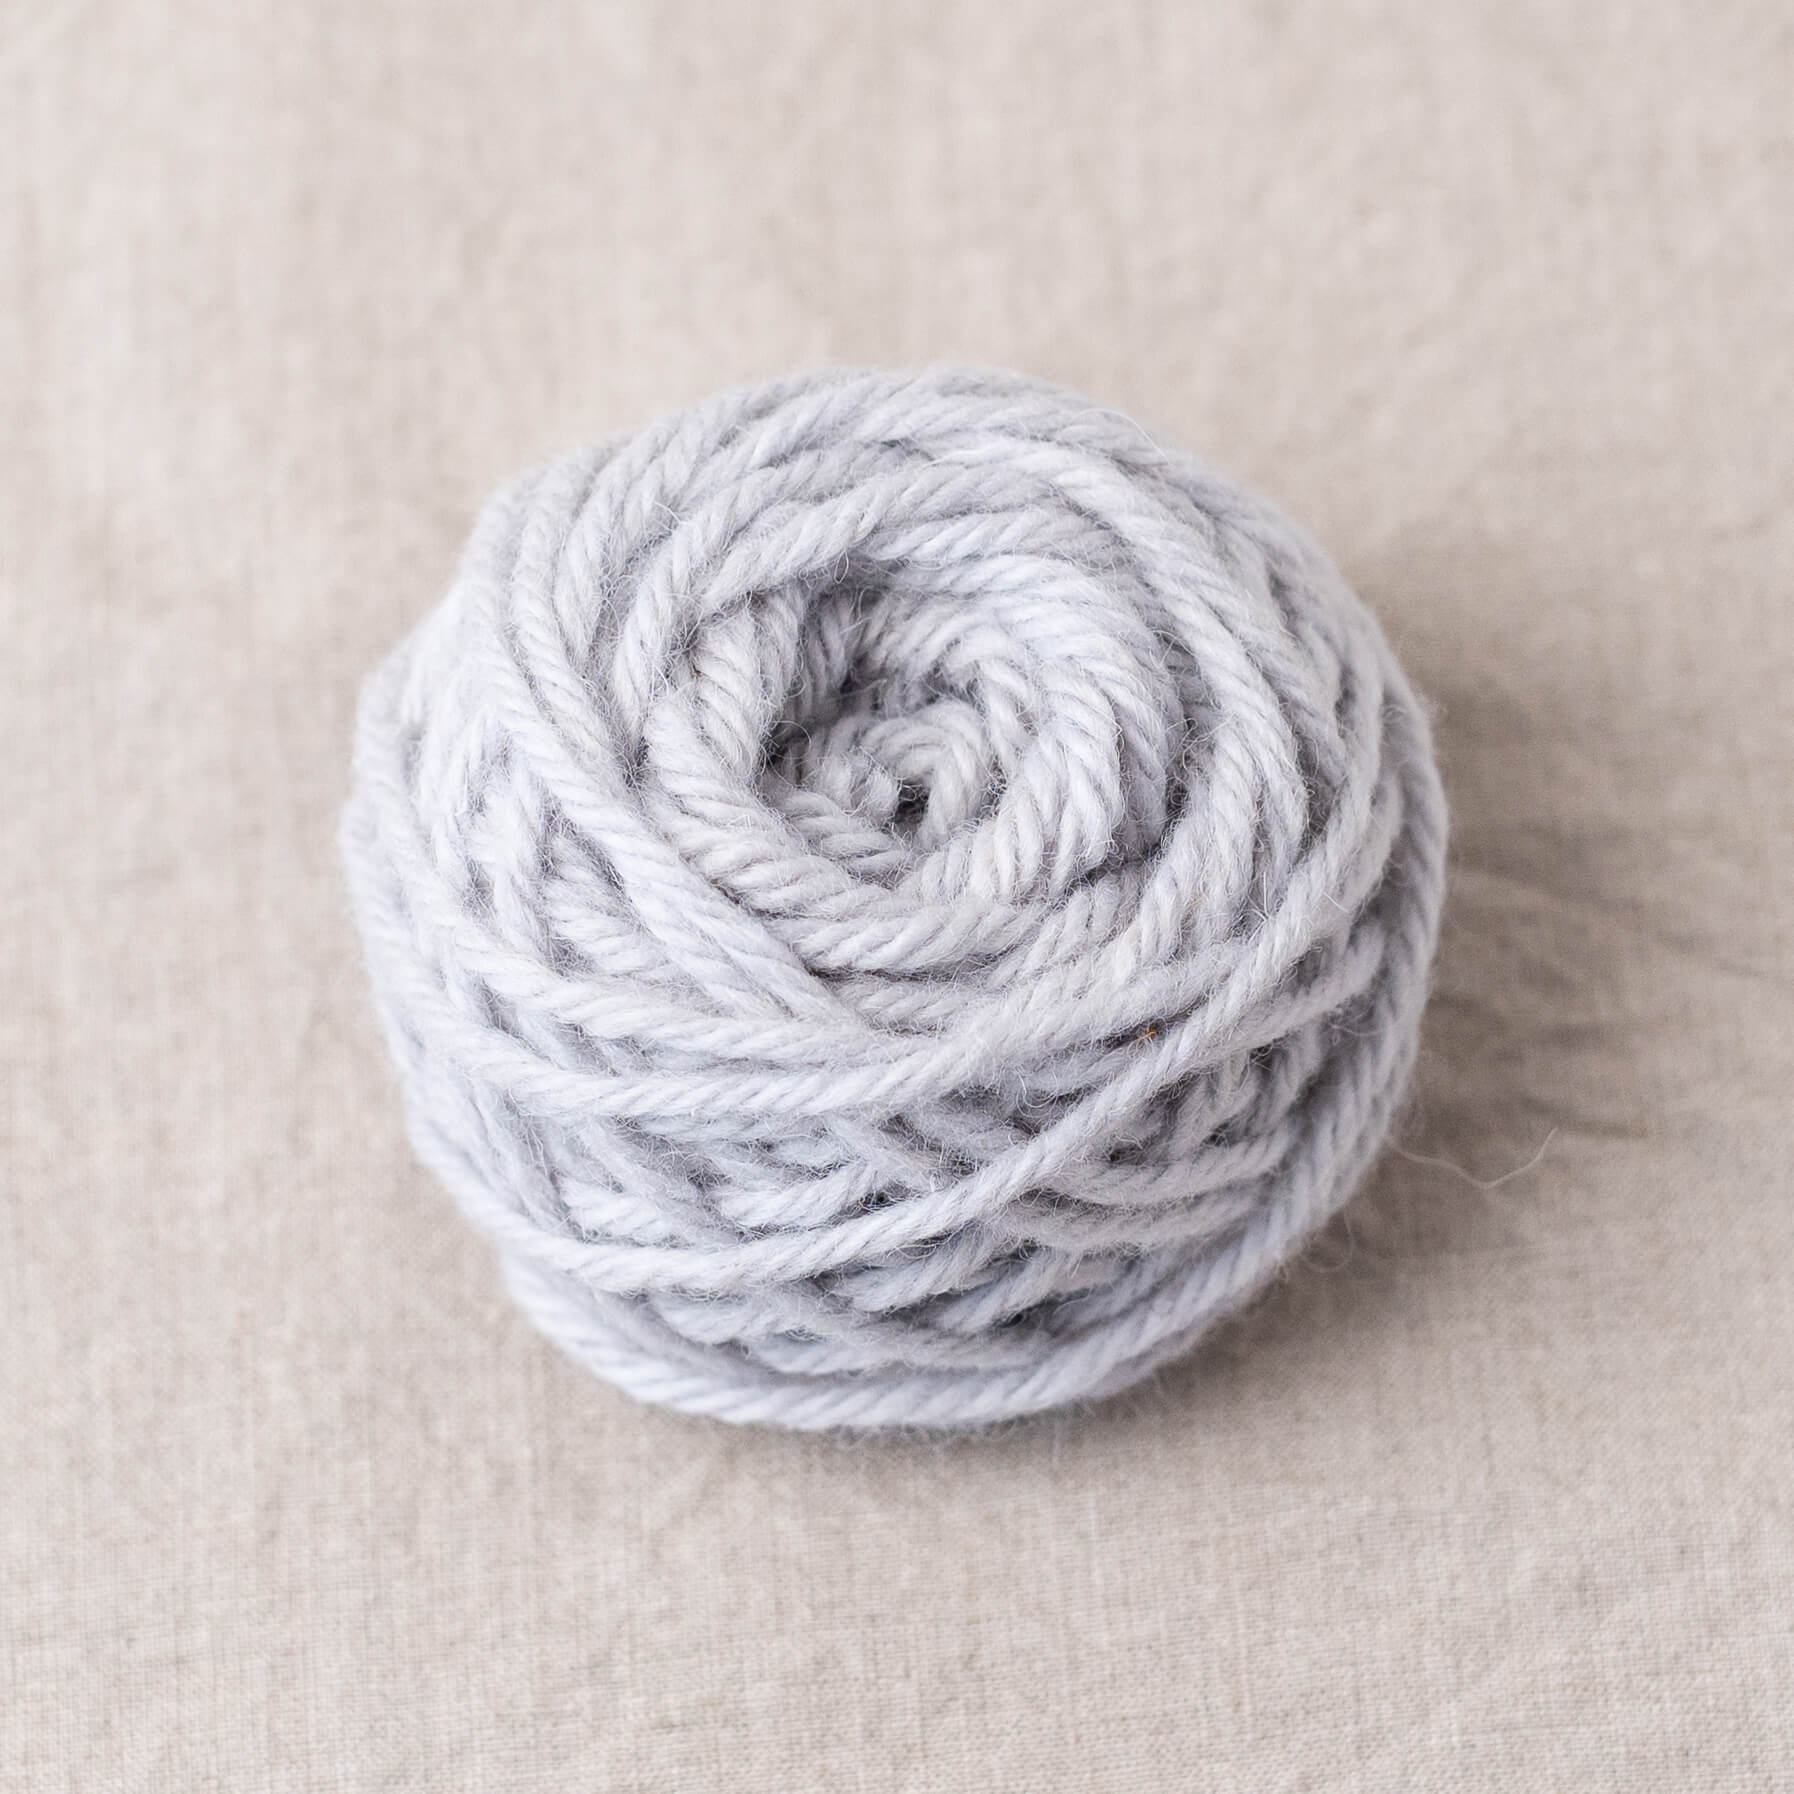
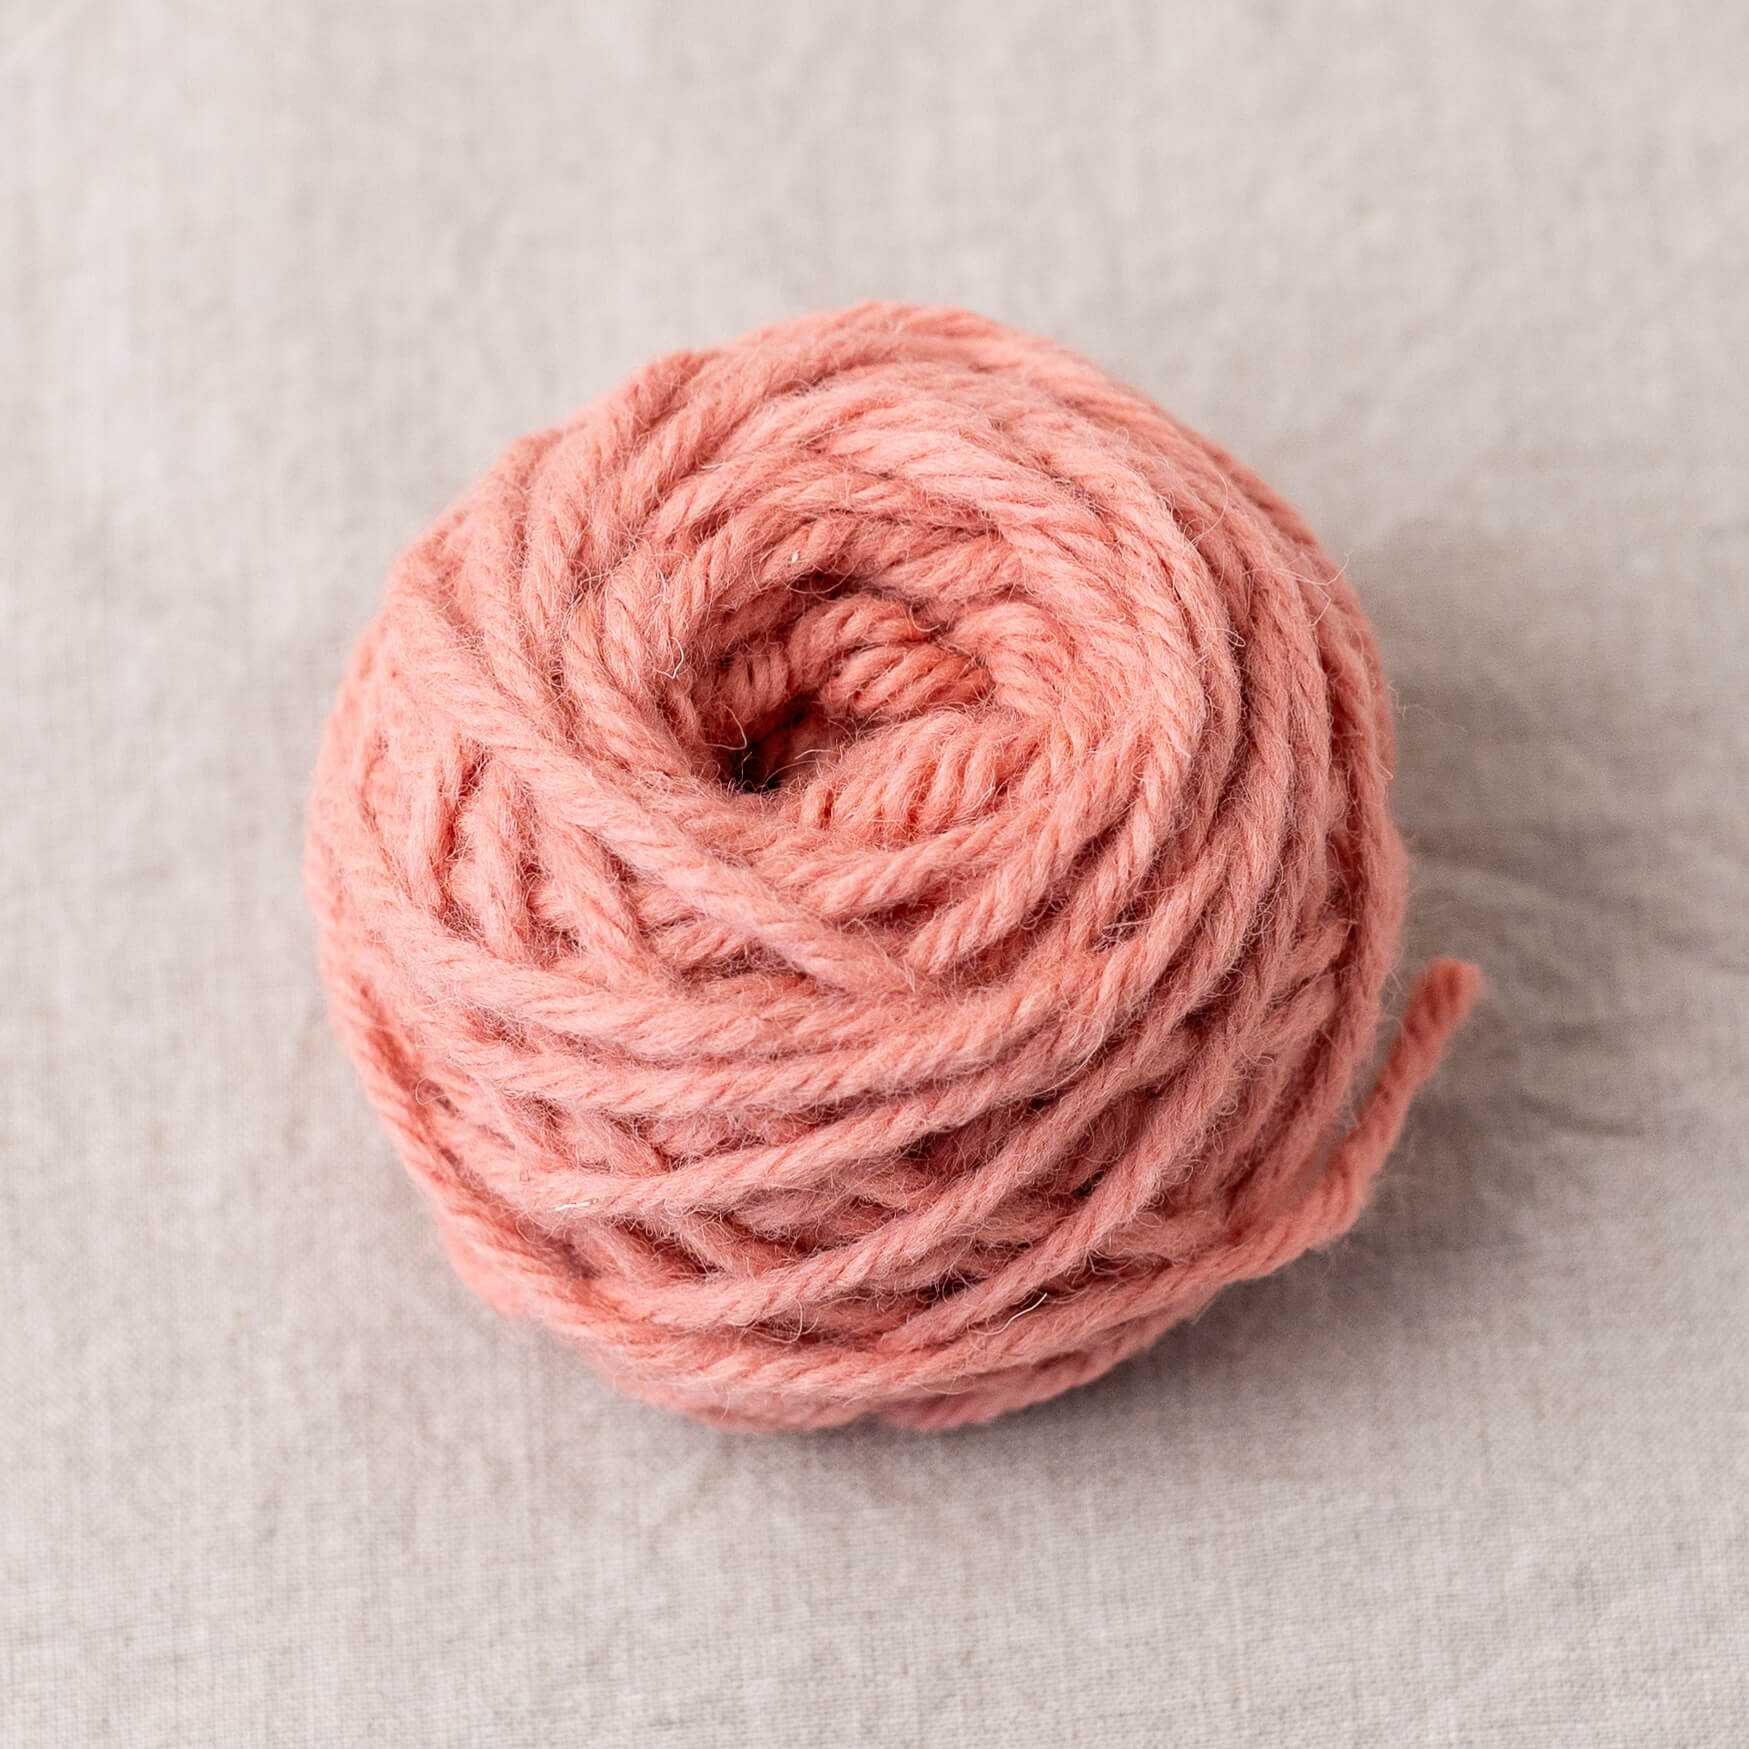
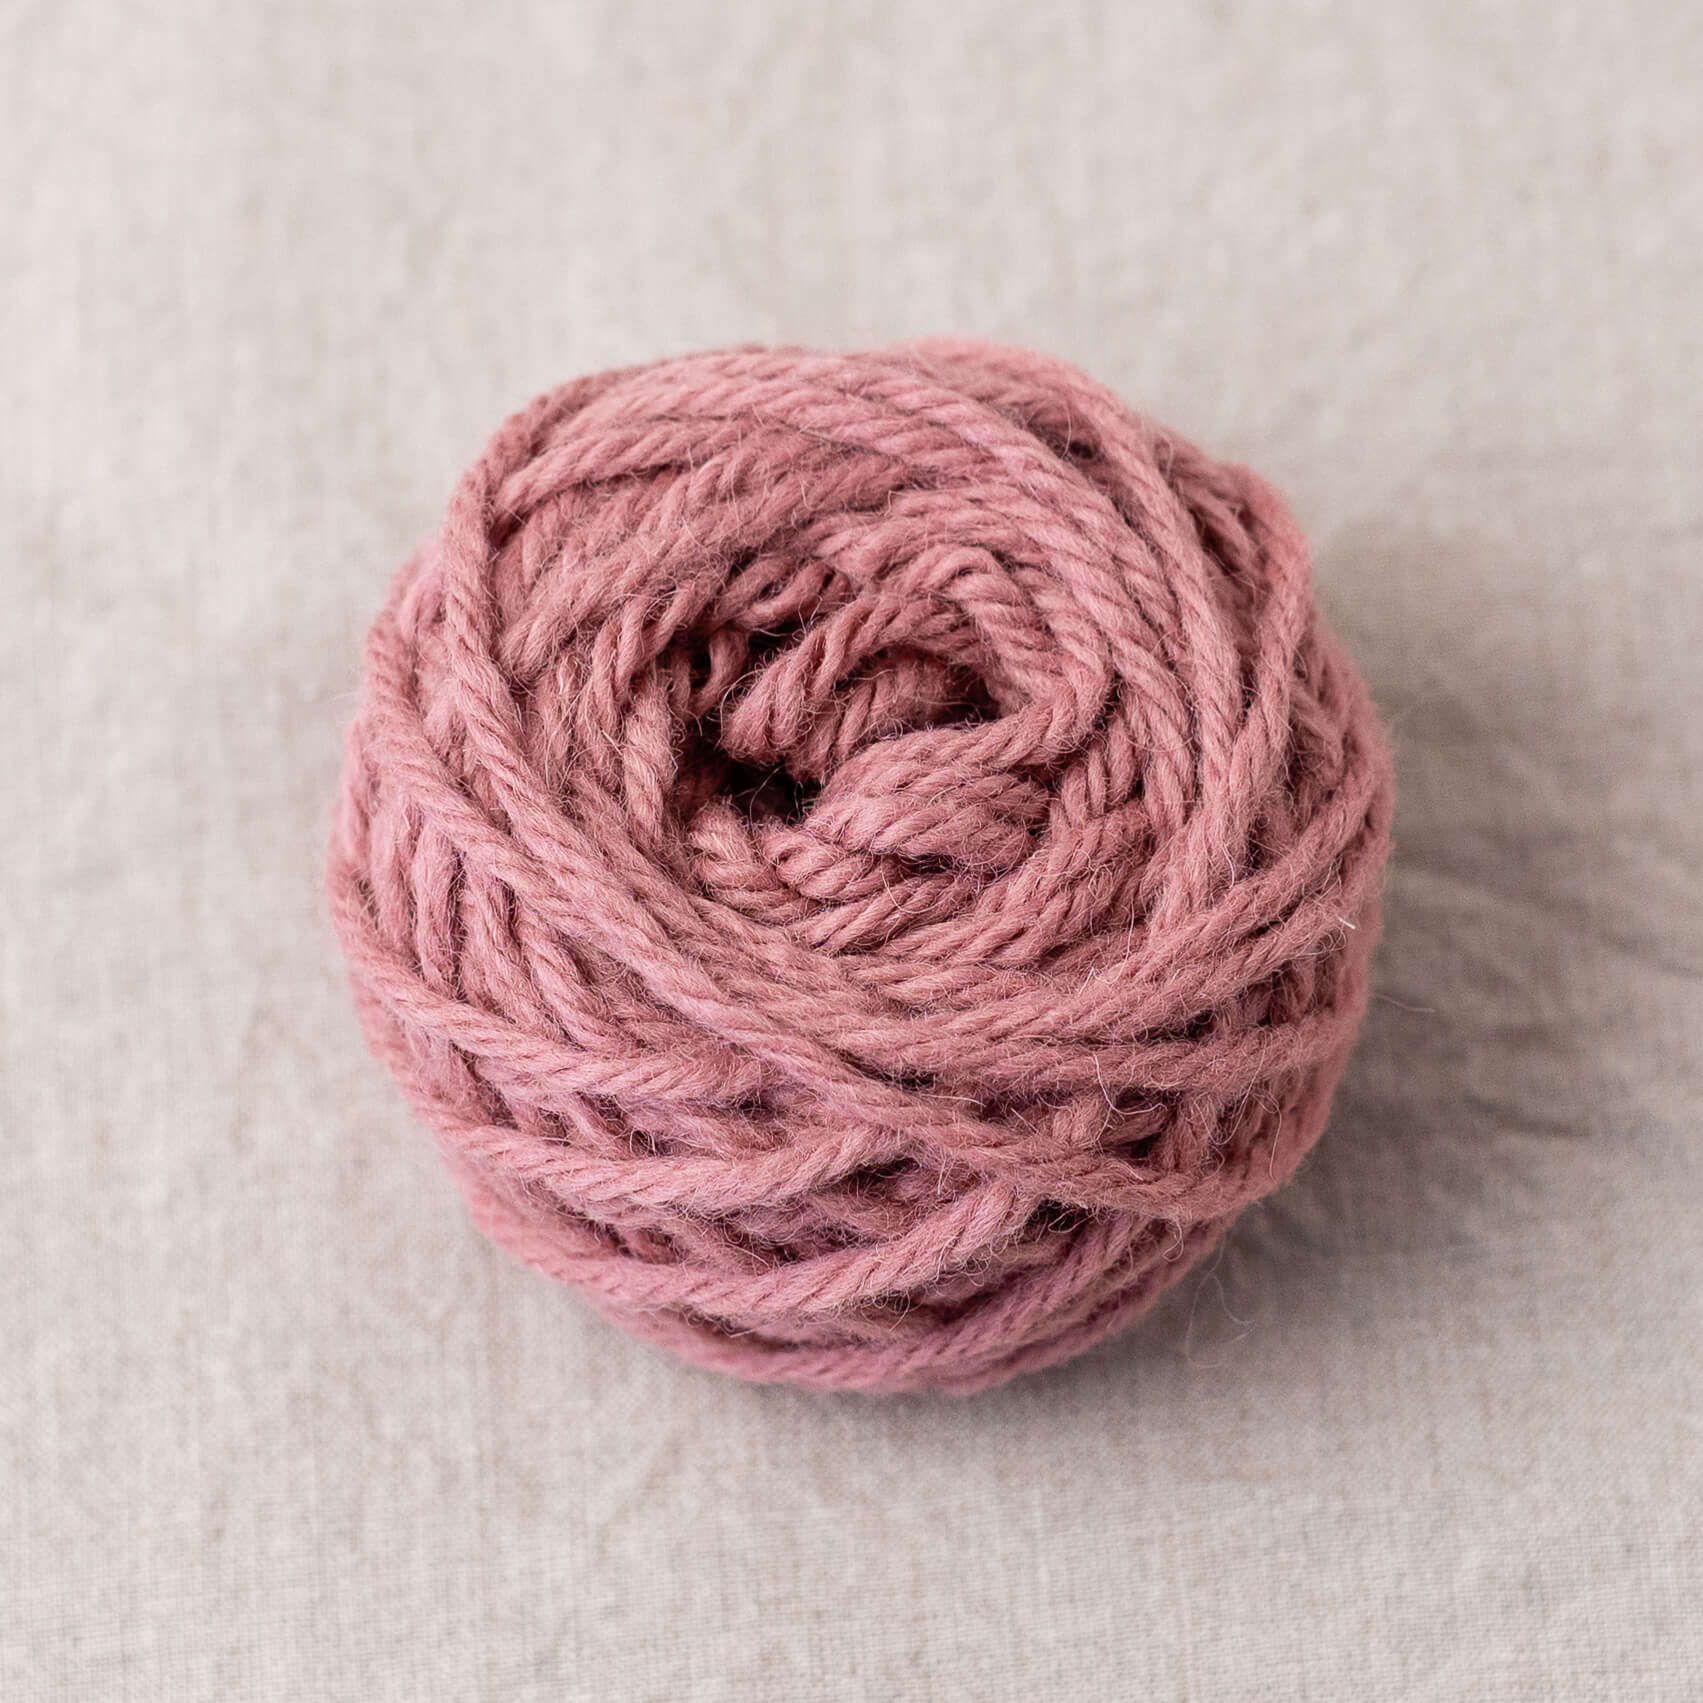
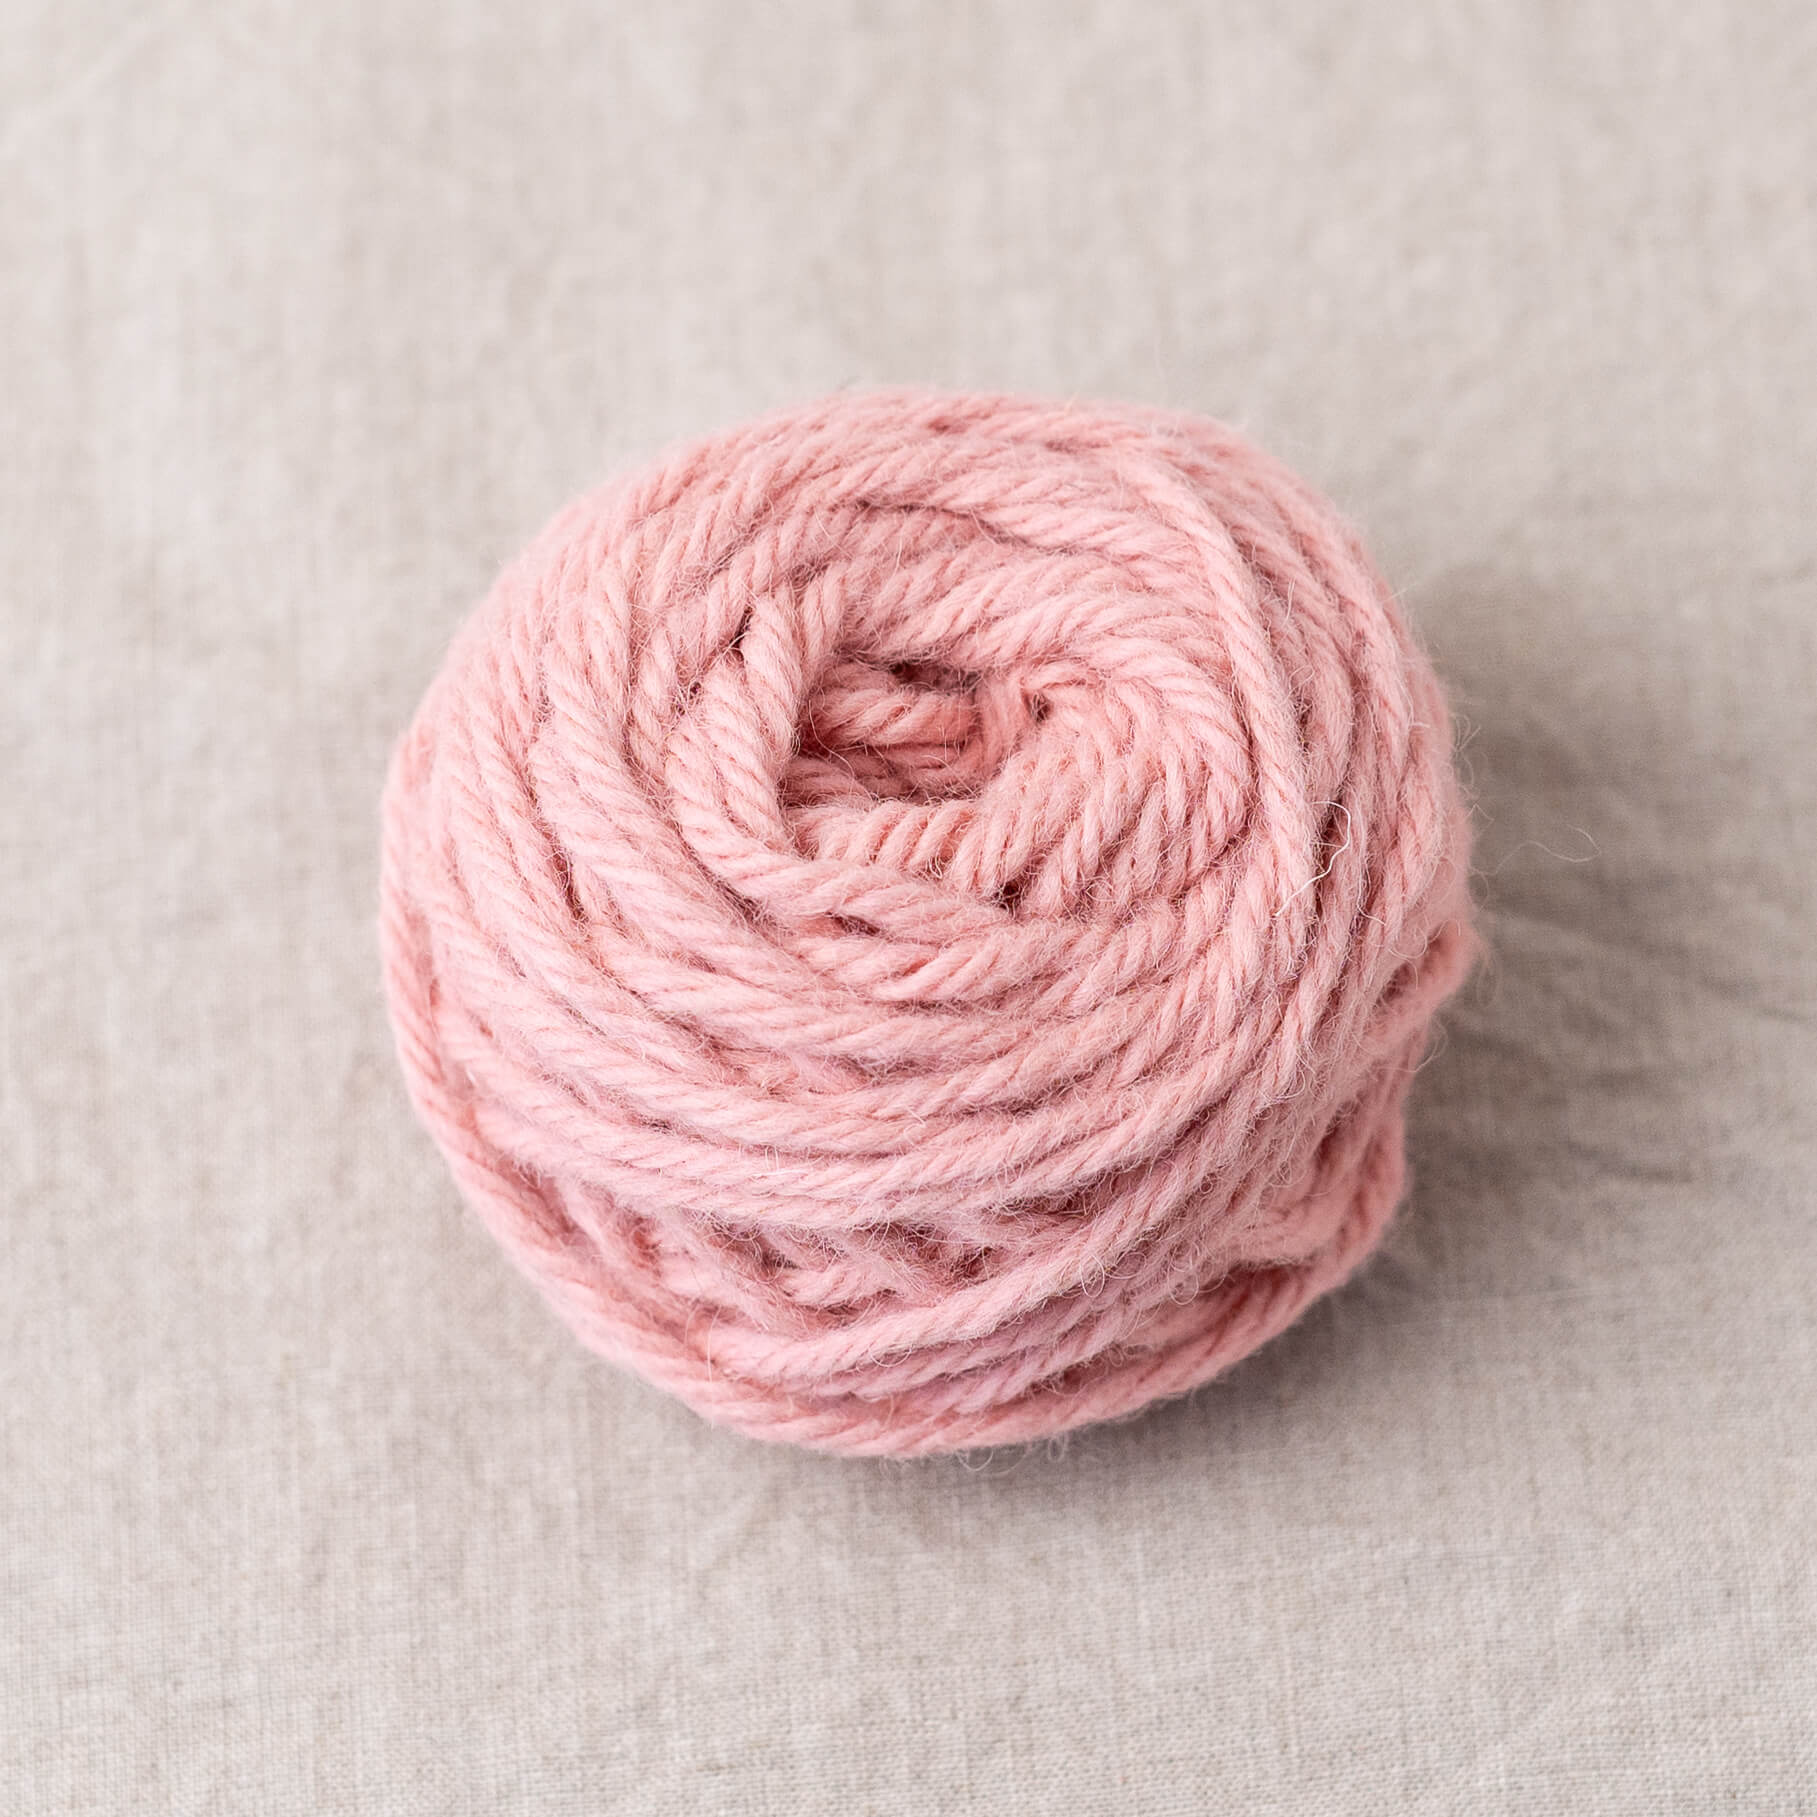
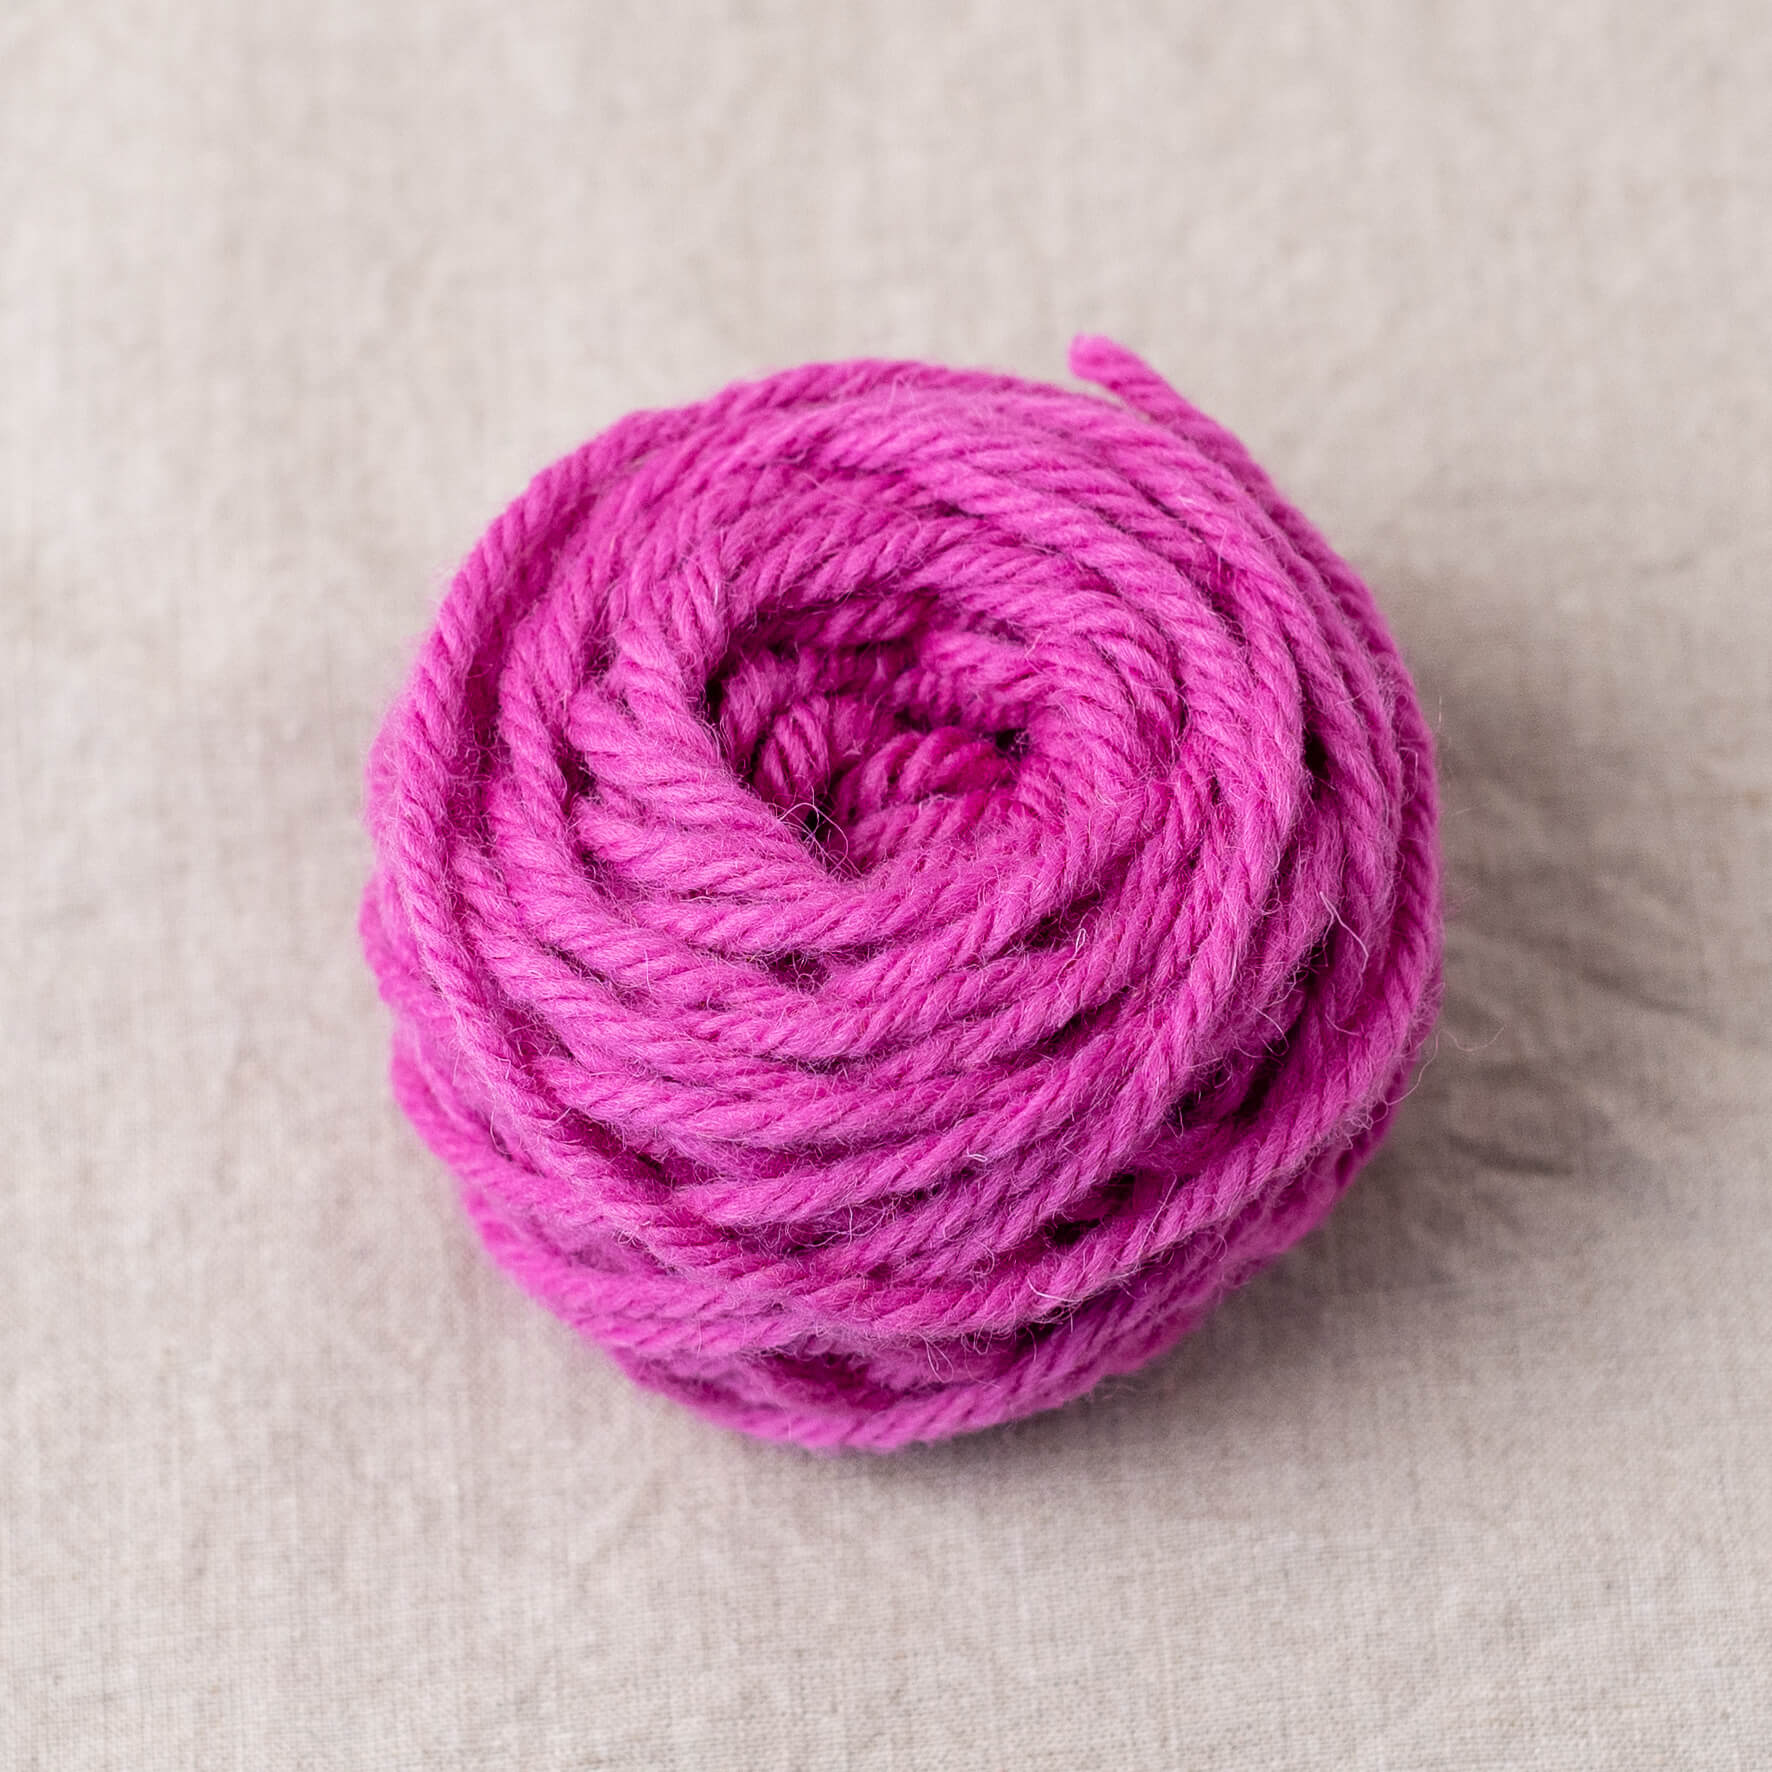
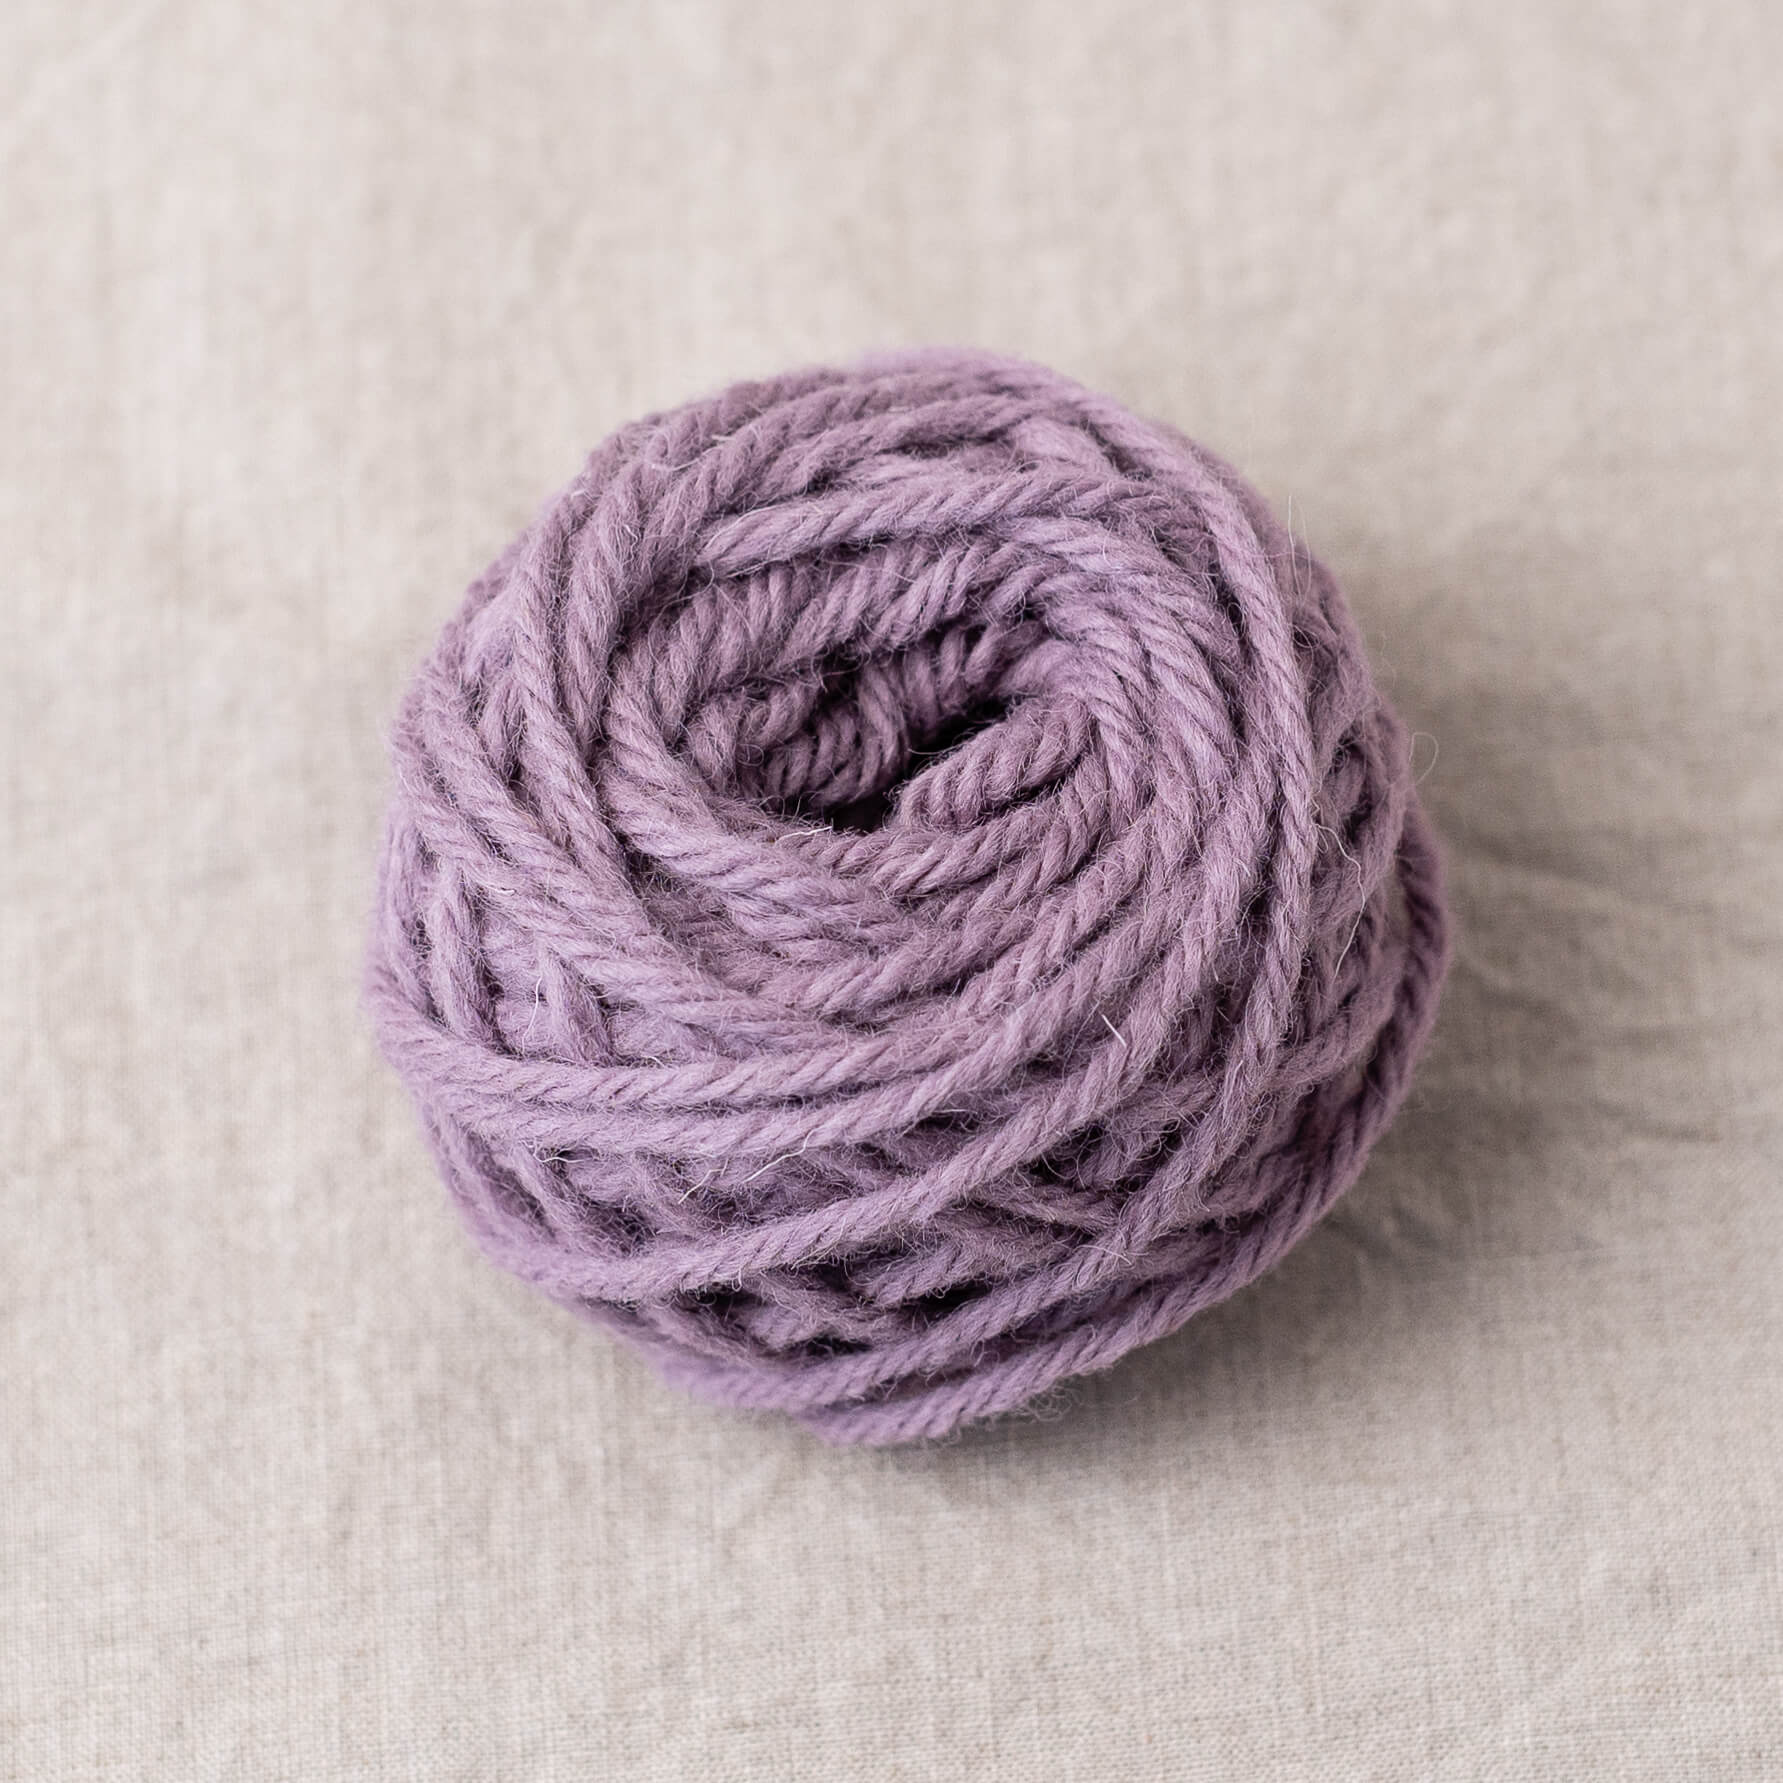
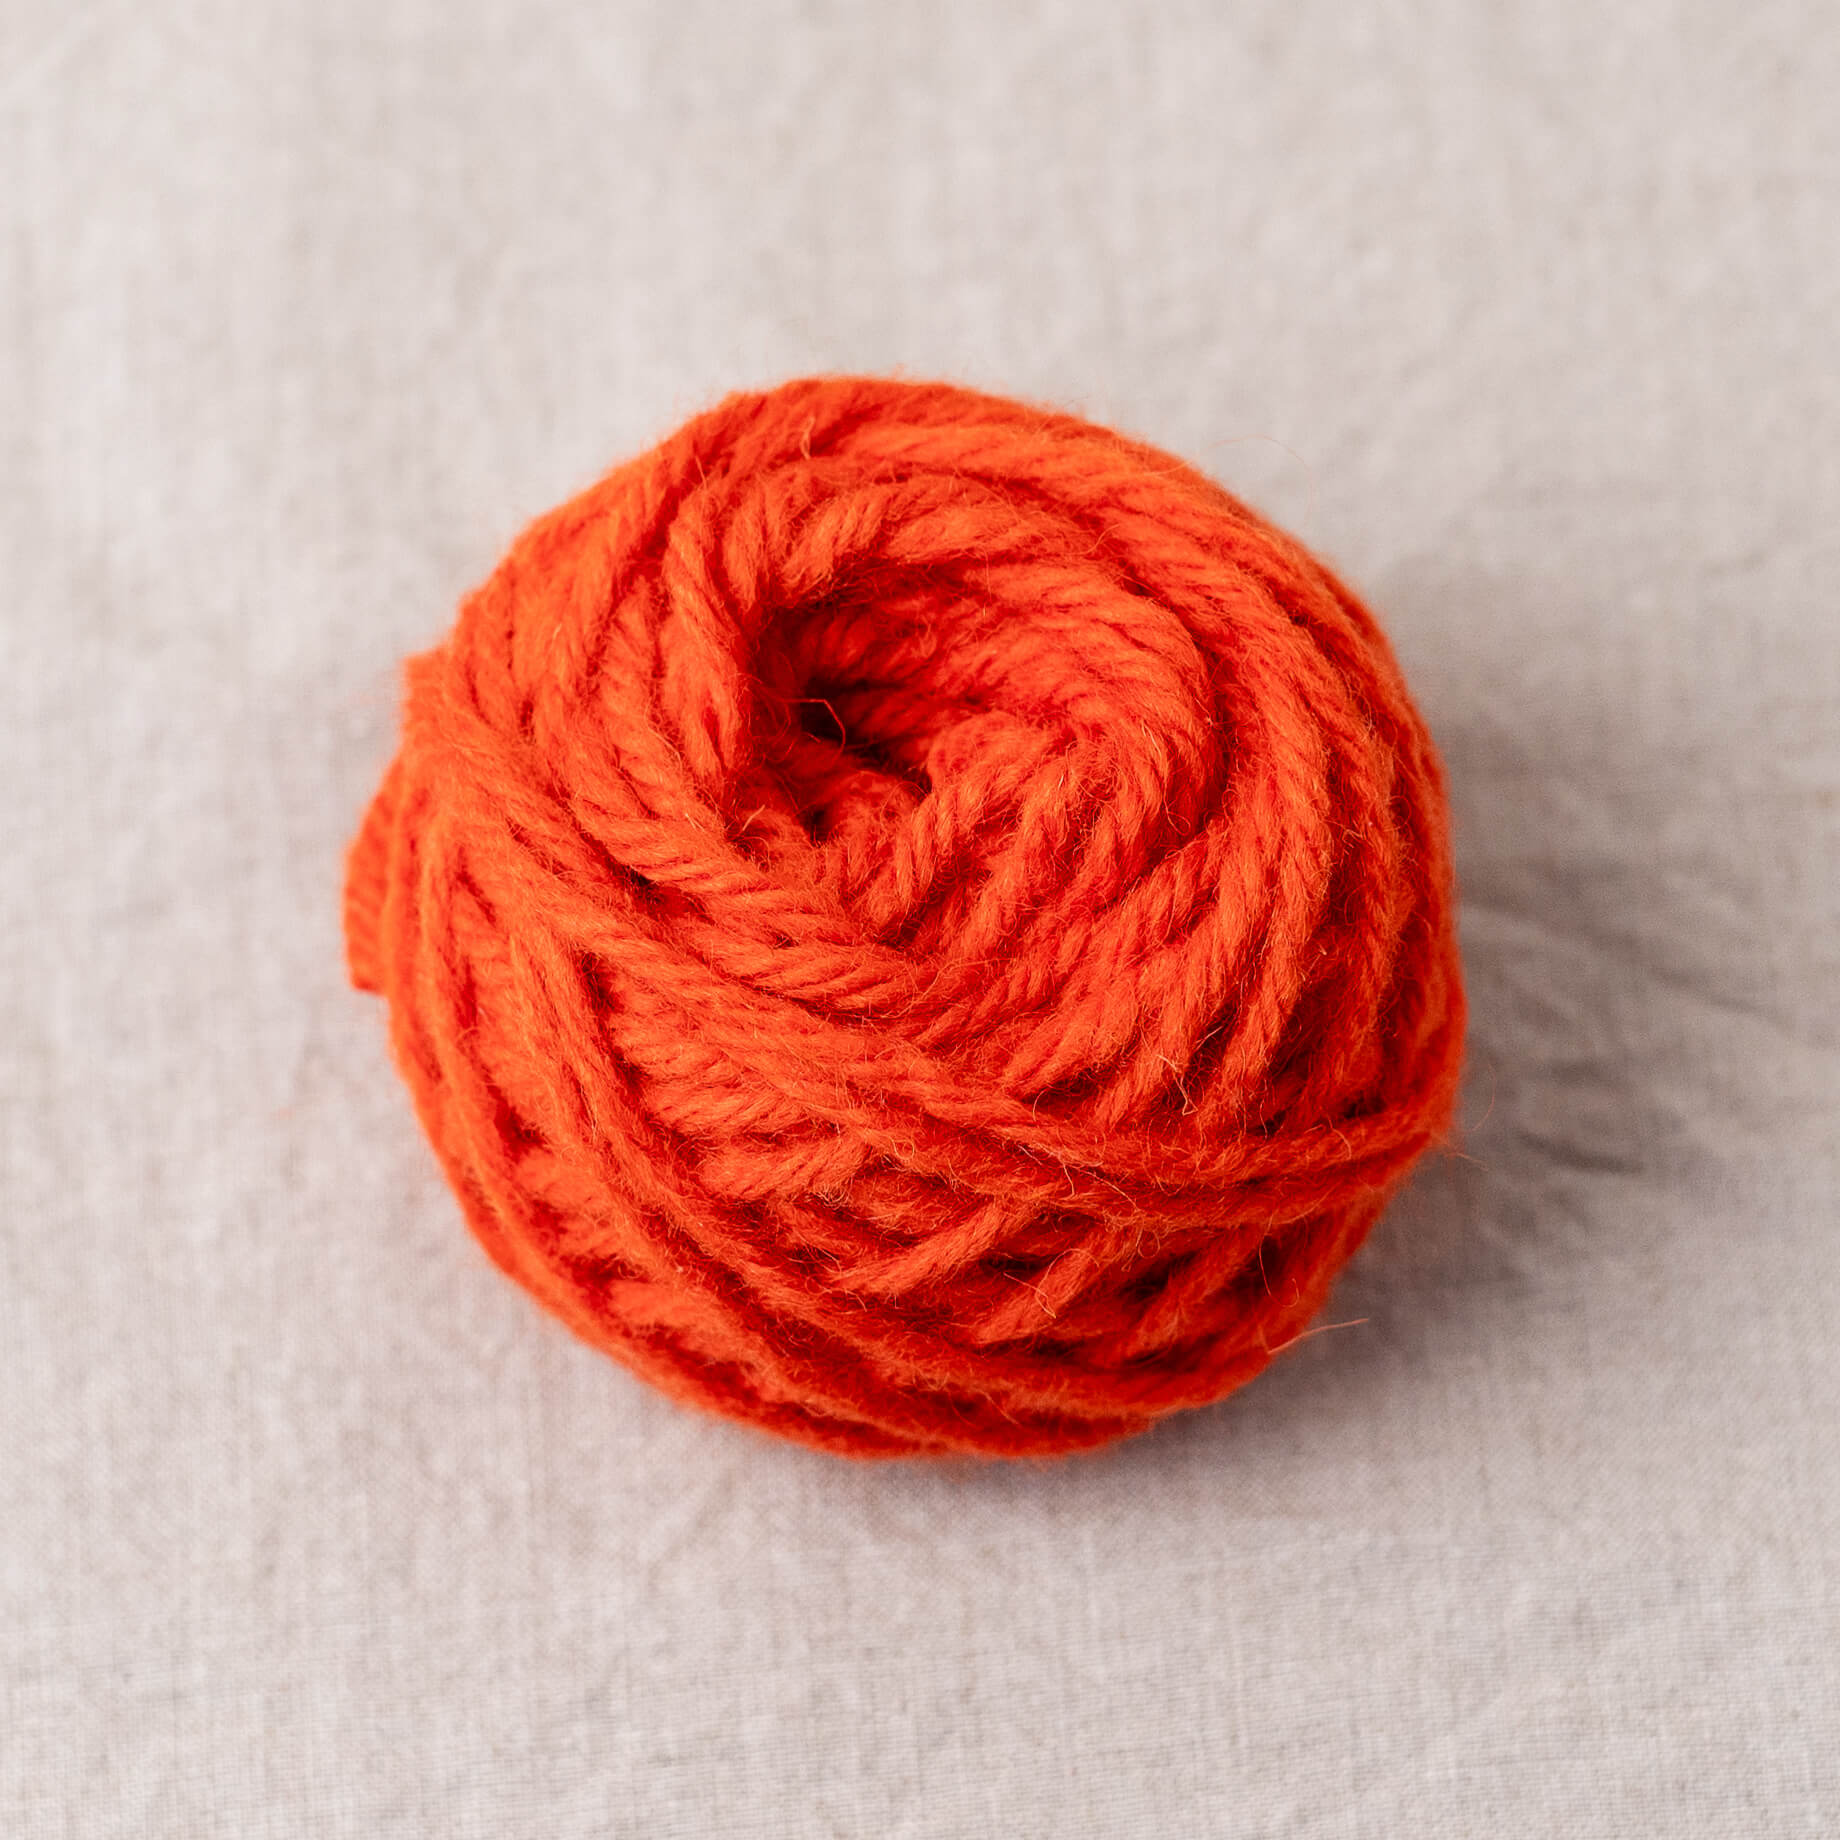
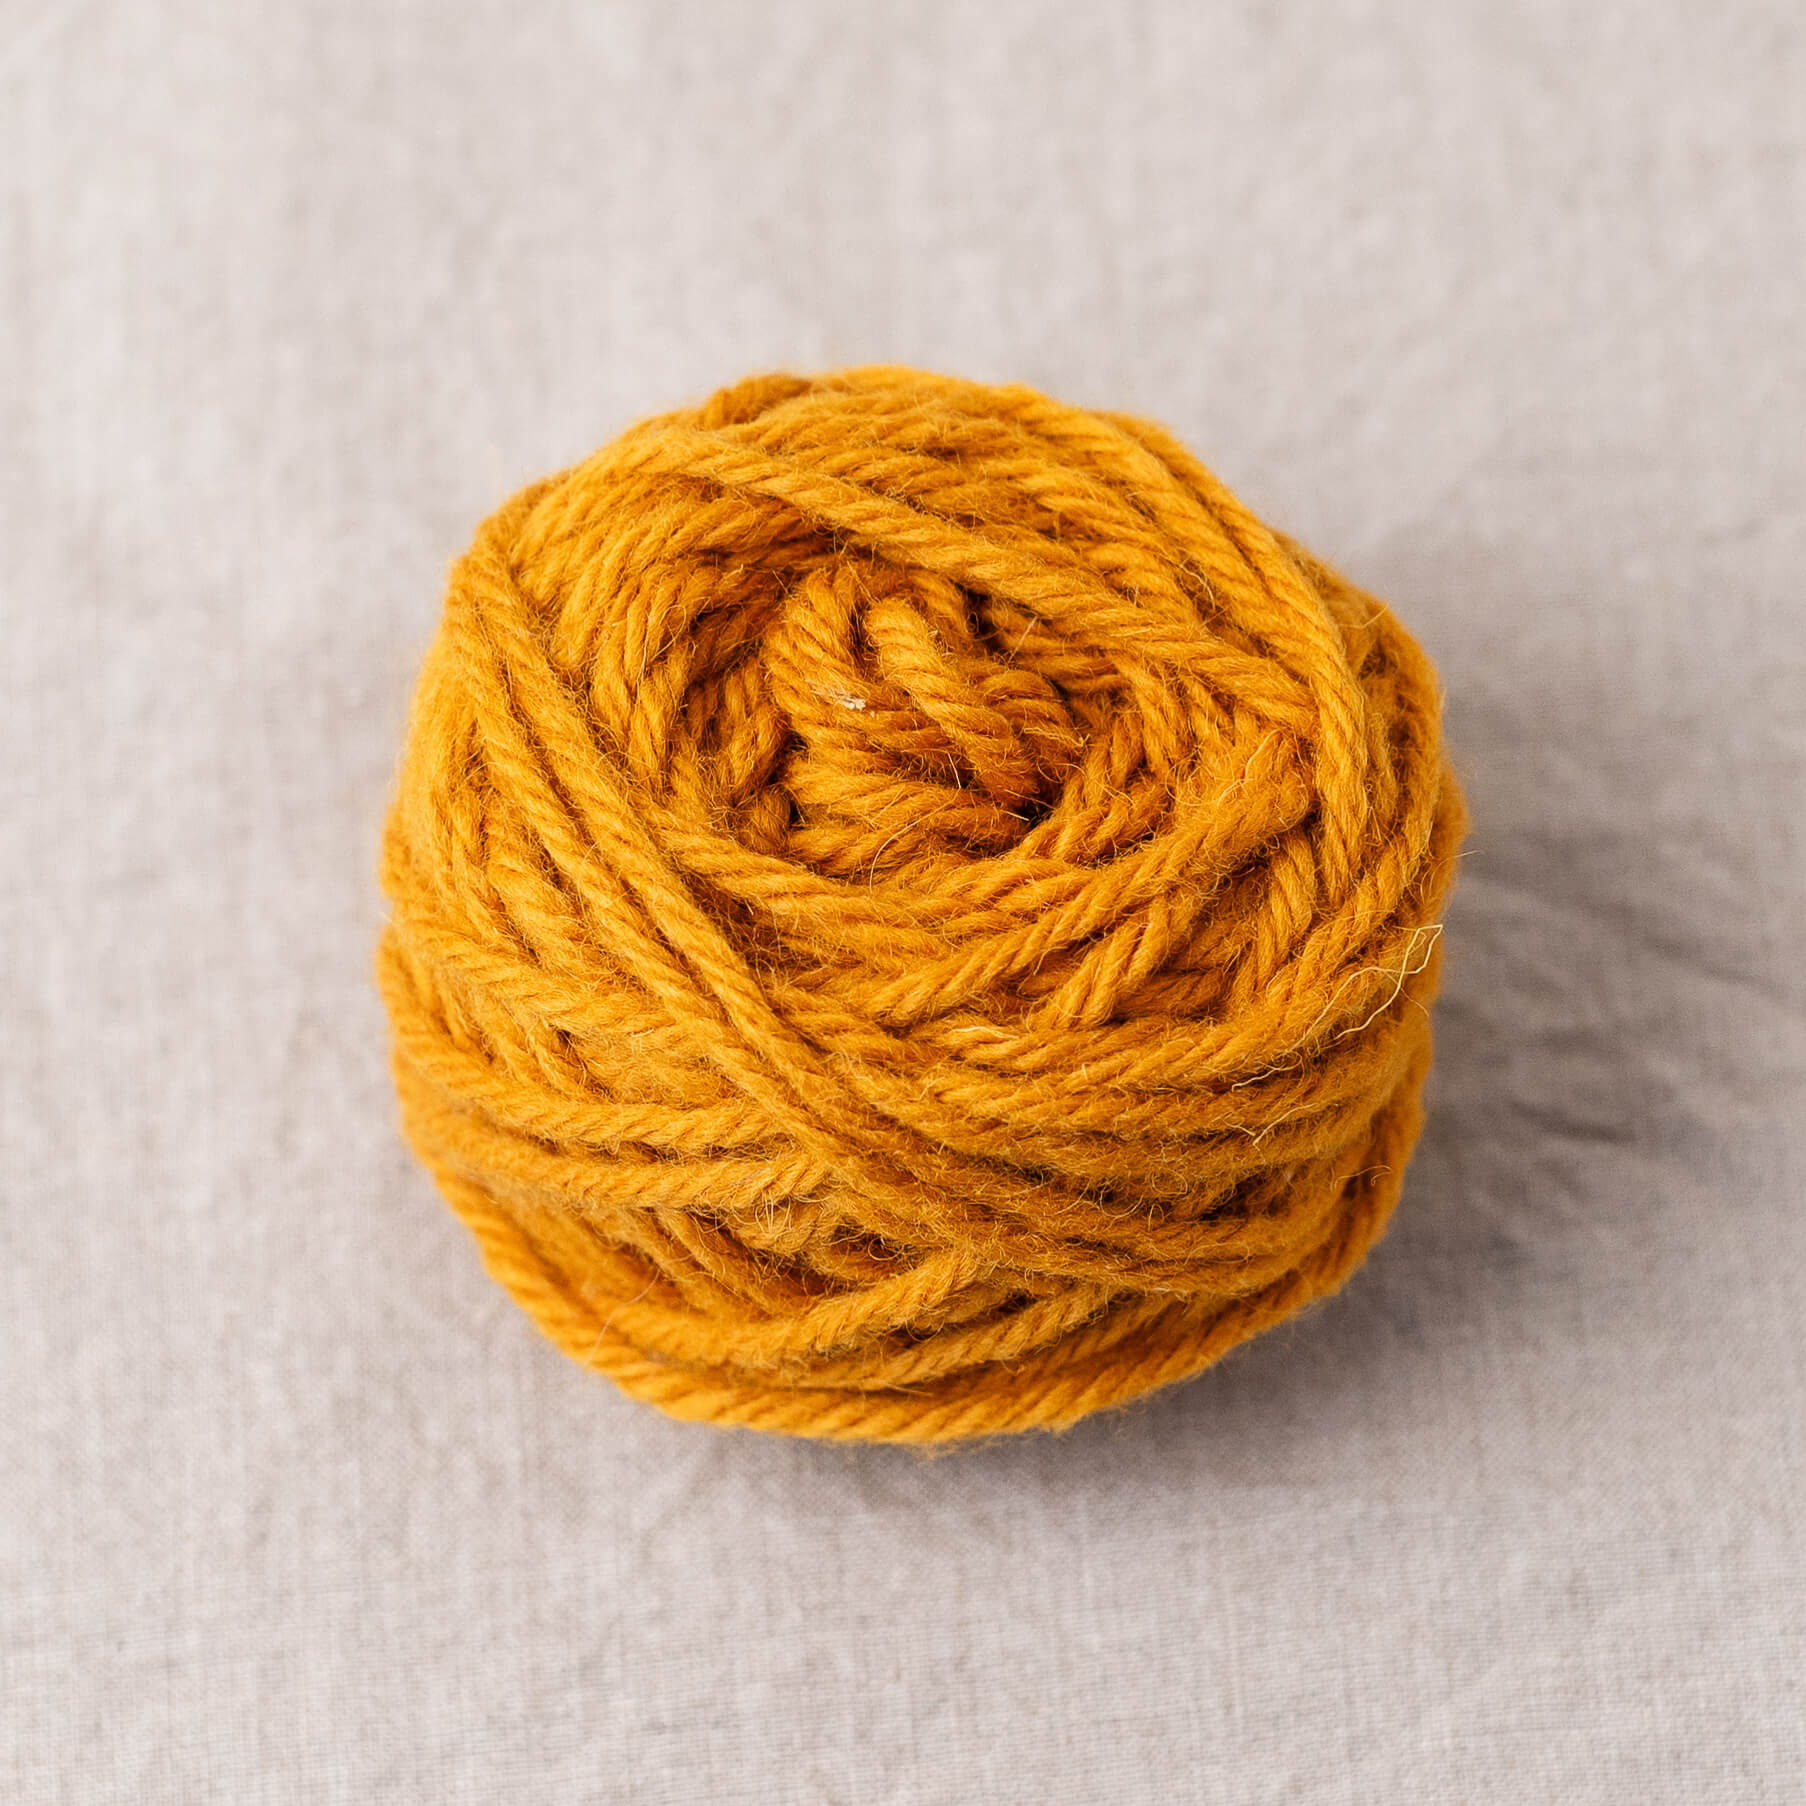
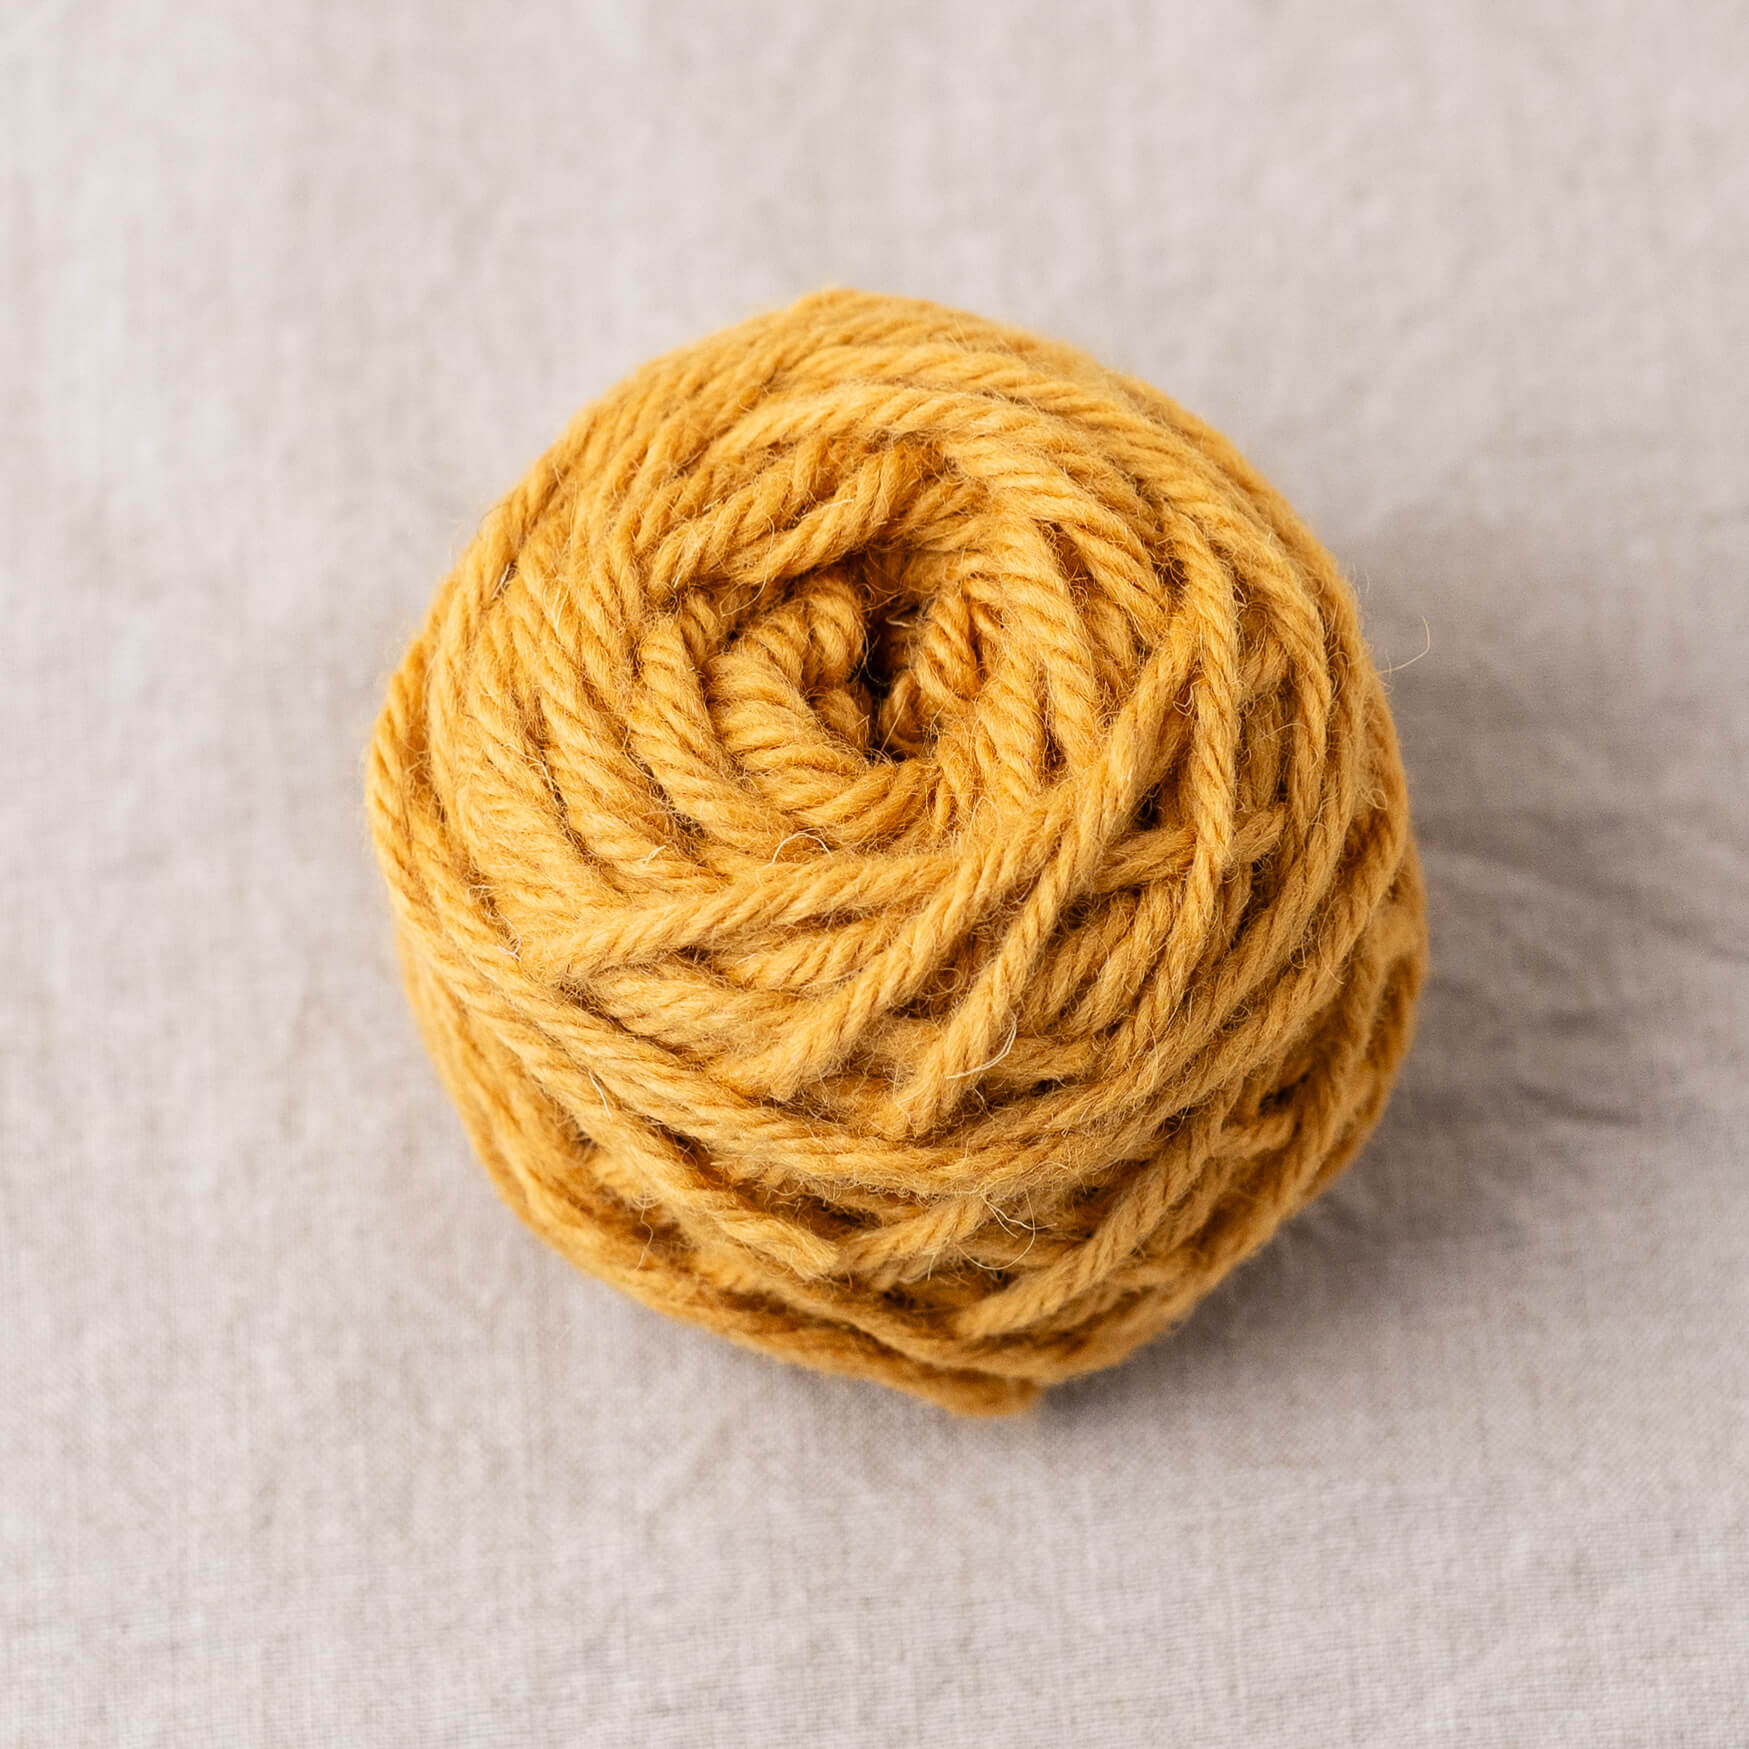
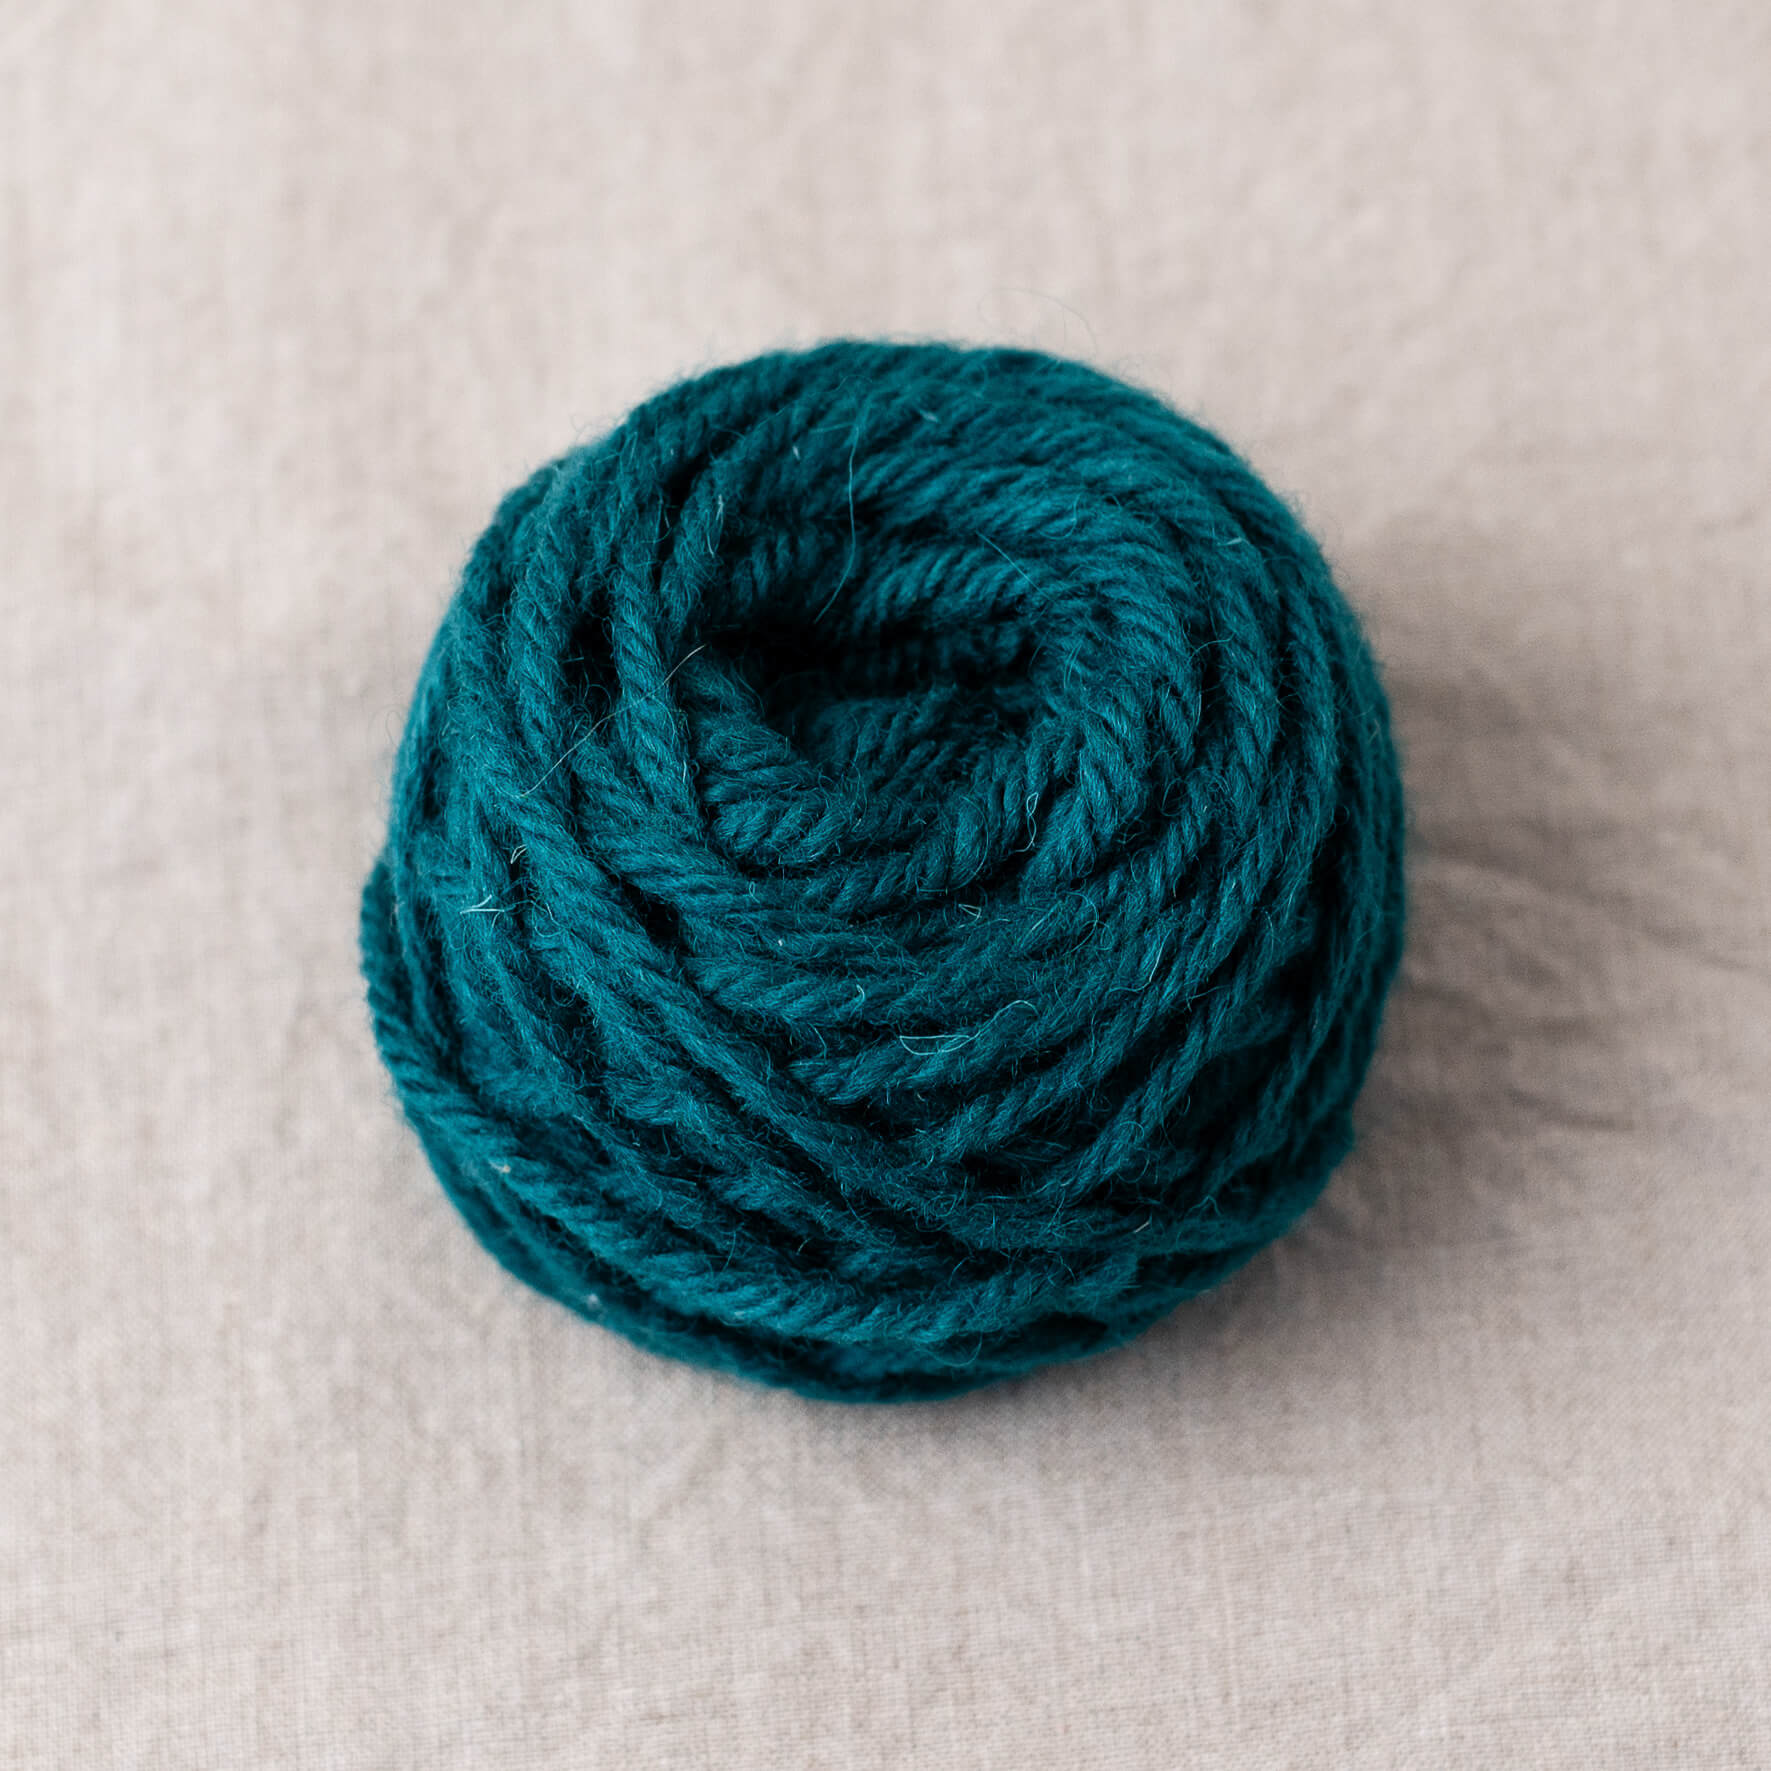
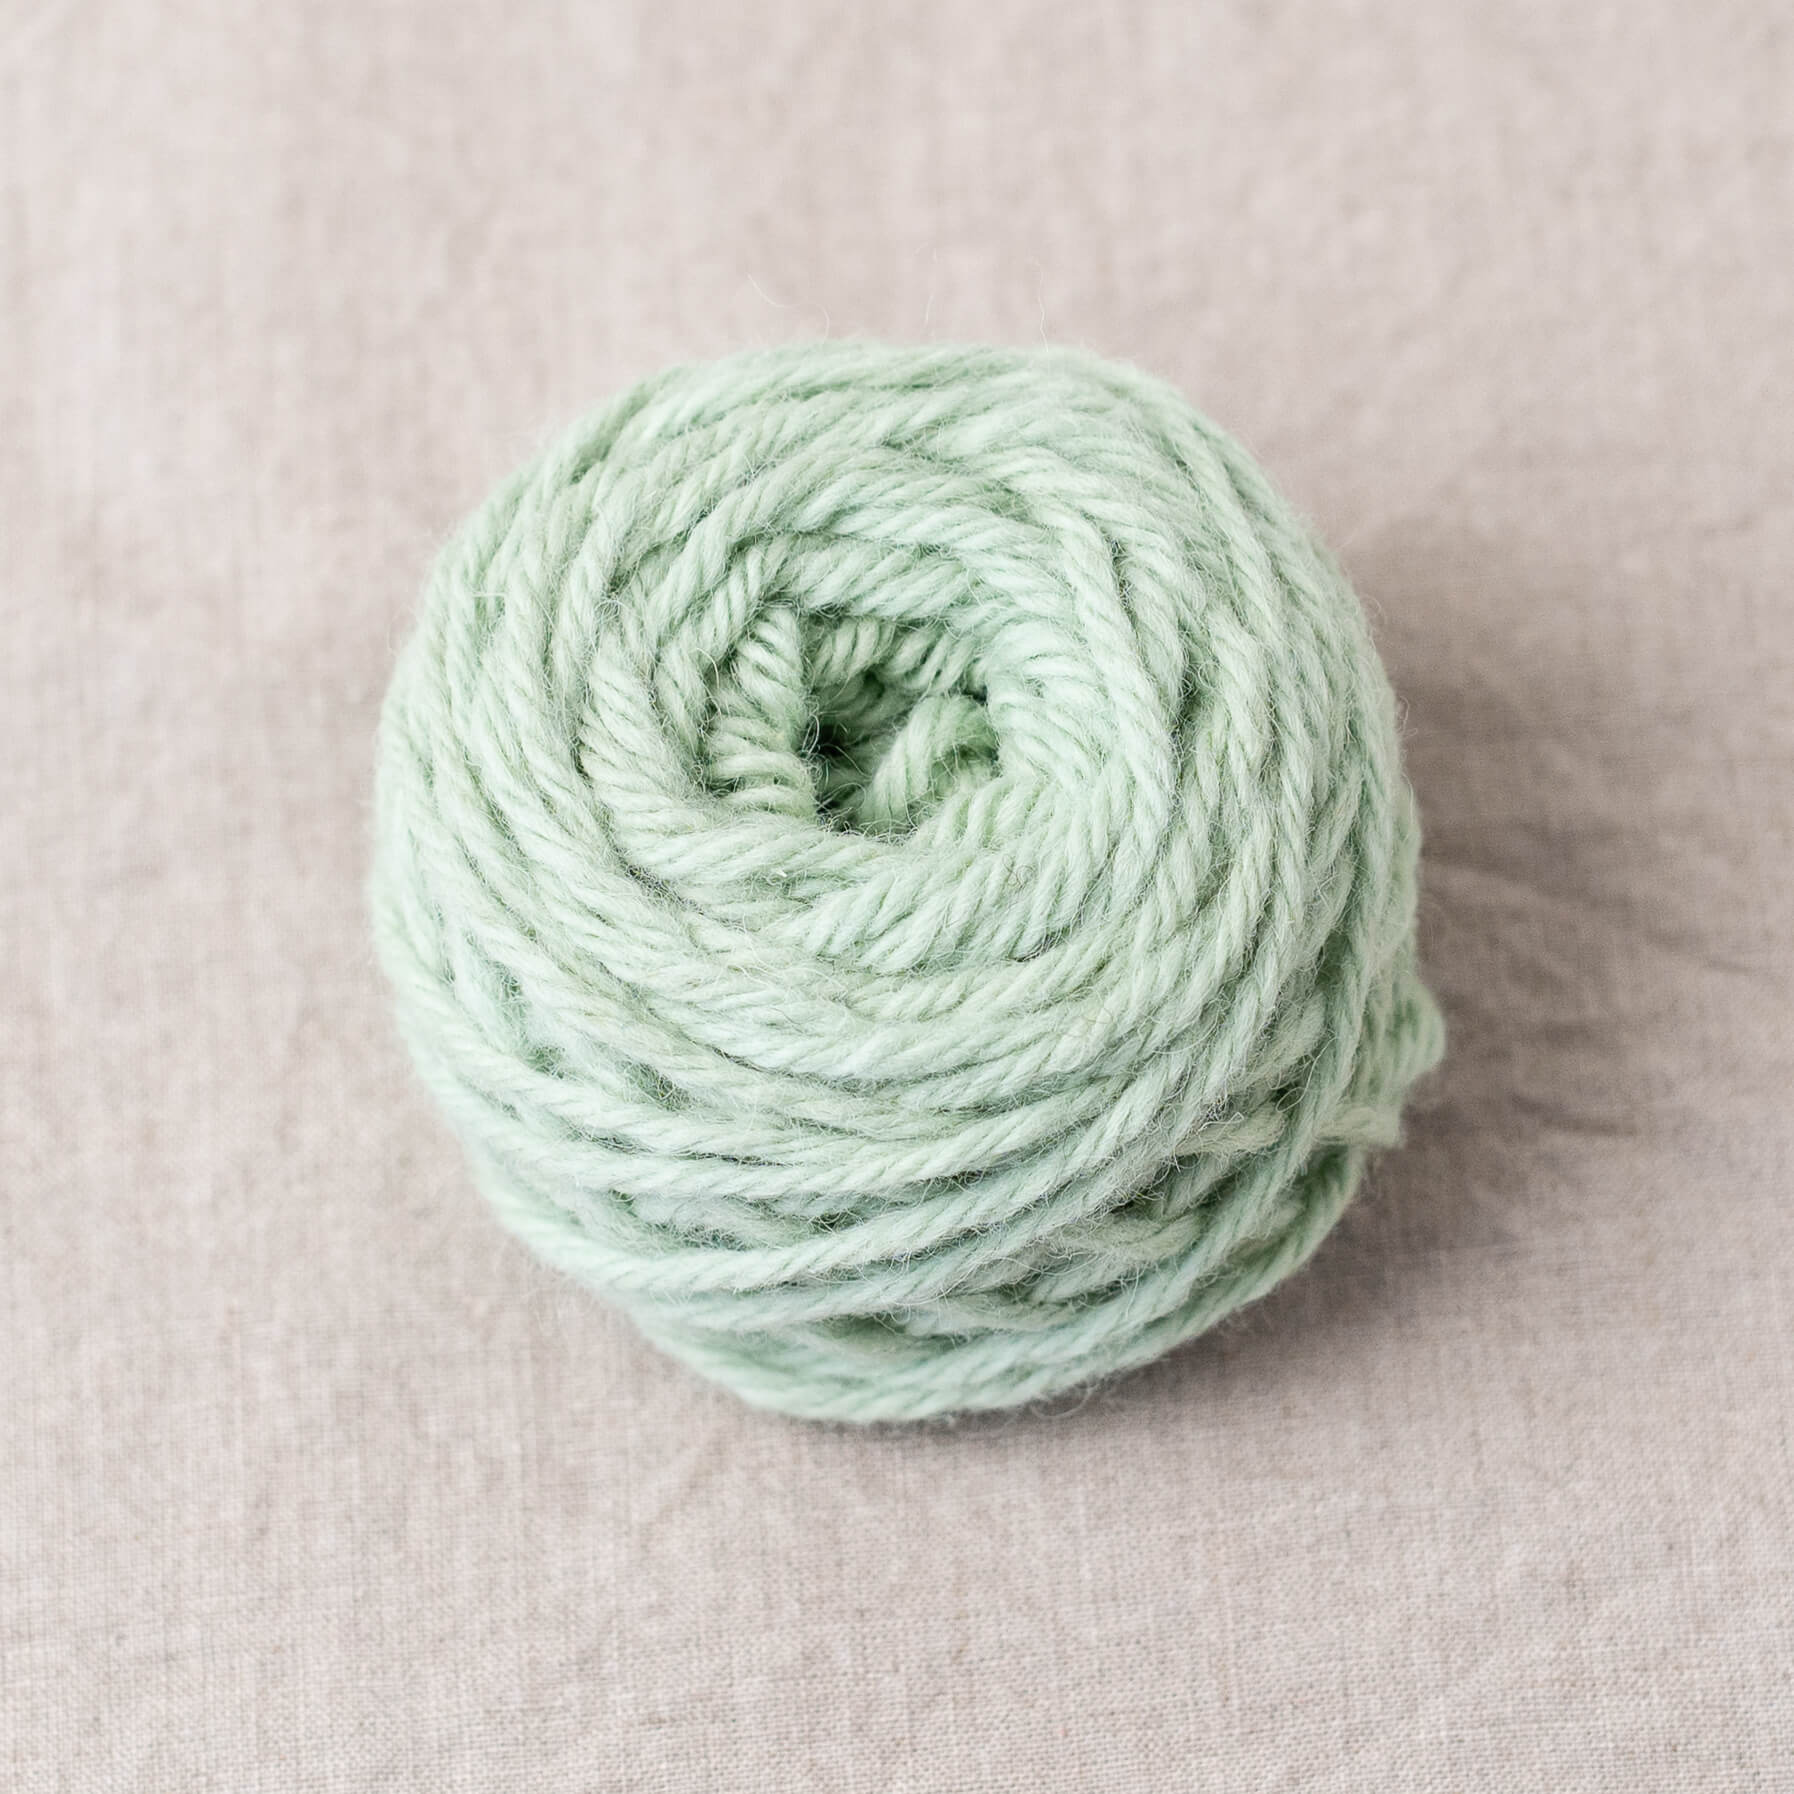
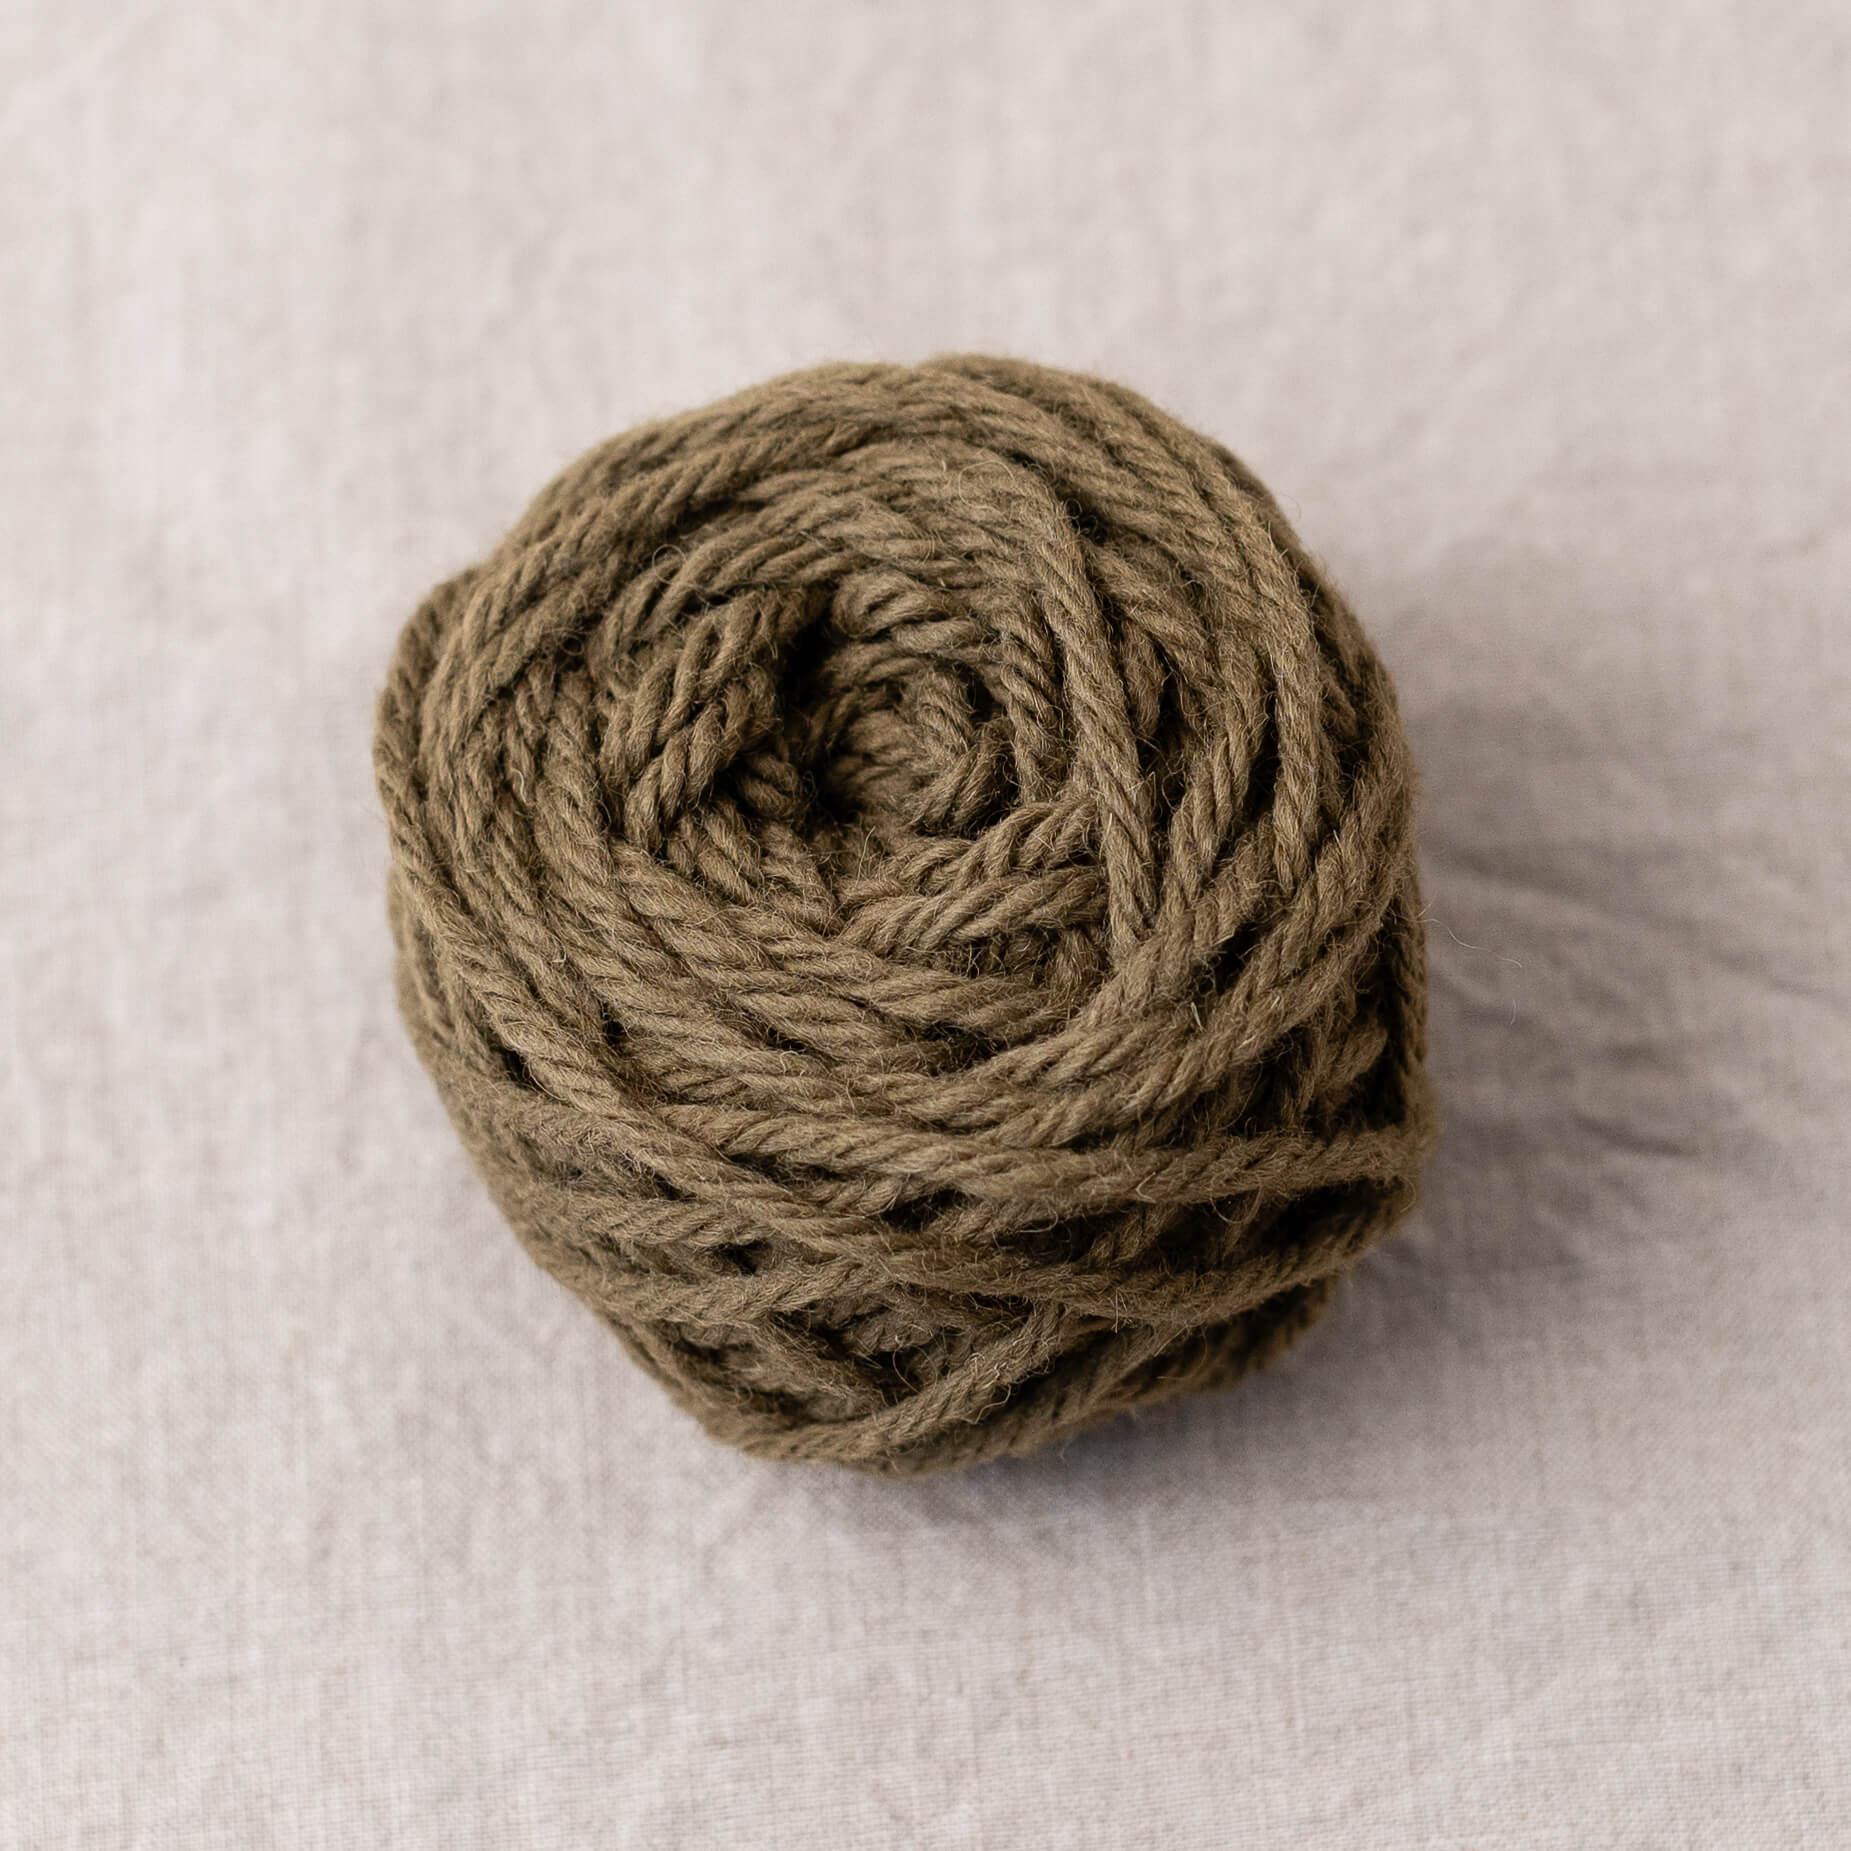
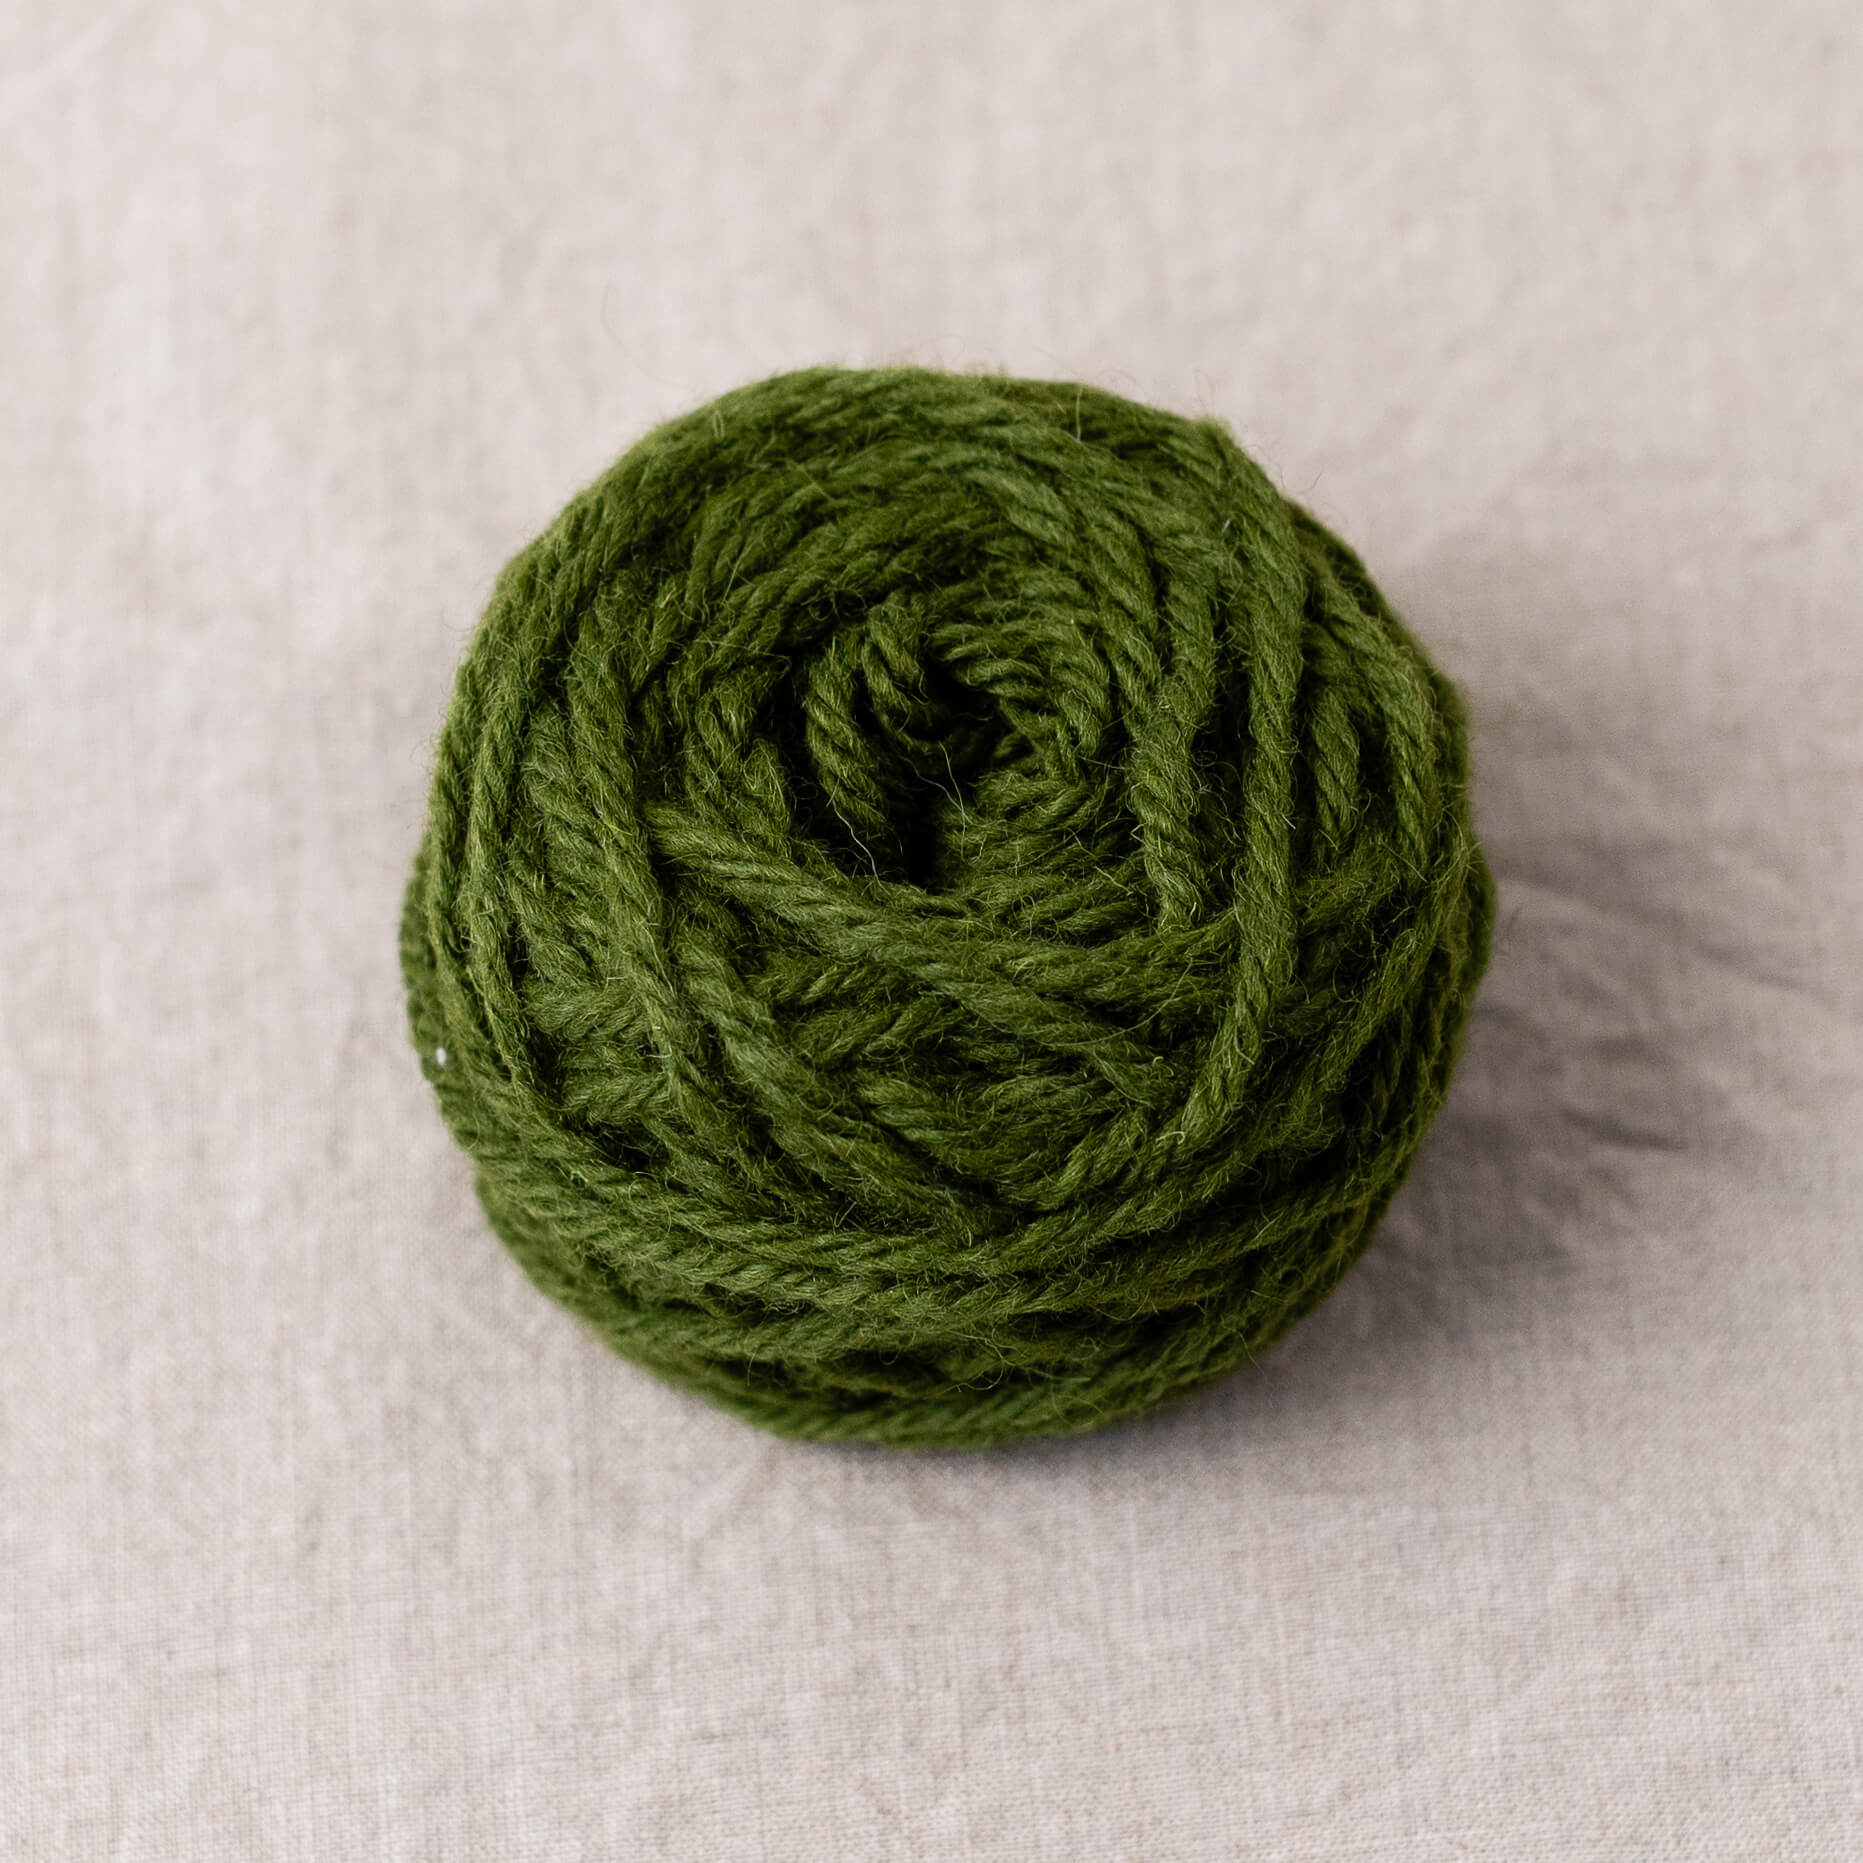
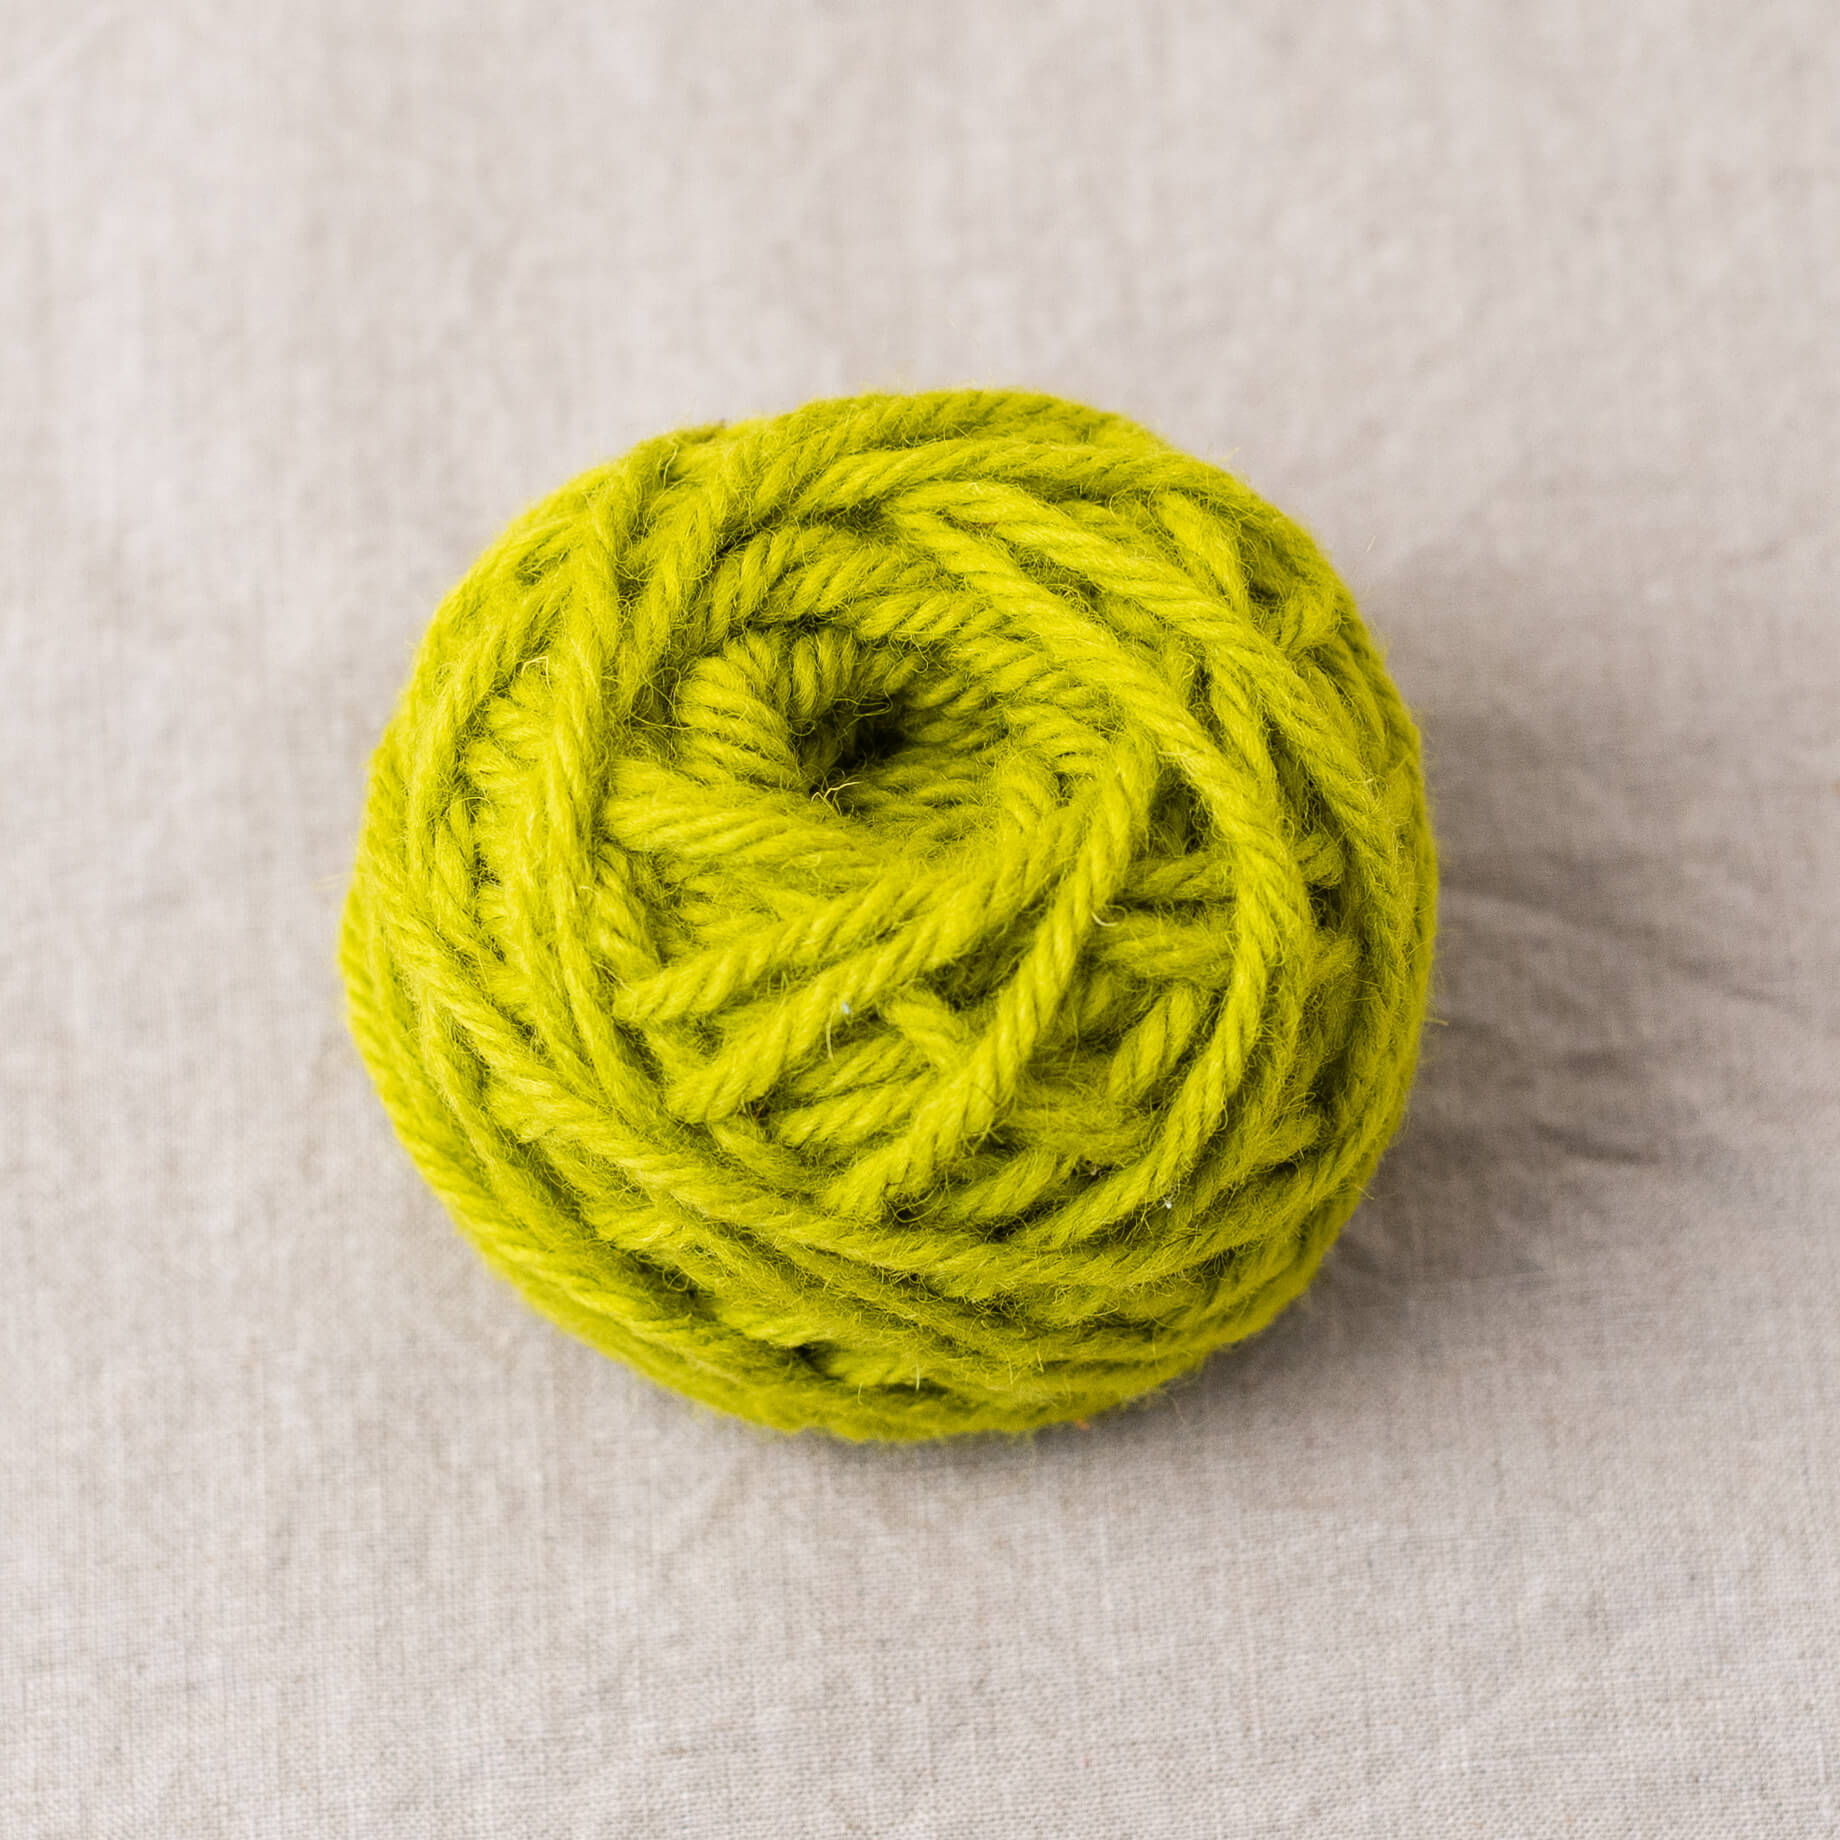
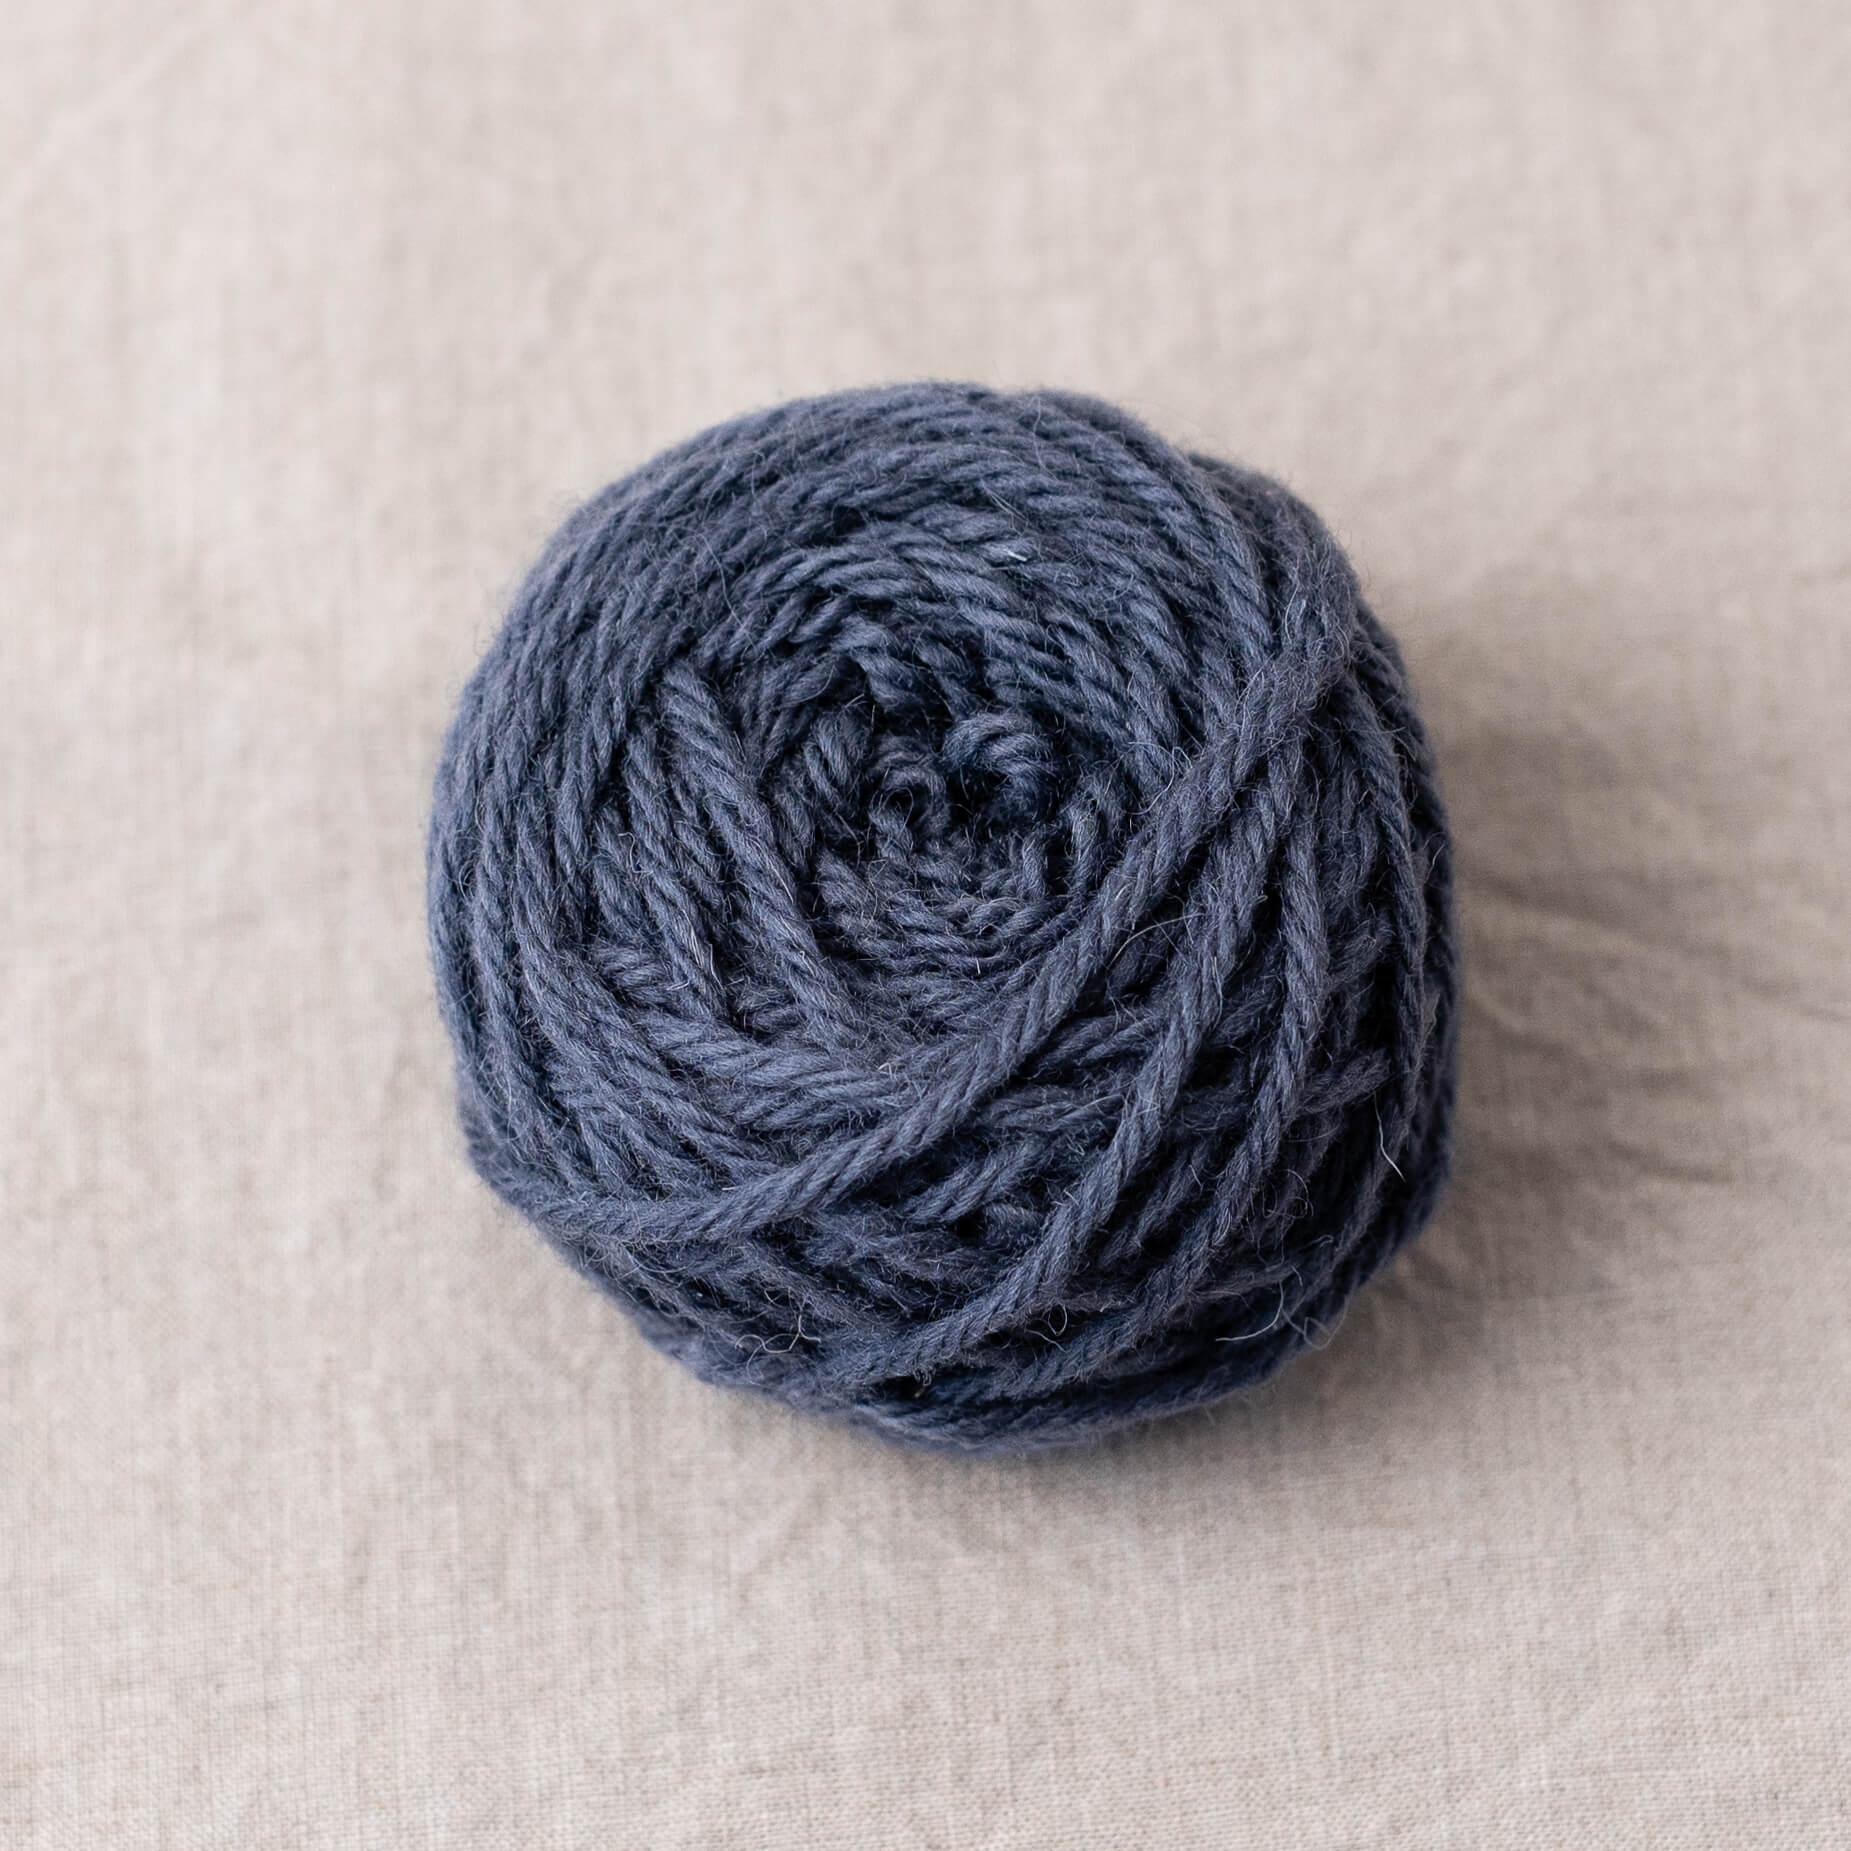
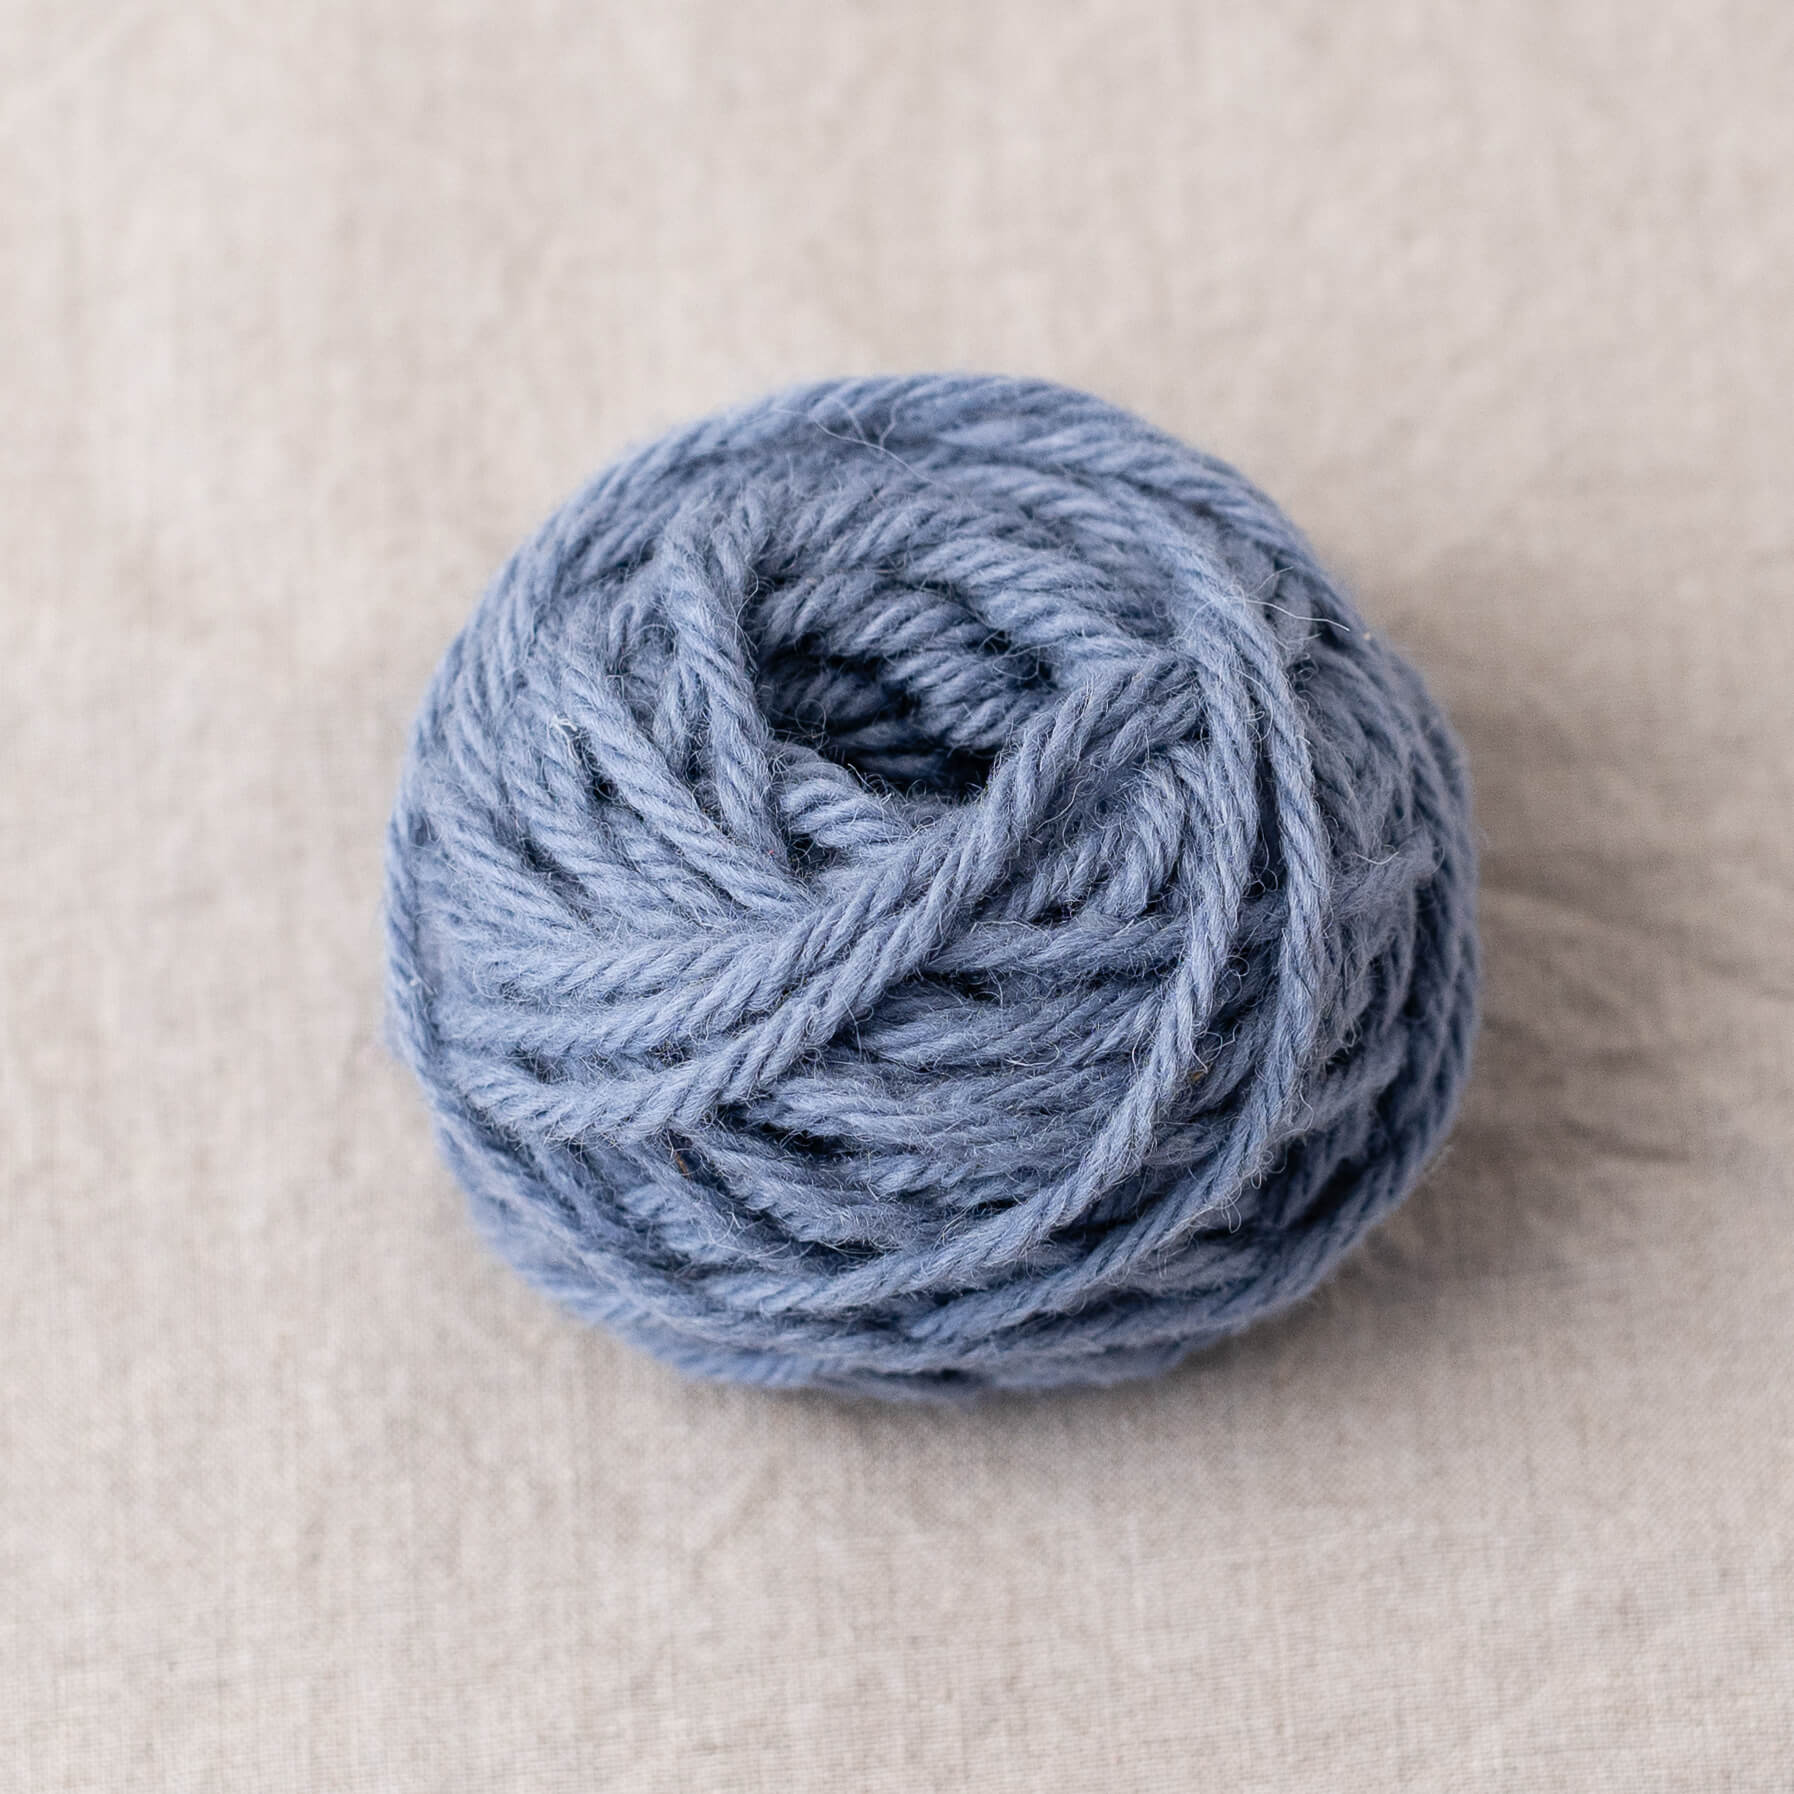
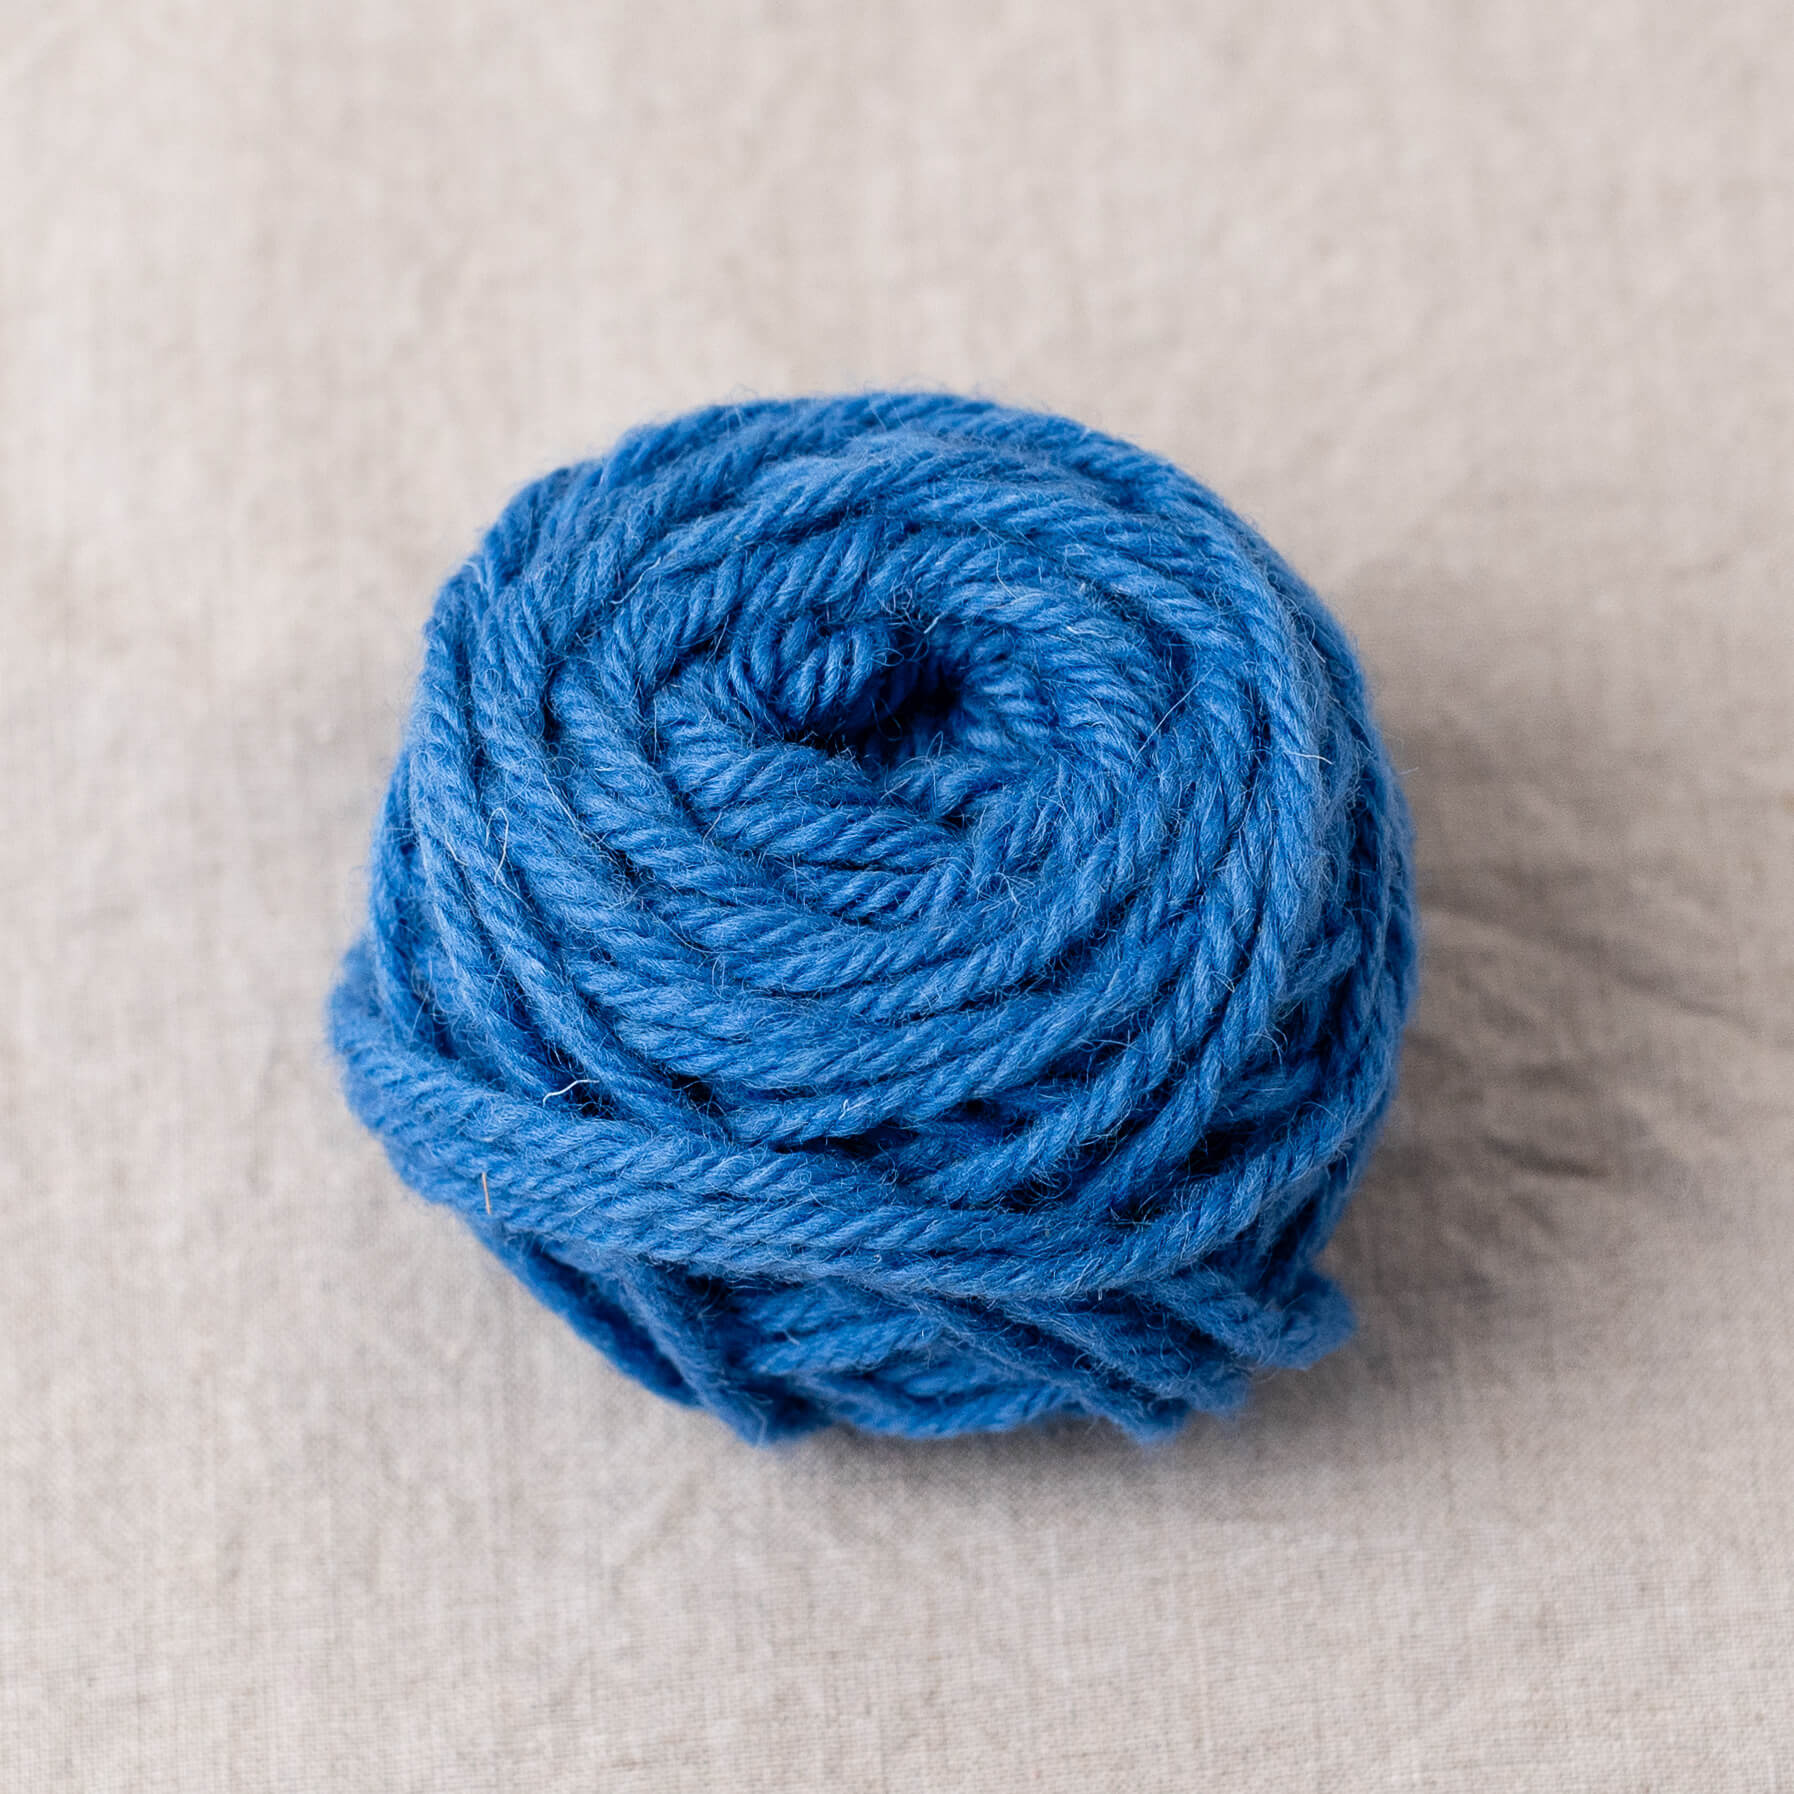
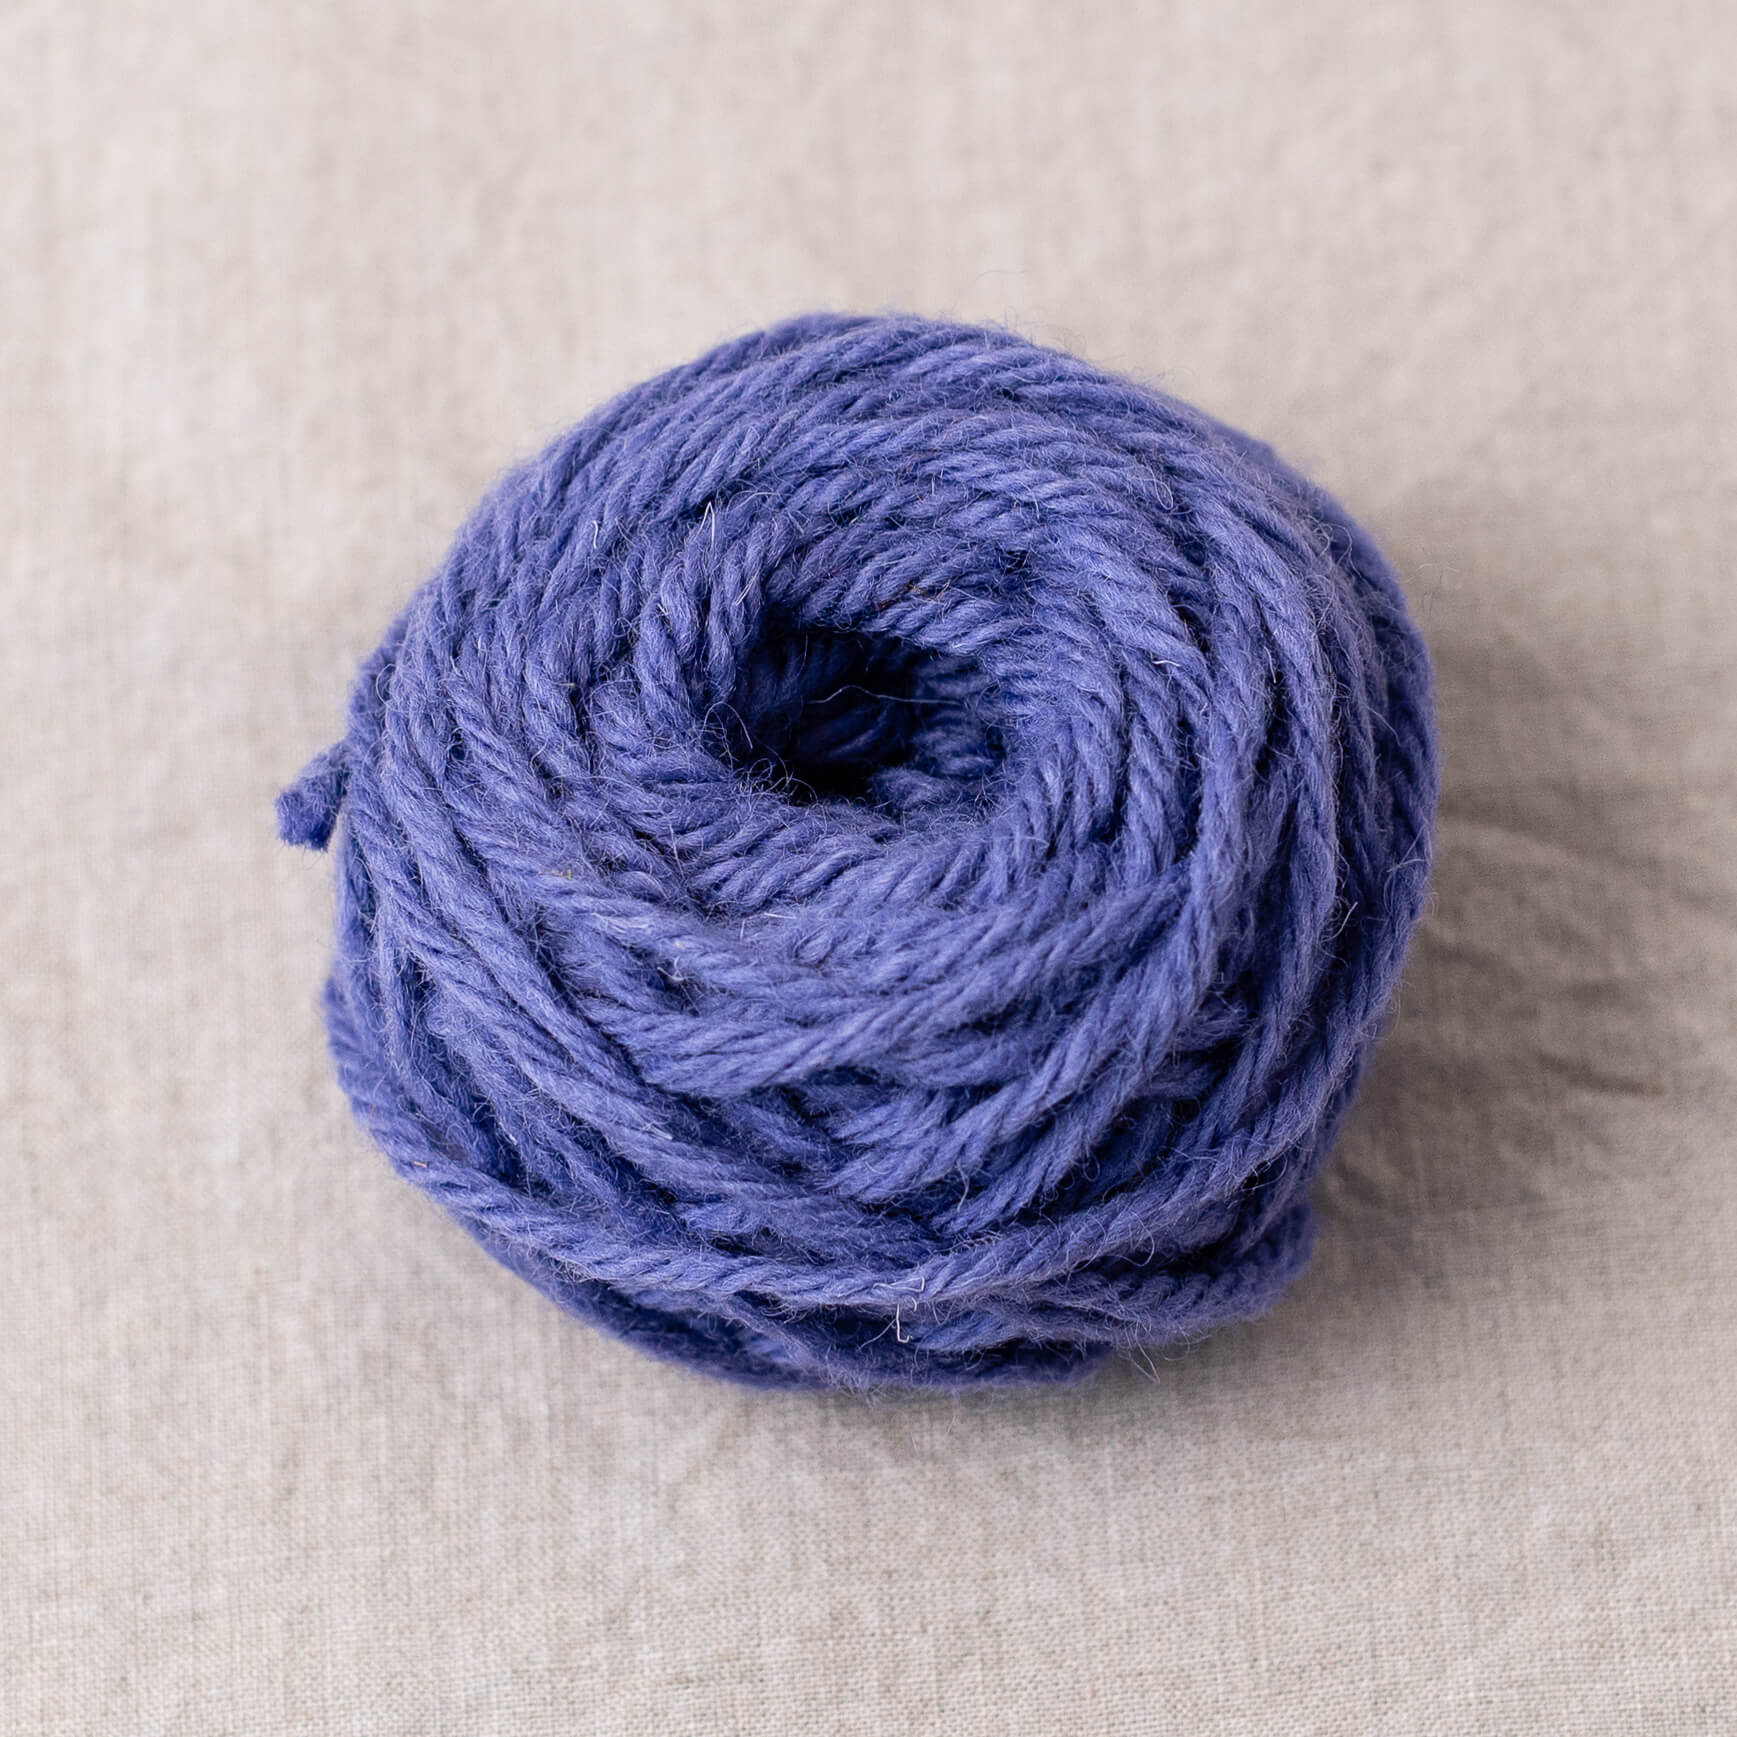
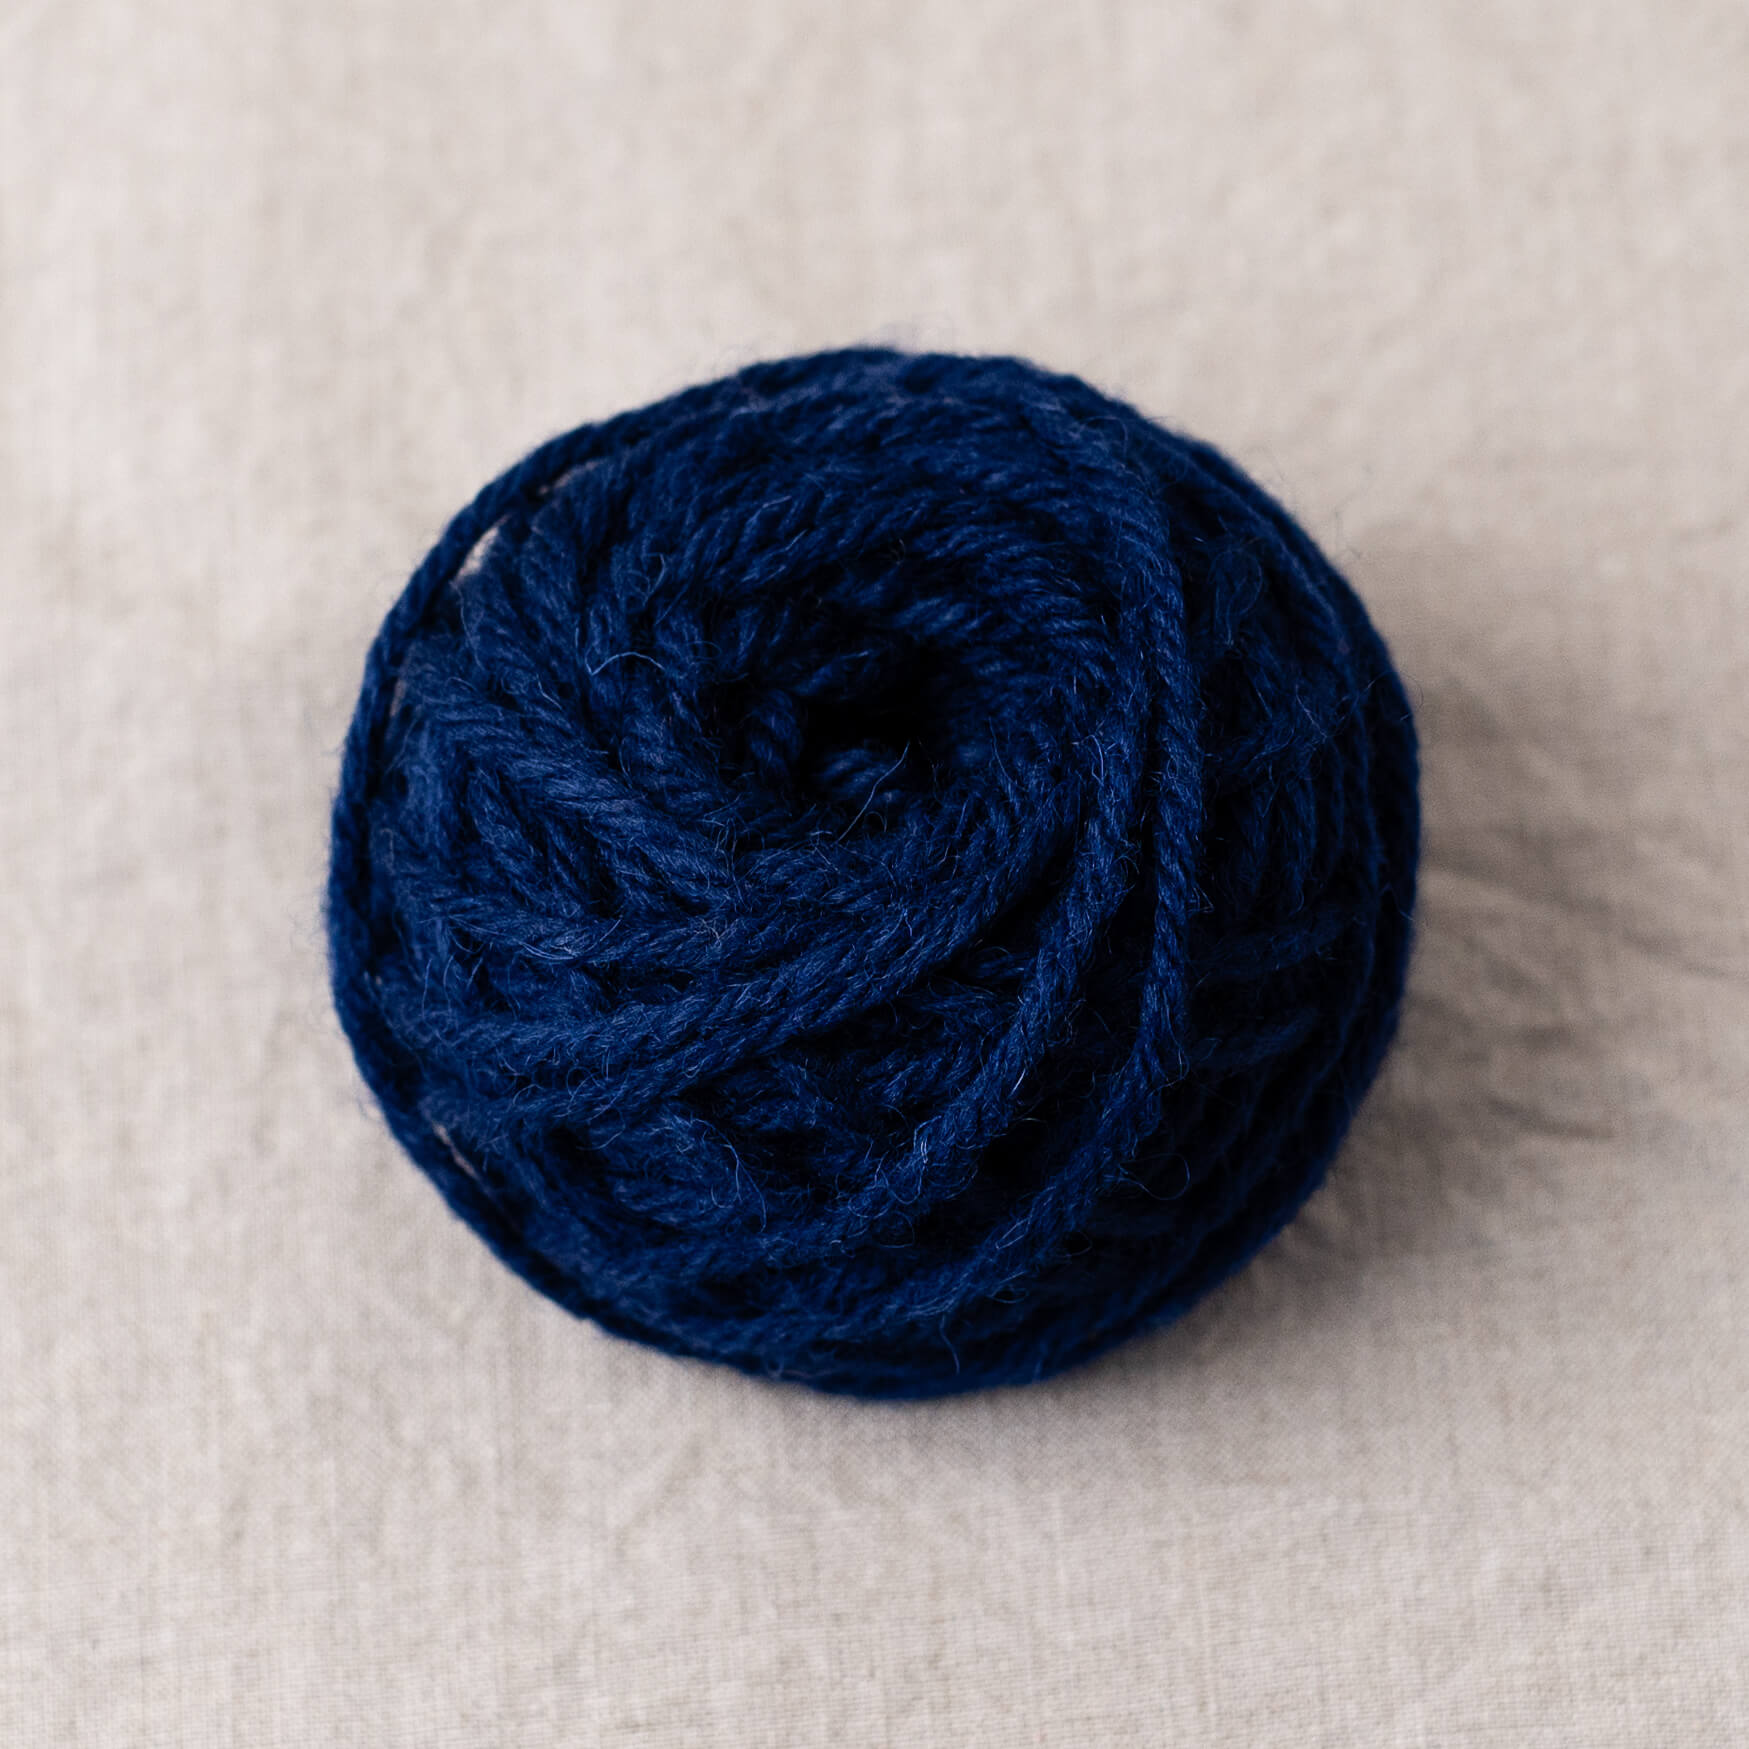
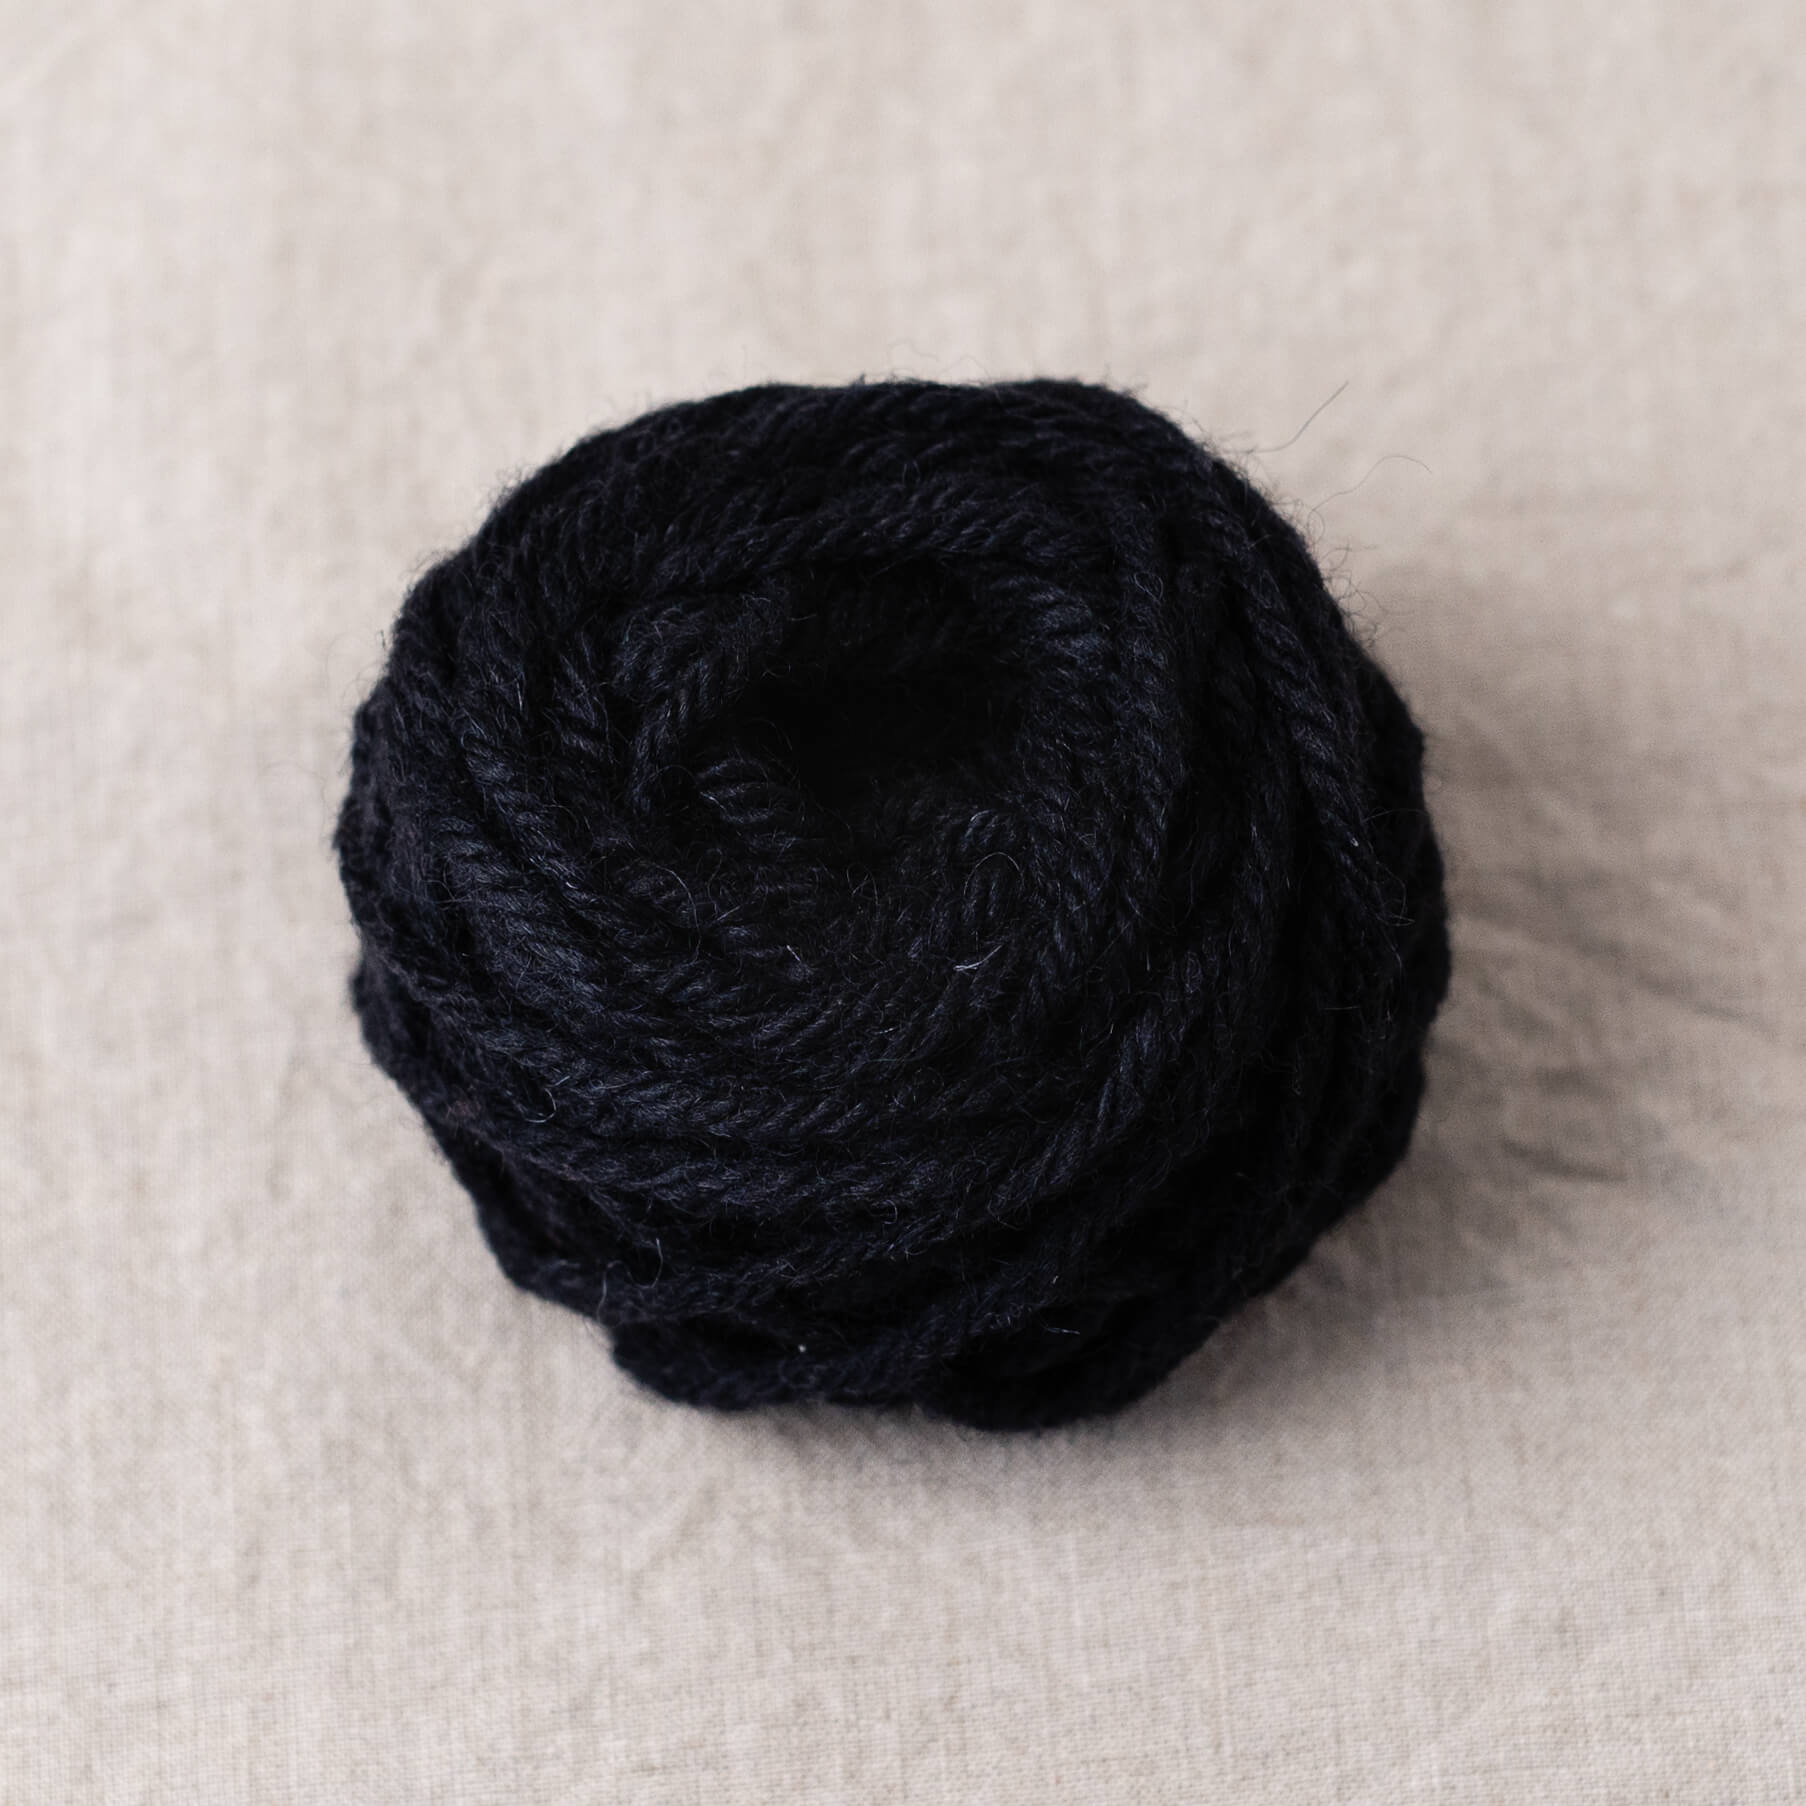
Once you have chosen your punch needle, the next thing to think about is what fibre you would like to punch with. Whatever material you choose, you will want to make sure that it runs smoothly and evenly through the needle. You might want to avoid anything too fluffy or hairy (like mohair) as the fibres can snag in the needle making loops uneven. If the fibre you want to work with is too silky, this can also be tricky - if your yarn slides too well through the needle without any resistance this can also cause uneven loops.
An easy way to narrow down your options is to look at the information which came with your punch needle tool. The leaflets and instructions often come with recommendations of the yarns that will be most suitable.
Your choice will also be influenced by what you want to make. If you are planning to create something hardwearing such as a rug, you will want to use a fibre like 100% wool rug yarn that is tough enough for the job! This yarn is coarse and durable and will withstand being walked upon.

An aran weight cotton yarn is a lovely yarn to use with the fine Lavor punch needle set. It's easy to work with, relatively cheap, safe for those with sensitive skin and appeals to those who do not want to use animal fibres.
If you're a knitter or do any other yarn-based crafts, you'll be able to use up all your odds and ends in punch needle projects. Some of my favourite projects have been ones that have helped me use up scraps. You can often create something really beautiful without having to start a new ball of yarn every time you want to do some punching.

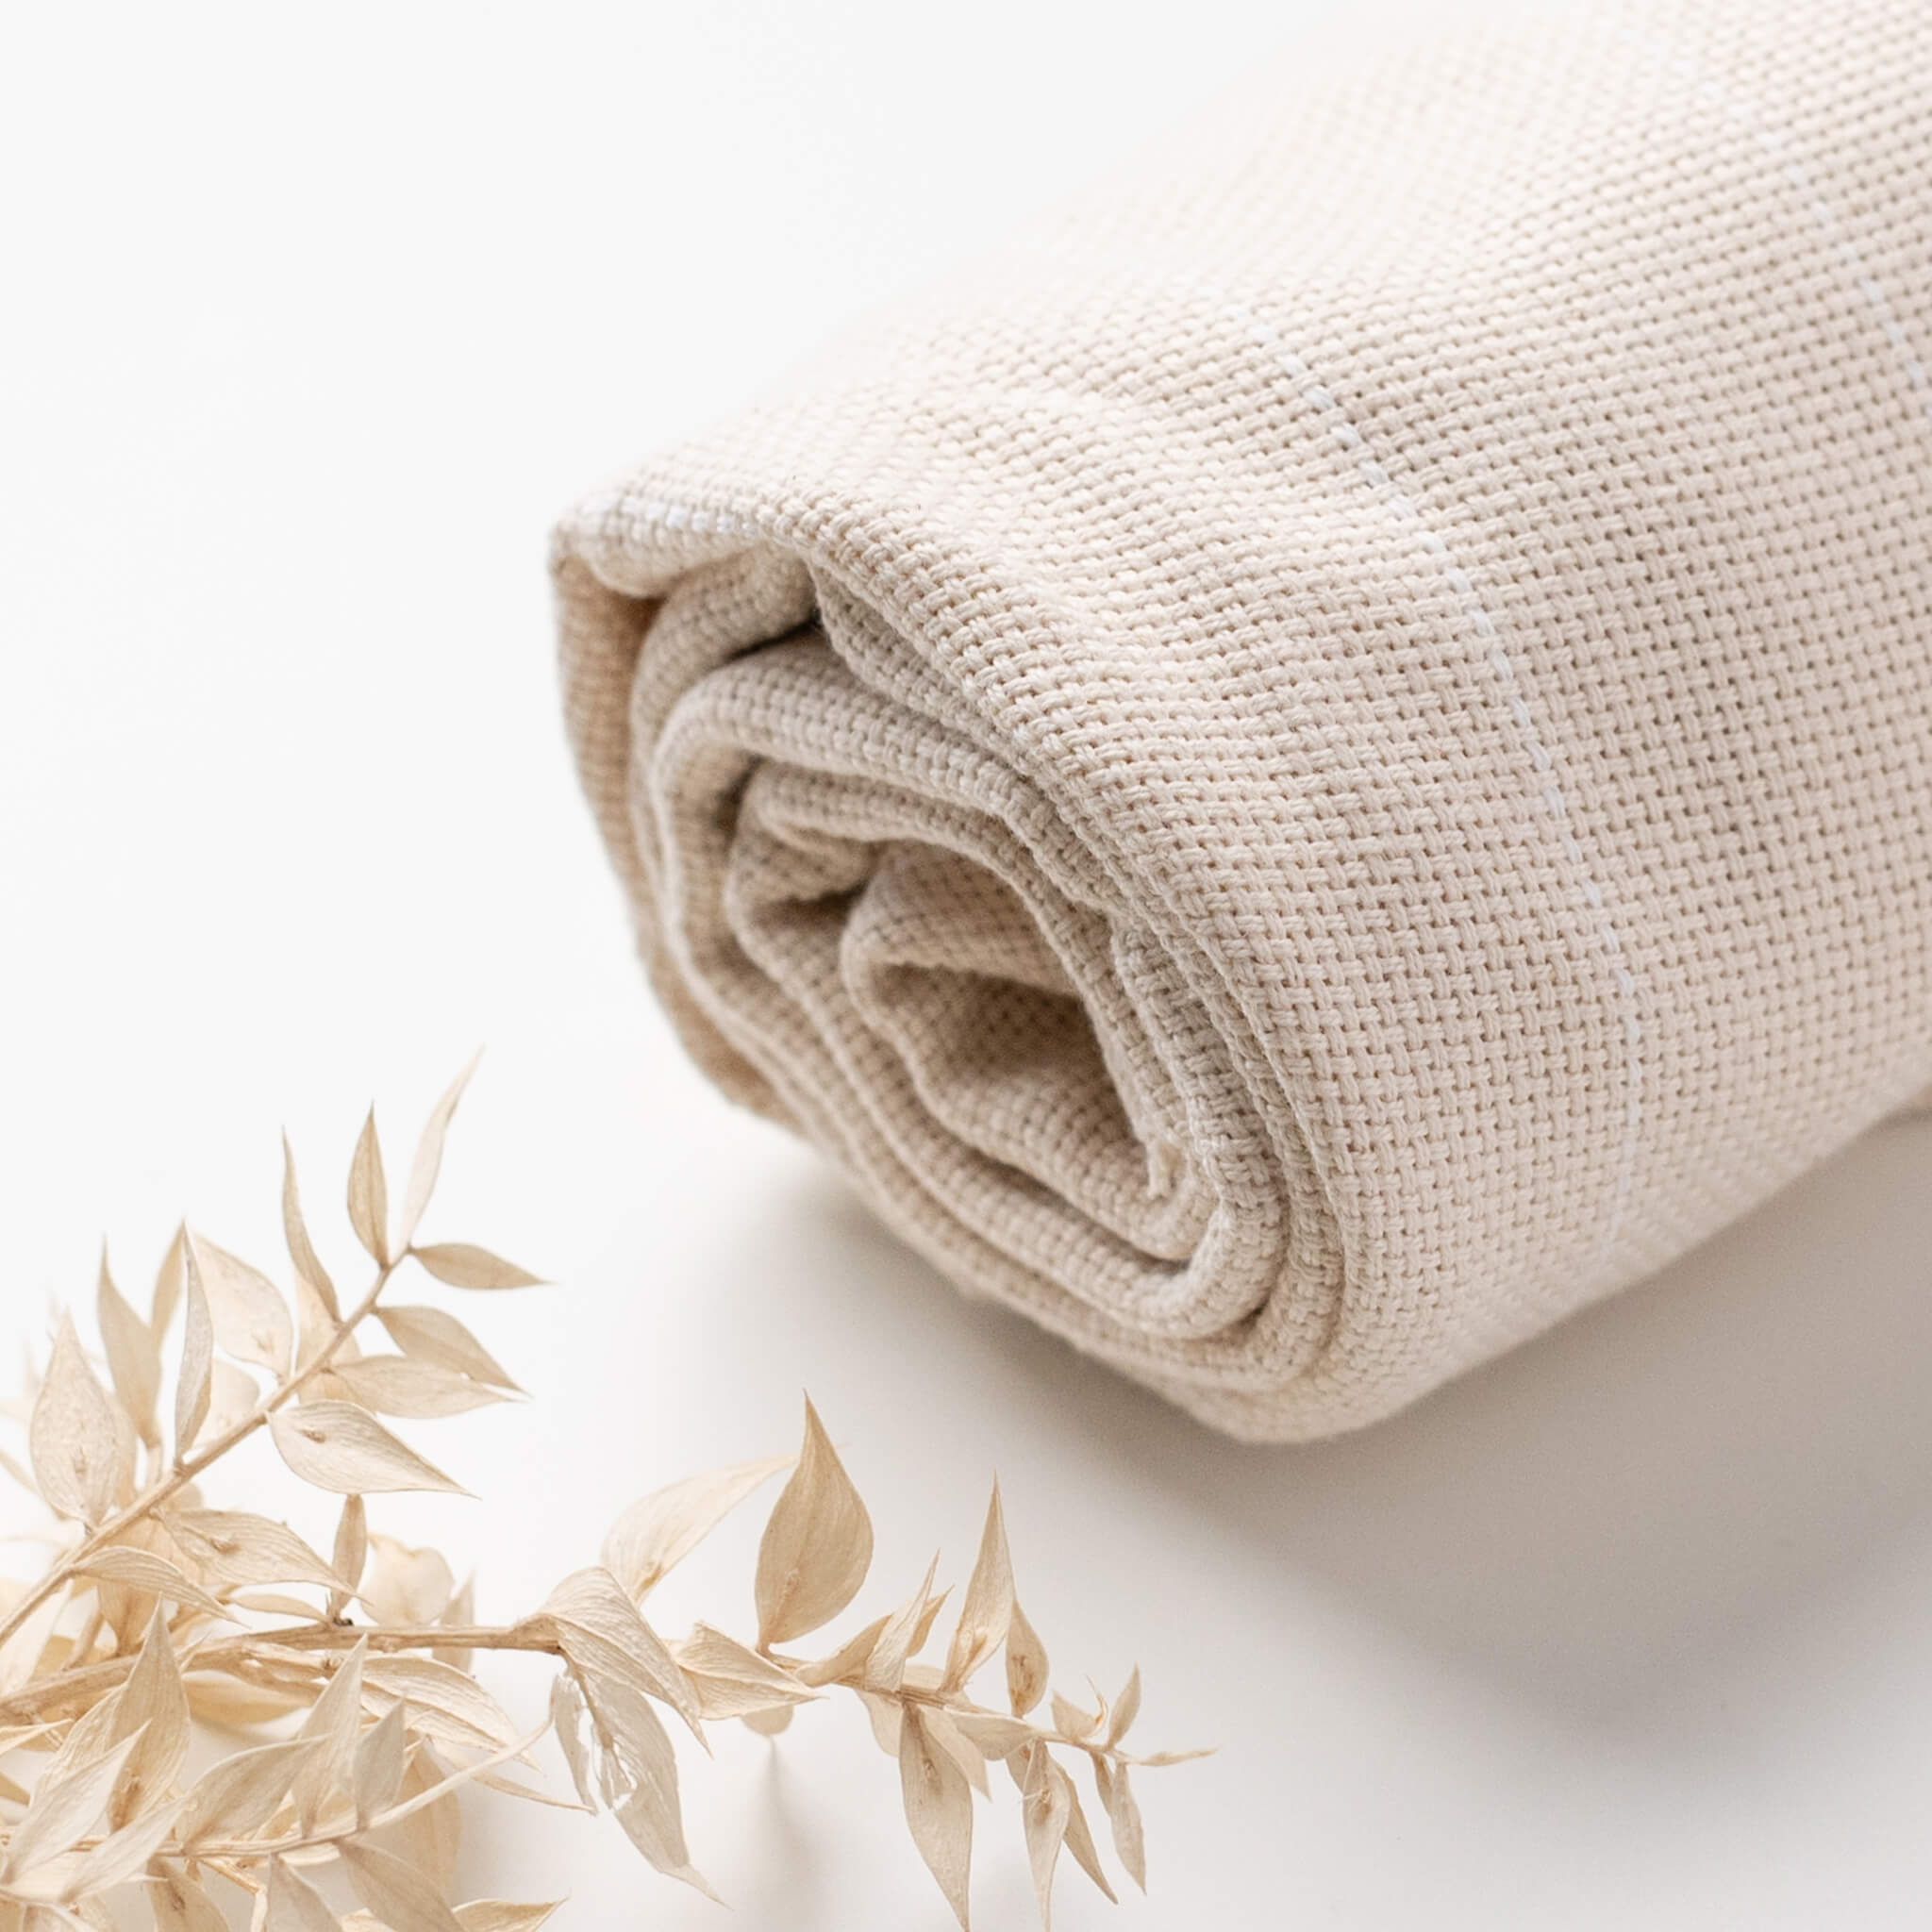
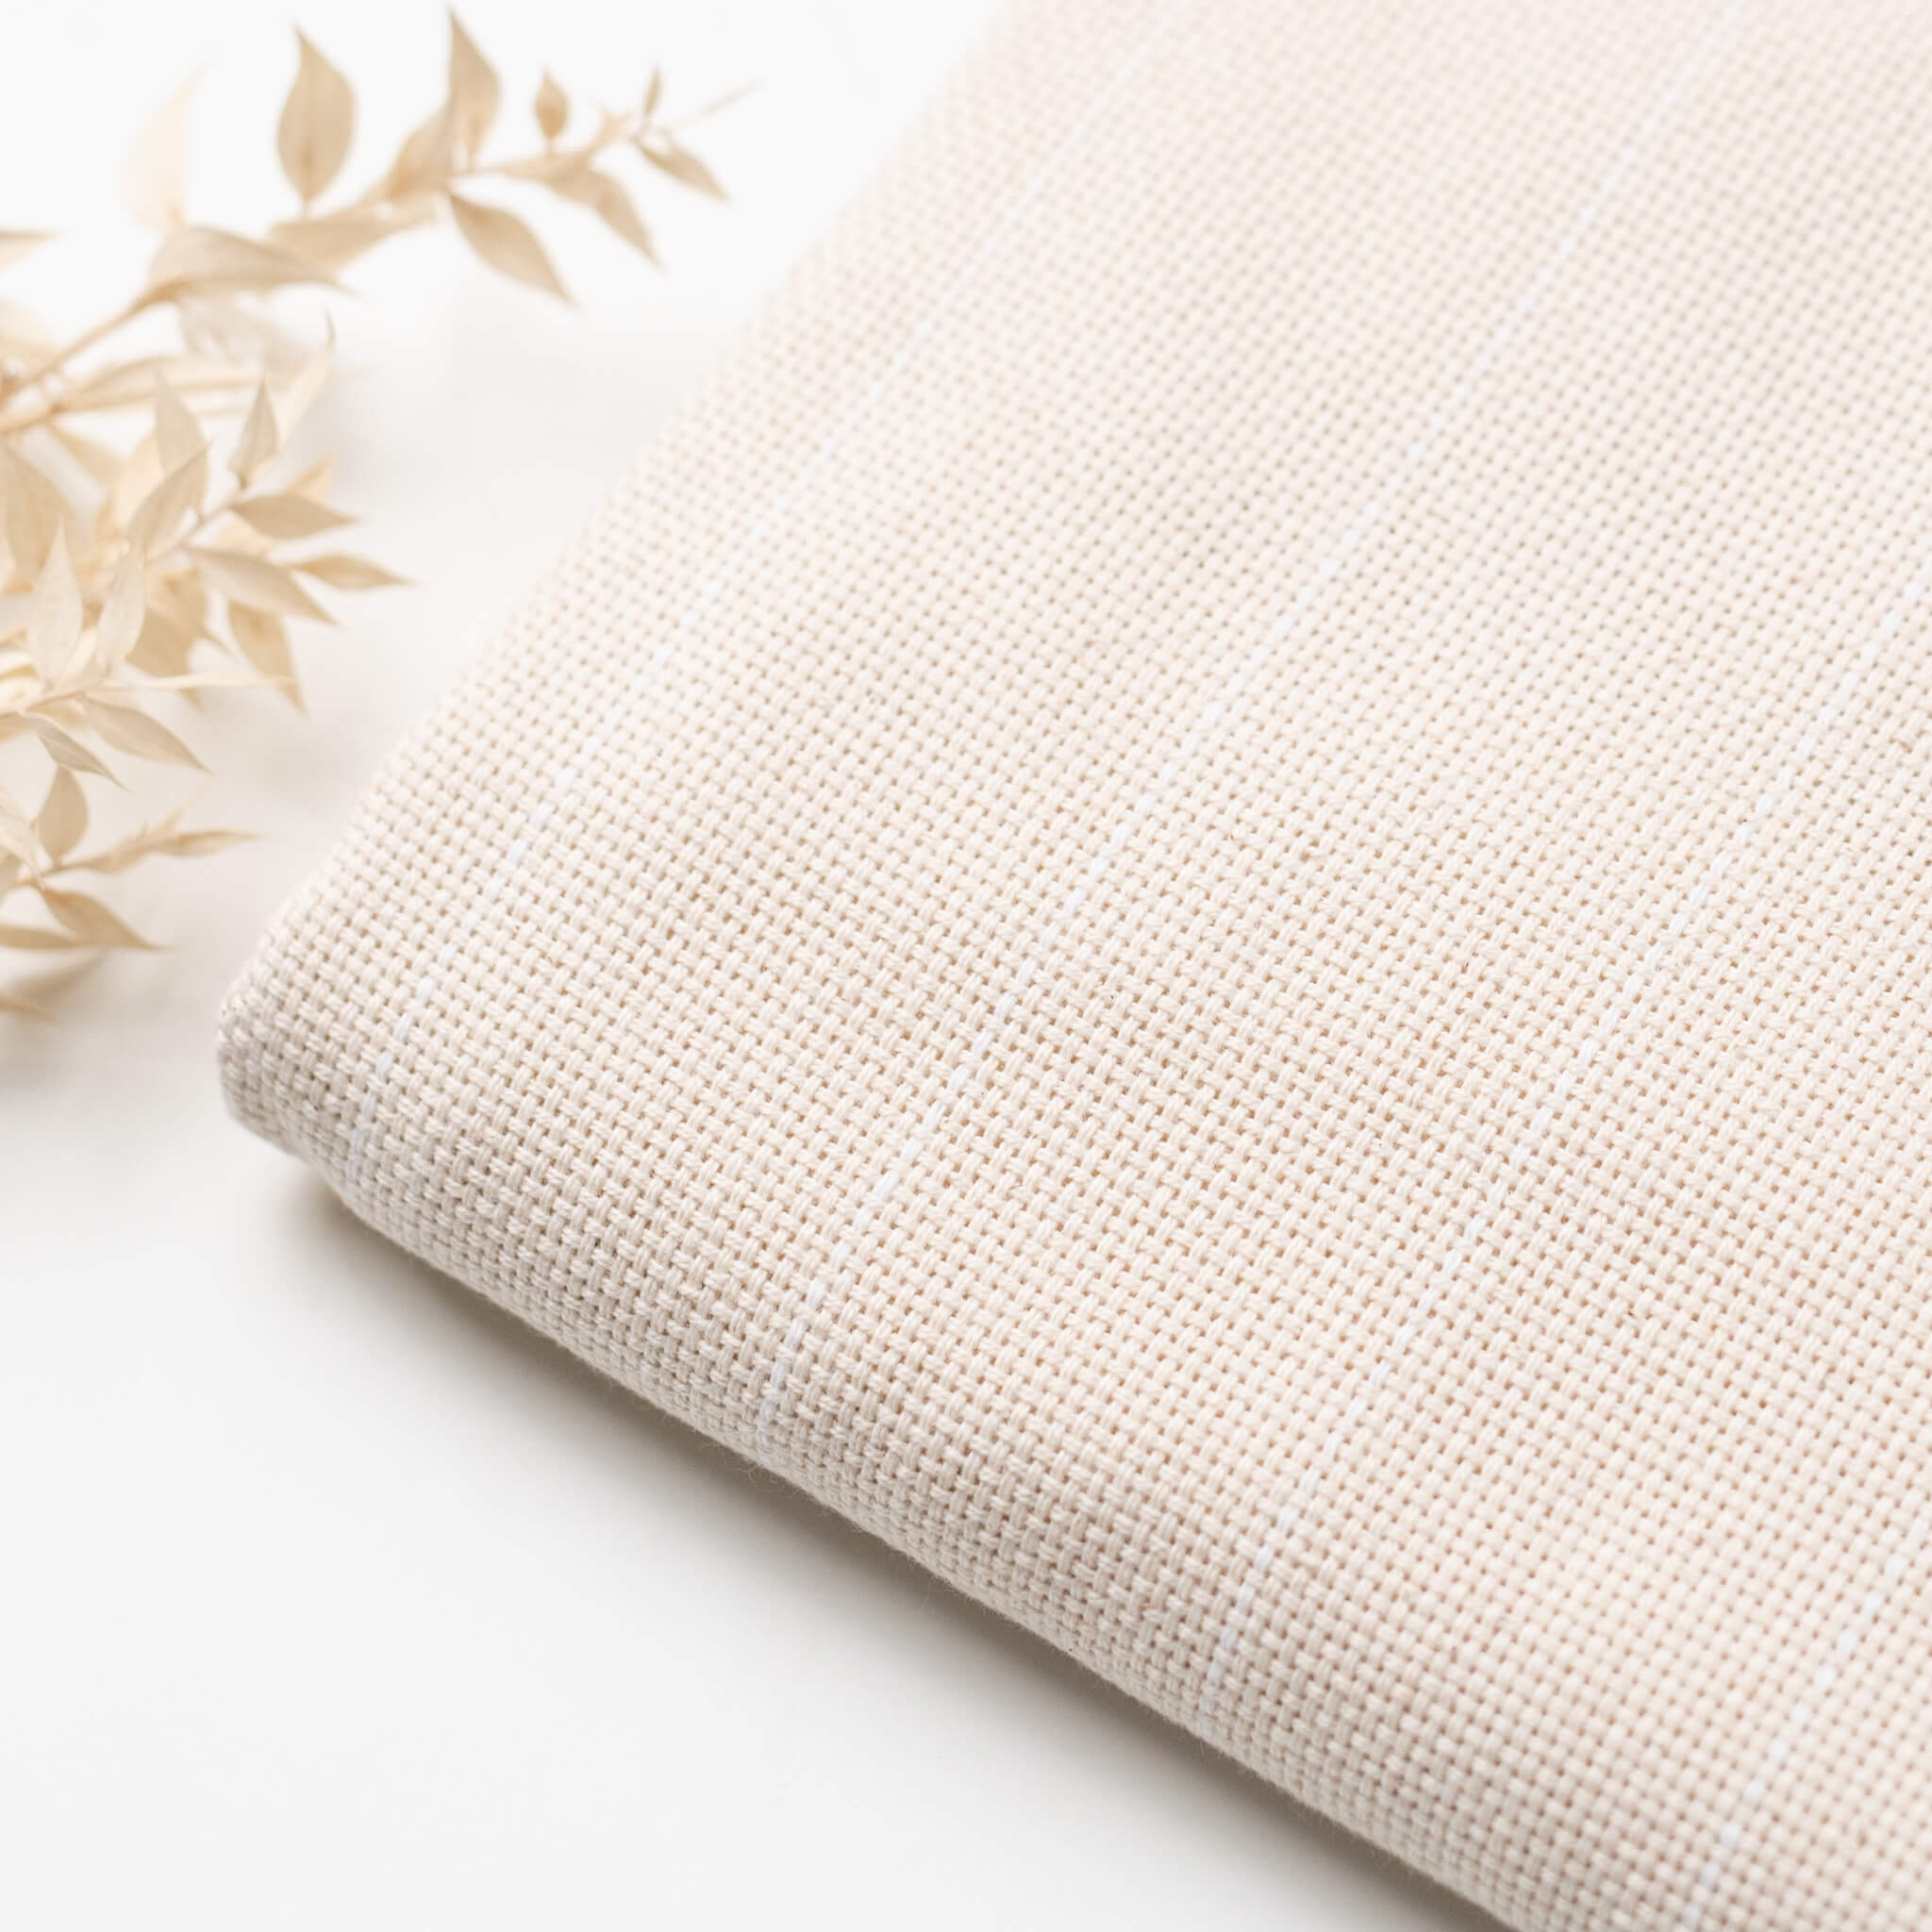
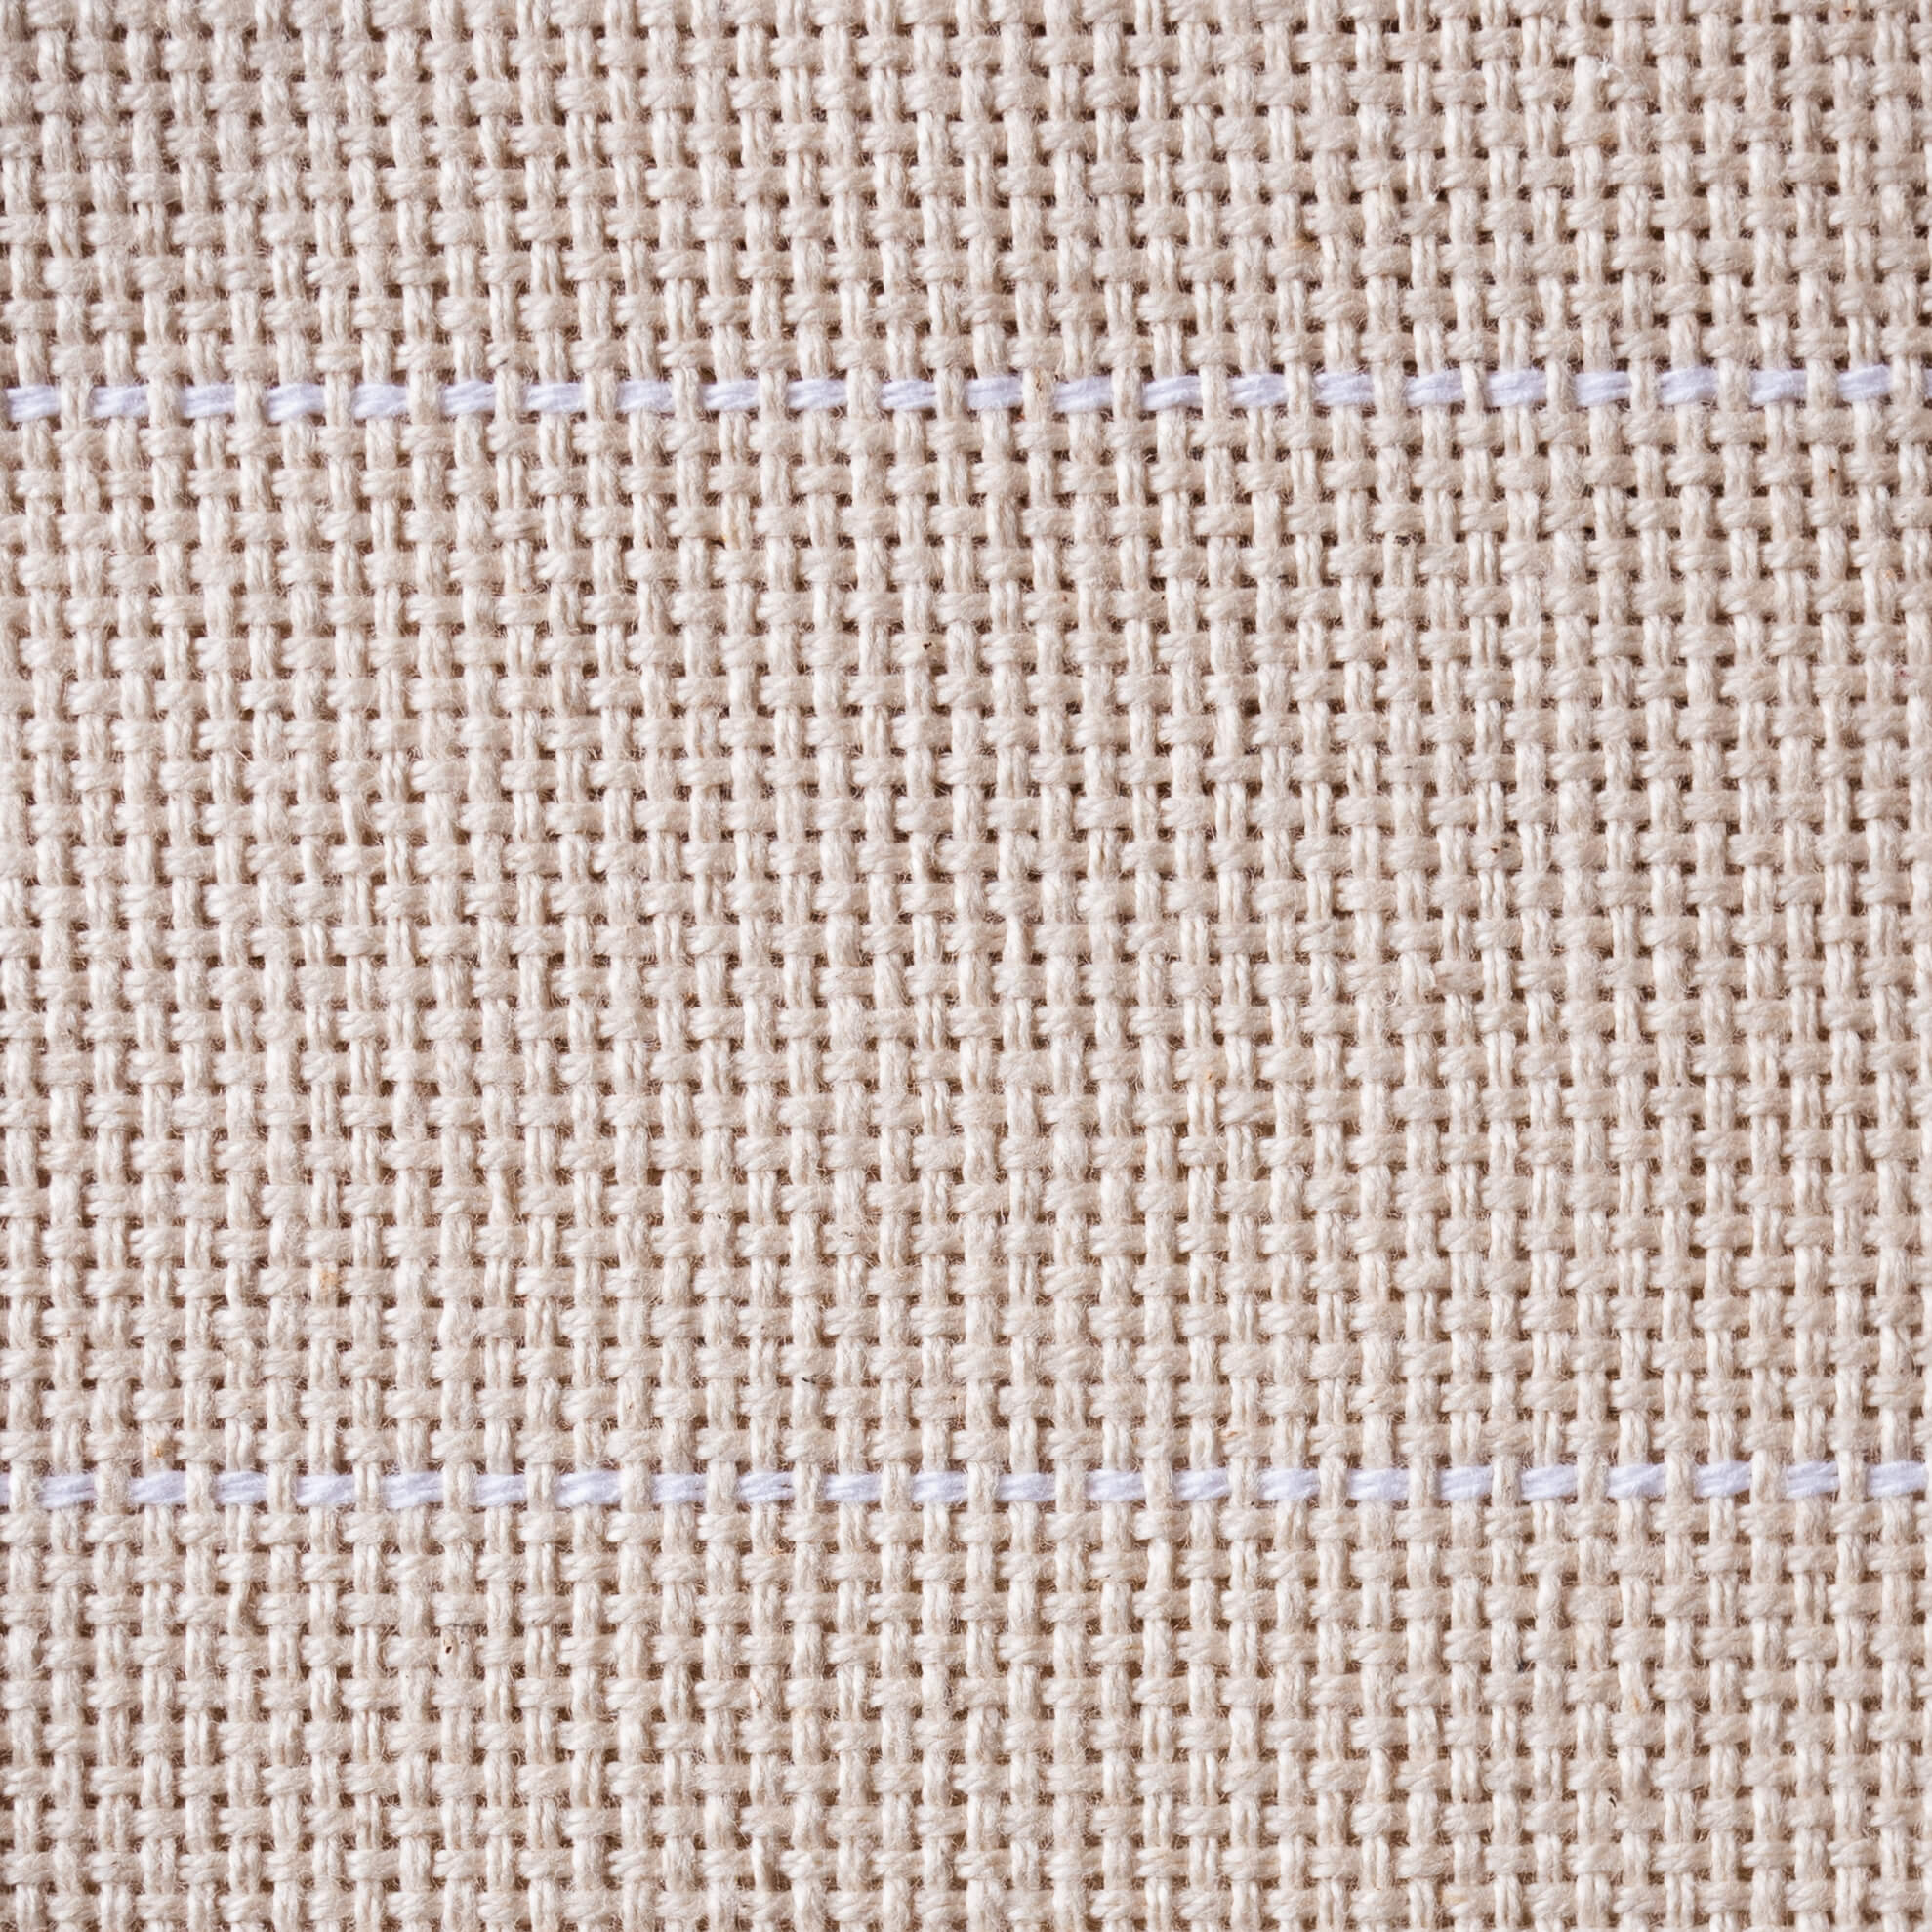
Punch needle fabric - monks cloth, linen and cotton
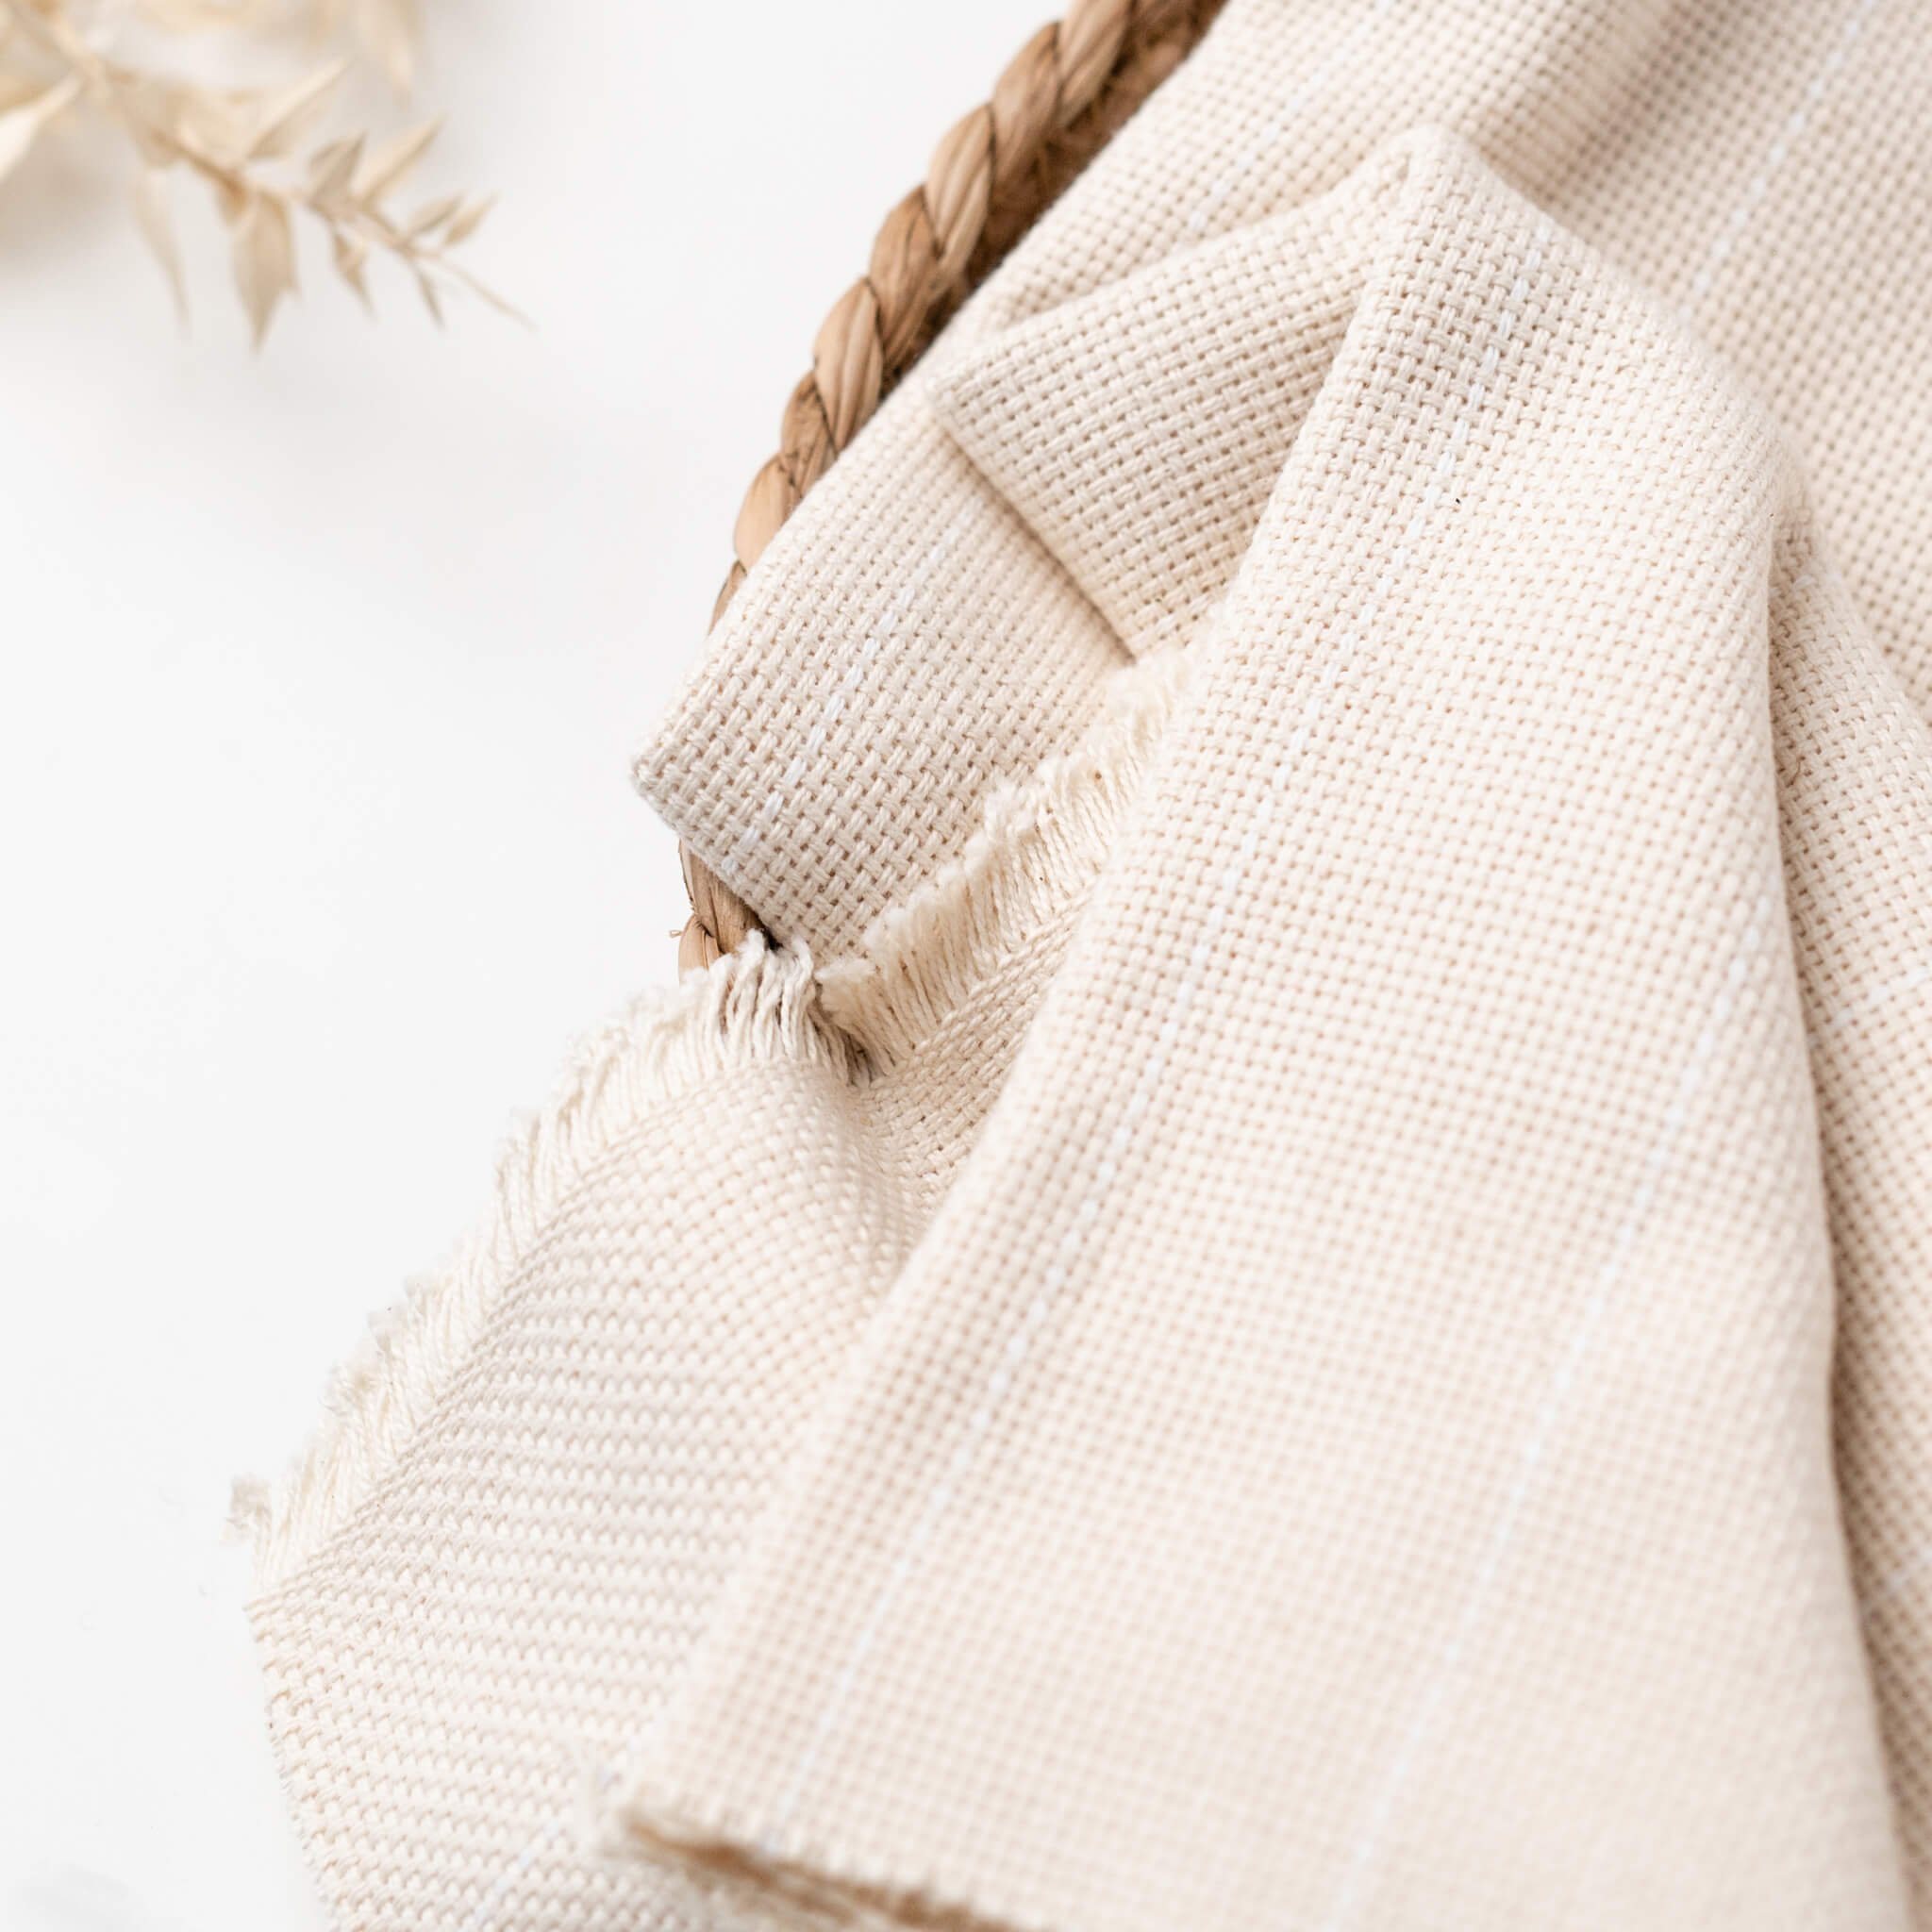
Once you have chosen your punch needle tool and yarn, next you need fabric to form the base of your project. As it's the foundation for your design it's worth finding something decent that will last over time.
As a general rule of thumb, the smaller the width of the punch needle, the tighter the fabric will need to be woven. As your punch needle gets thicker you’ll need to use a looser weave of fabric and thicker yarn.
Lots of this is down to personal preference too. Most of my projects are small, decorative items in the house and my go to fabric for these tends to be linen or monks cloth.
There are quite a few different things to consider when choosing your fabric which I covered in an earlier post here.

Final component - punch needle frame or hoop
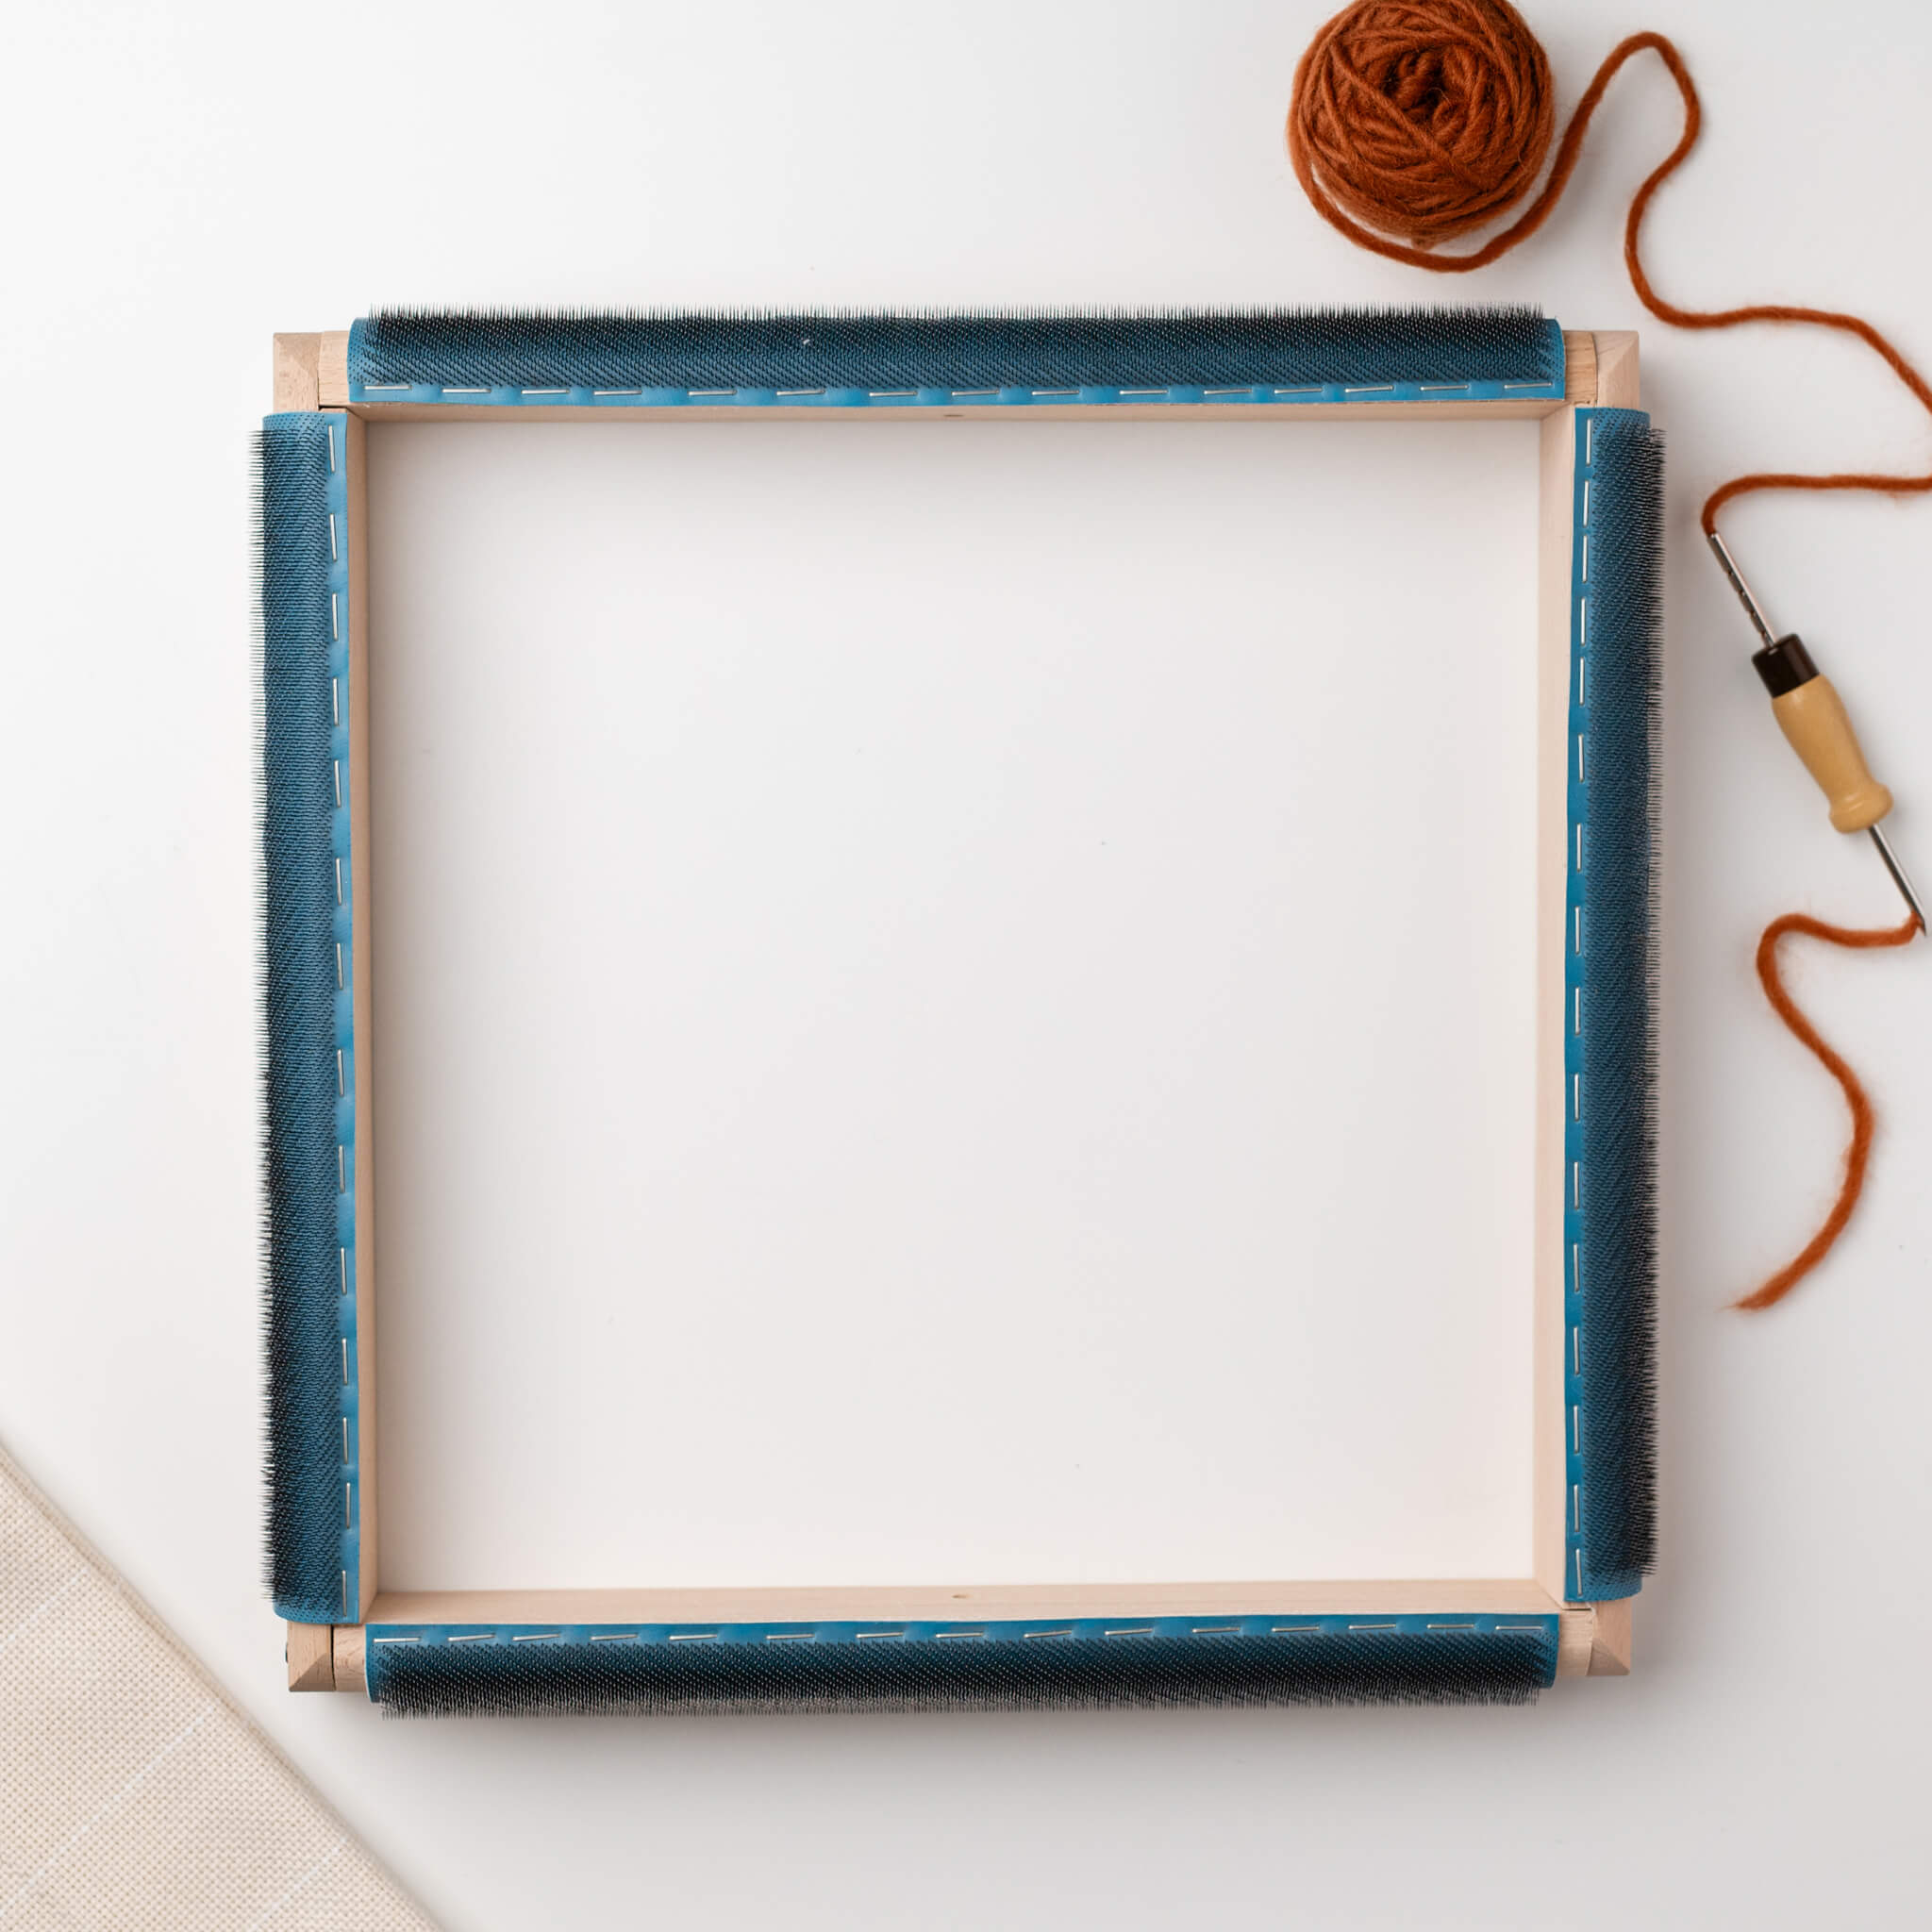
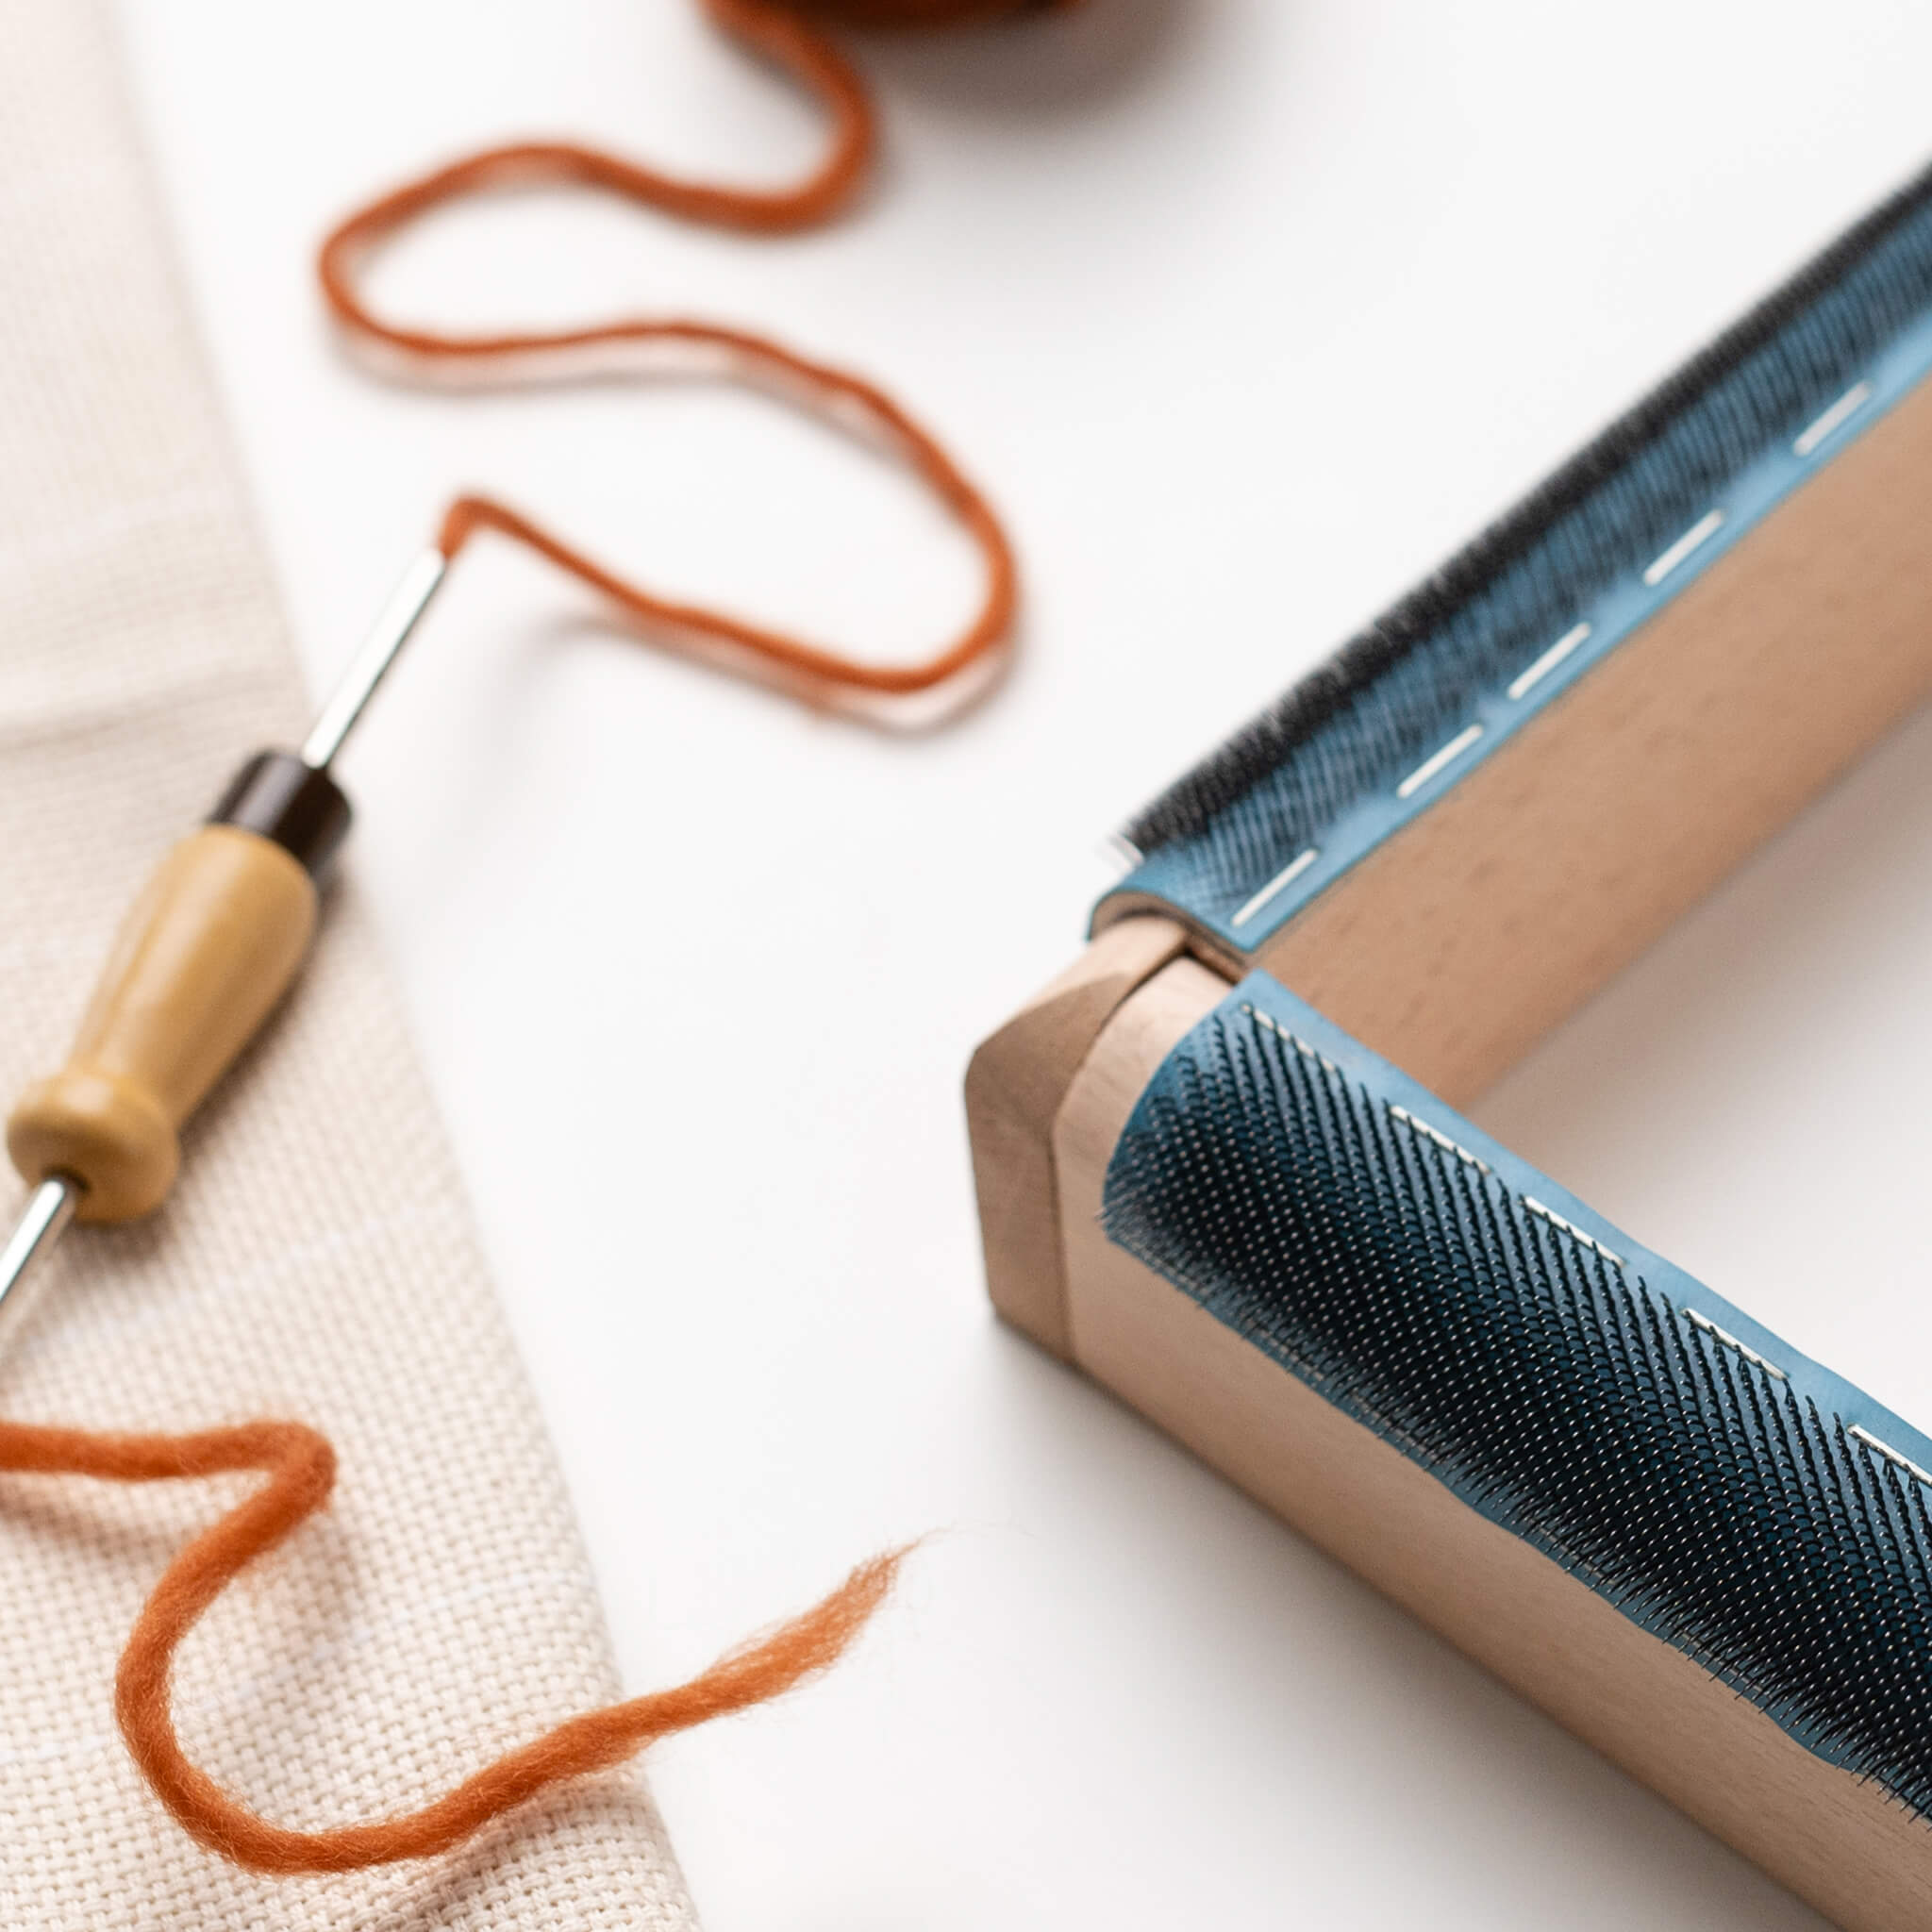
When you've chosen your punch needle tool, yarn and fabric, the final thing you need is something to work on. Punch needle fabric must be stretched across a hoop or frame as tight as possible. The tighter you can stretch it the easier it will be to punch your project. There are a large variety of different punch needle hoops or frames. My preference is for a no slip Morgan gripper hoop or a gripper strip frame. Both are very good at stretching your fabric quickly, easily and keep it taut whilst punching. There's nothing worse than punching a project and the fabric starts to sag. It'll distort the design and can put undue pressure on your hand and wrist whilst punching.
Take the time to stretch your fabric properly before you start, and you'll have a much more pleasant punching experience!

So there you have it, your four key punch needle components
I hope you’ve found this short article useful – if you need any further information on getting started with punch needle, you can:

