You’ve been playing with punch needle for a while. You’ve made some hoop wall hangings, dabbled with coasters and maybe even upgraded your interior with some cushions, but have you tackled a larger project? Making a punch needle rug might seem daunting but if you’ve completed some smaller projects and feel confident to move onto something bigger it’s a great thing to try.

Having something more advanced that you can keep chipping away at here and there is great when you want a little crafting time, but don’t want to have to think about what to make. Quite often at the end of the day I want to relax with a punch needle without having to plan and prepare a new project. I love having something on the go that I can keep on the backburner, picking it up and putting it down depending on the time I have.

We’re moving into the colder months here in the UK, which is the perfect moment to think about starting a rug. While your first rug will most likely take you the longest, there is still plenty of time to overcome challenges and get it finished before winter properly sets in!
When I look back at the first rug I made I can see flaws and things I would change, but it was a great learning experience and I’m still so proud of what I achieved.
Certified Oxford Punch Needle Rug Hooking Instructor
In the autumn of 2019 I travelled to Vermont to study at the Oxford Rug Hooking School and train to become a Certified Oxford Punch Needle Rug Hooking Instructor. With the help and support of Amy Oxford and Heidi Whipple, I honed my skills for an intensive week and left feeling confident in my teaching abilities, with an increased love for punch needle and a few new techniques under my belt.
Once I returned to the UK I had homework to do. In order to complete my certification, I needed to make a punch needle rug.
I spent a lot of time planning my rug. For the Oxford certification it needed to include certain techniques and be of a particular size. It would also be the first project I made where the finished size was larger than the frame I was working on.
My finished rug measured 60 cm x 90 cm. It was made using multiple sizes of Oxford punch needle, included different loop heights and incorporated various thicknesses of 100% wool rug yarn. All in all, I spent two weeks and 50 hours completing my rug over the festive season of 2019.

Considerations for making a punch needle rug
After making my first punch needle rug there were a few things I wanted to do differently with my second.
Although I liked the diversity of using different yarns in the first, I wanted the second to be more consistent, so I decided to use one brand and thickness of rug yarn.
I dedicated two weeks to making my certification rug and whilst I enjoyed the intensive time, I wanted to make my second rug over a longer period. This would give me time to step back and review progress as I went, allowing me to do other things and give me a bit of a break.
I enjoyed working with the geometric shapes of the first rug and monks cloth lends itself well to the straight lines in the pattern.

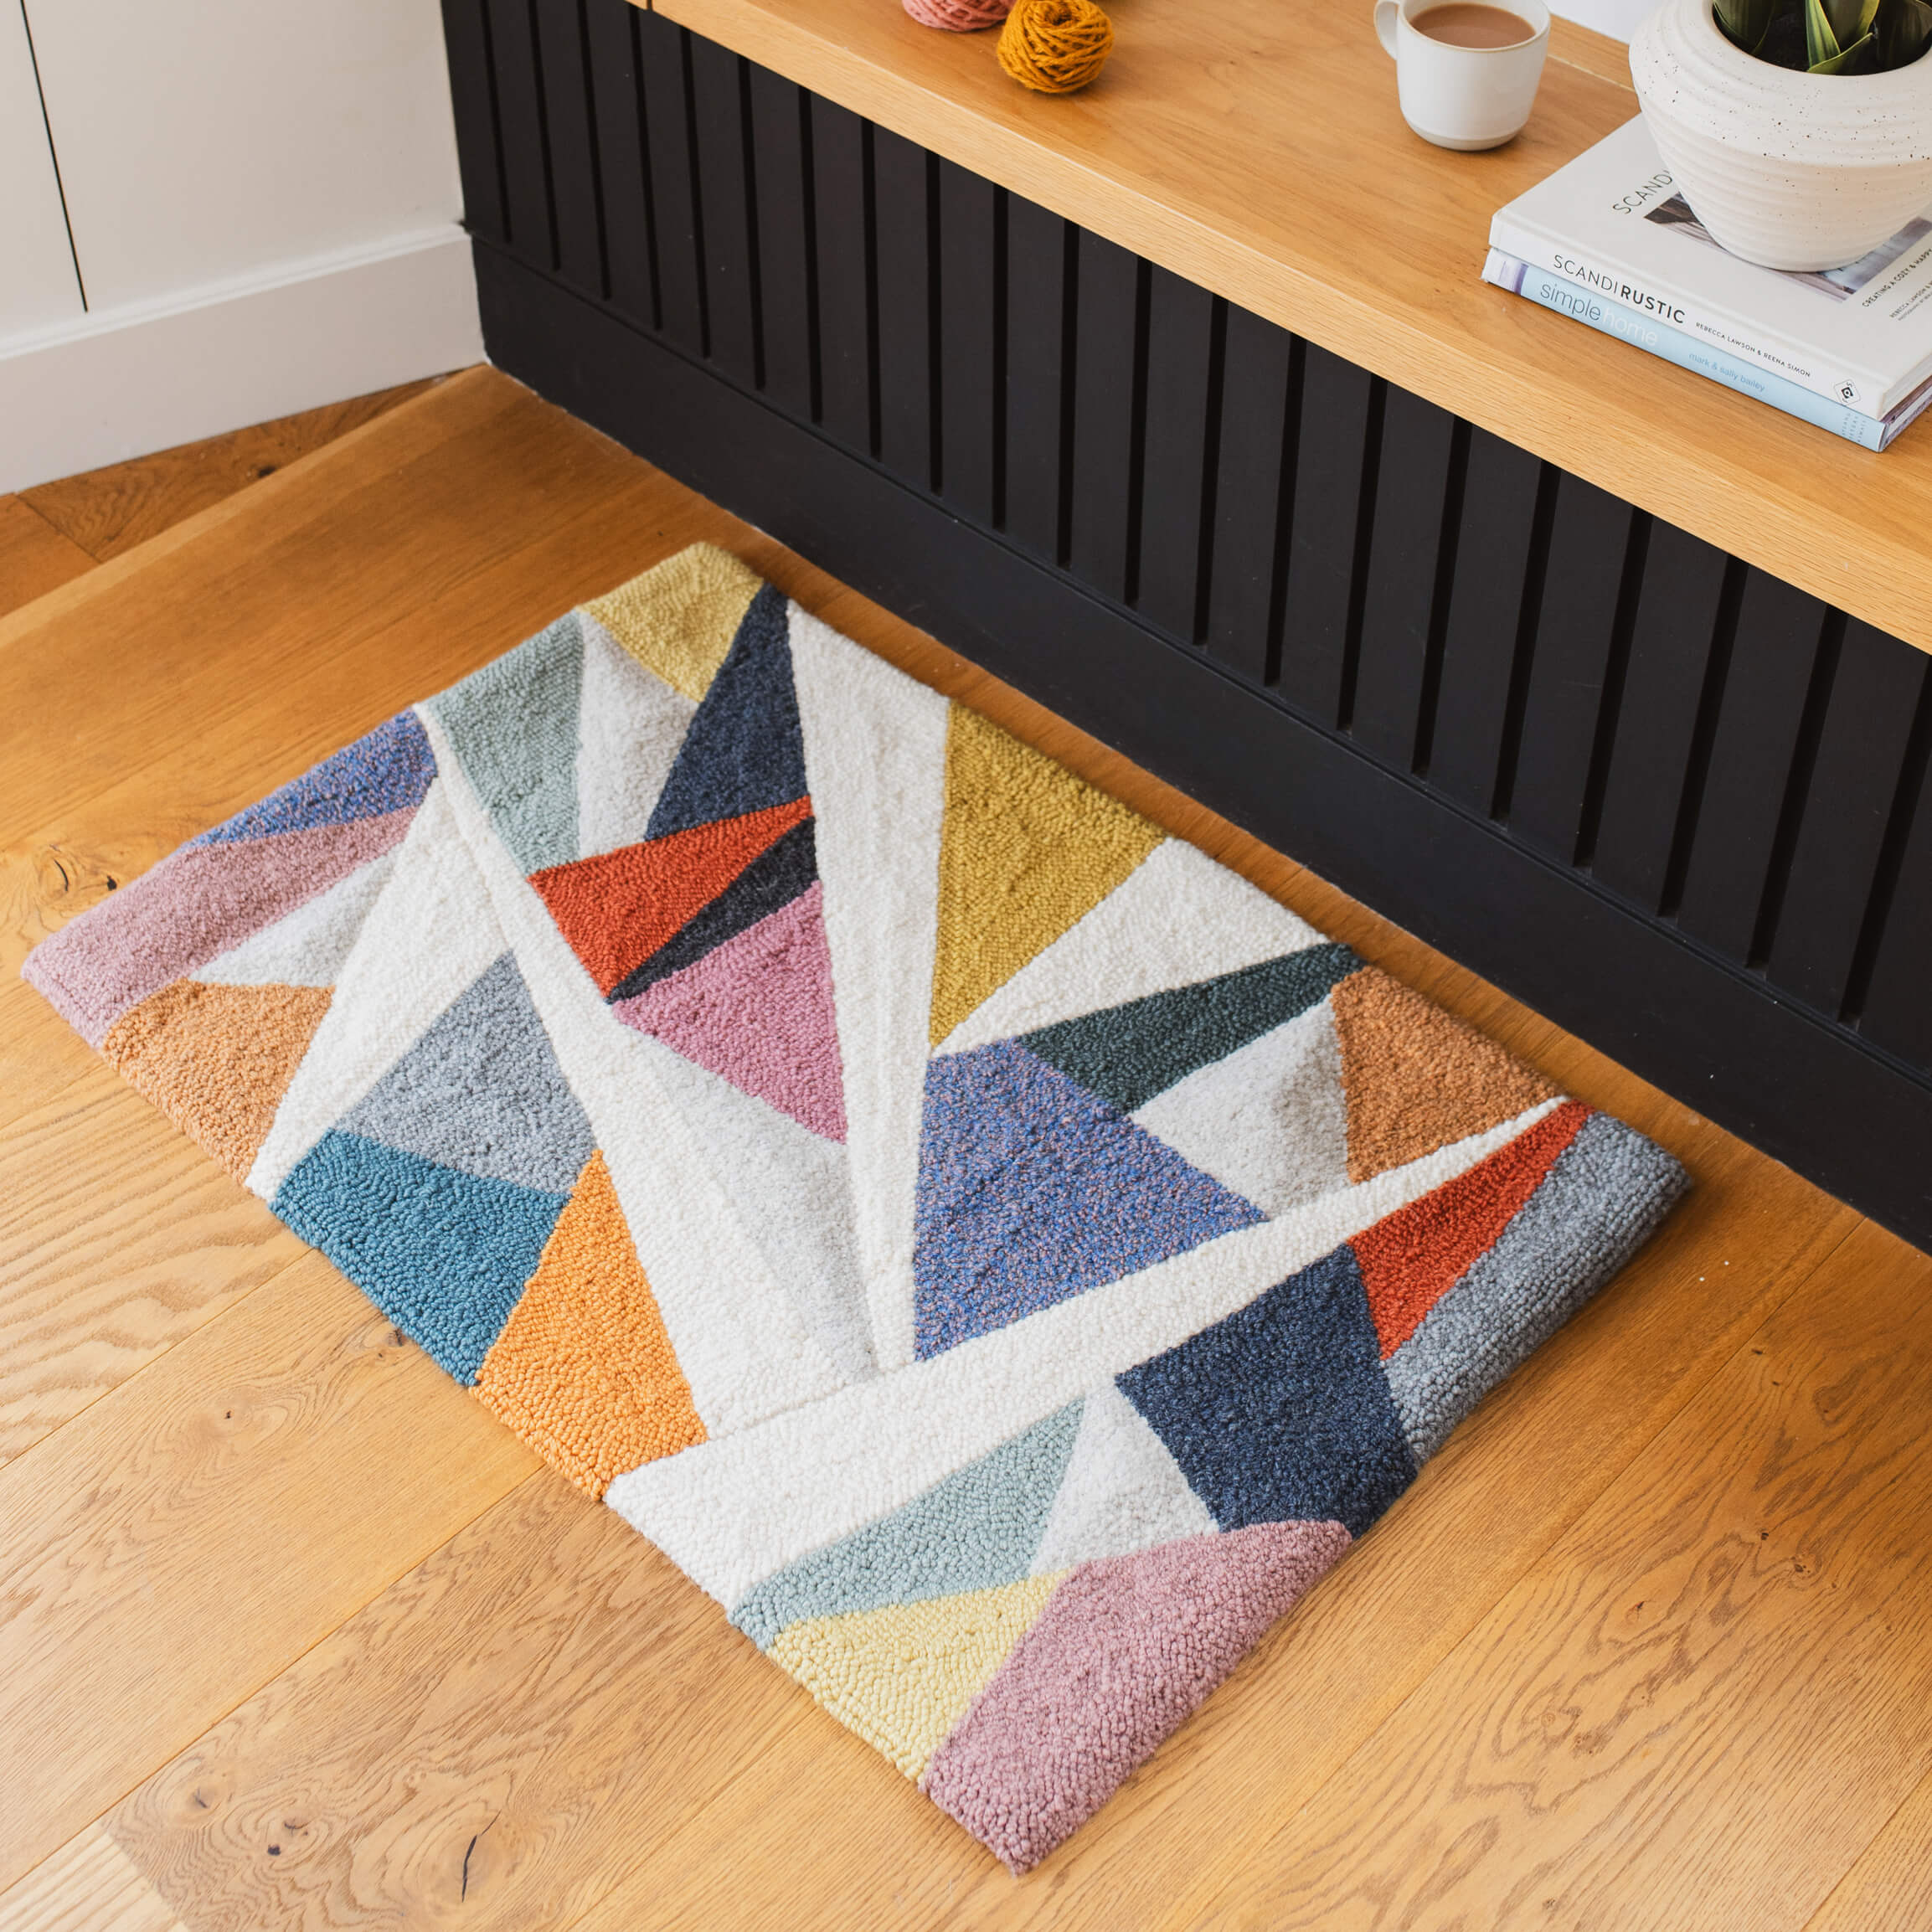
Designing my New York metro inspired rug
After my trip to Vermont I spent some time exploring in New York. I found the city incredibly beautiful and my phone was full of photos just waiting to be used for inspiration.
One of the things which caught my eye in New York were the bold patterns created by tiles on the metro. For my second punch needle rug I wanted to continue with the large, geometric style of my first rug and I used photos from the metro as a starting point for my new design.
When I was making my first rug, working on small sections helped make the whole project seem more achievable and changing up colours regularly kept things fresh.
I wanted to take this approach again for my second rug, though had to strike the right balance between designing something with enough smaller sections to keep me interested whilst not feeling like I was constantly stopping and starting.

Making my second punch needle rug
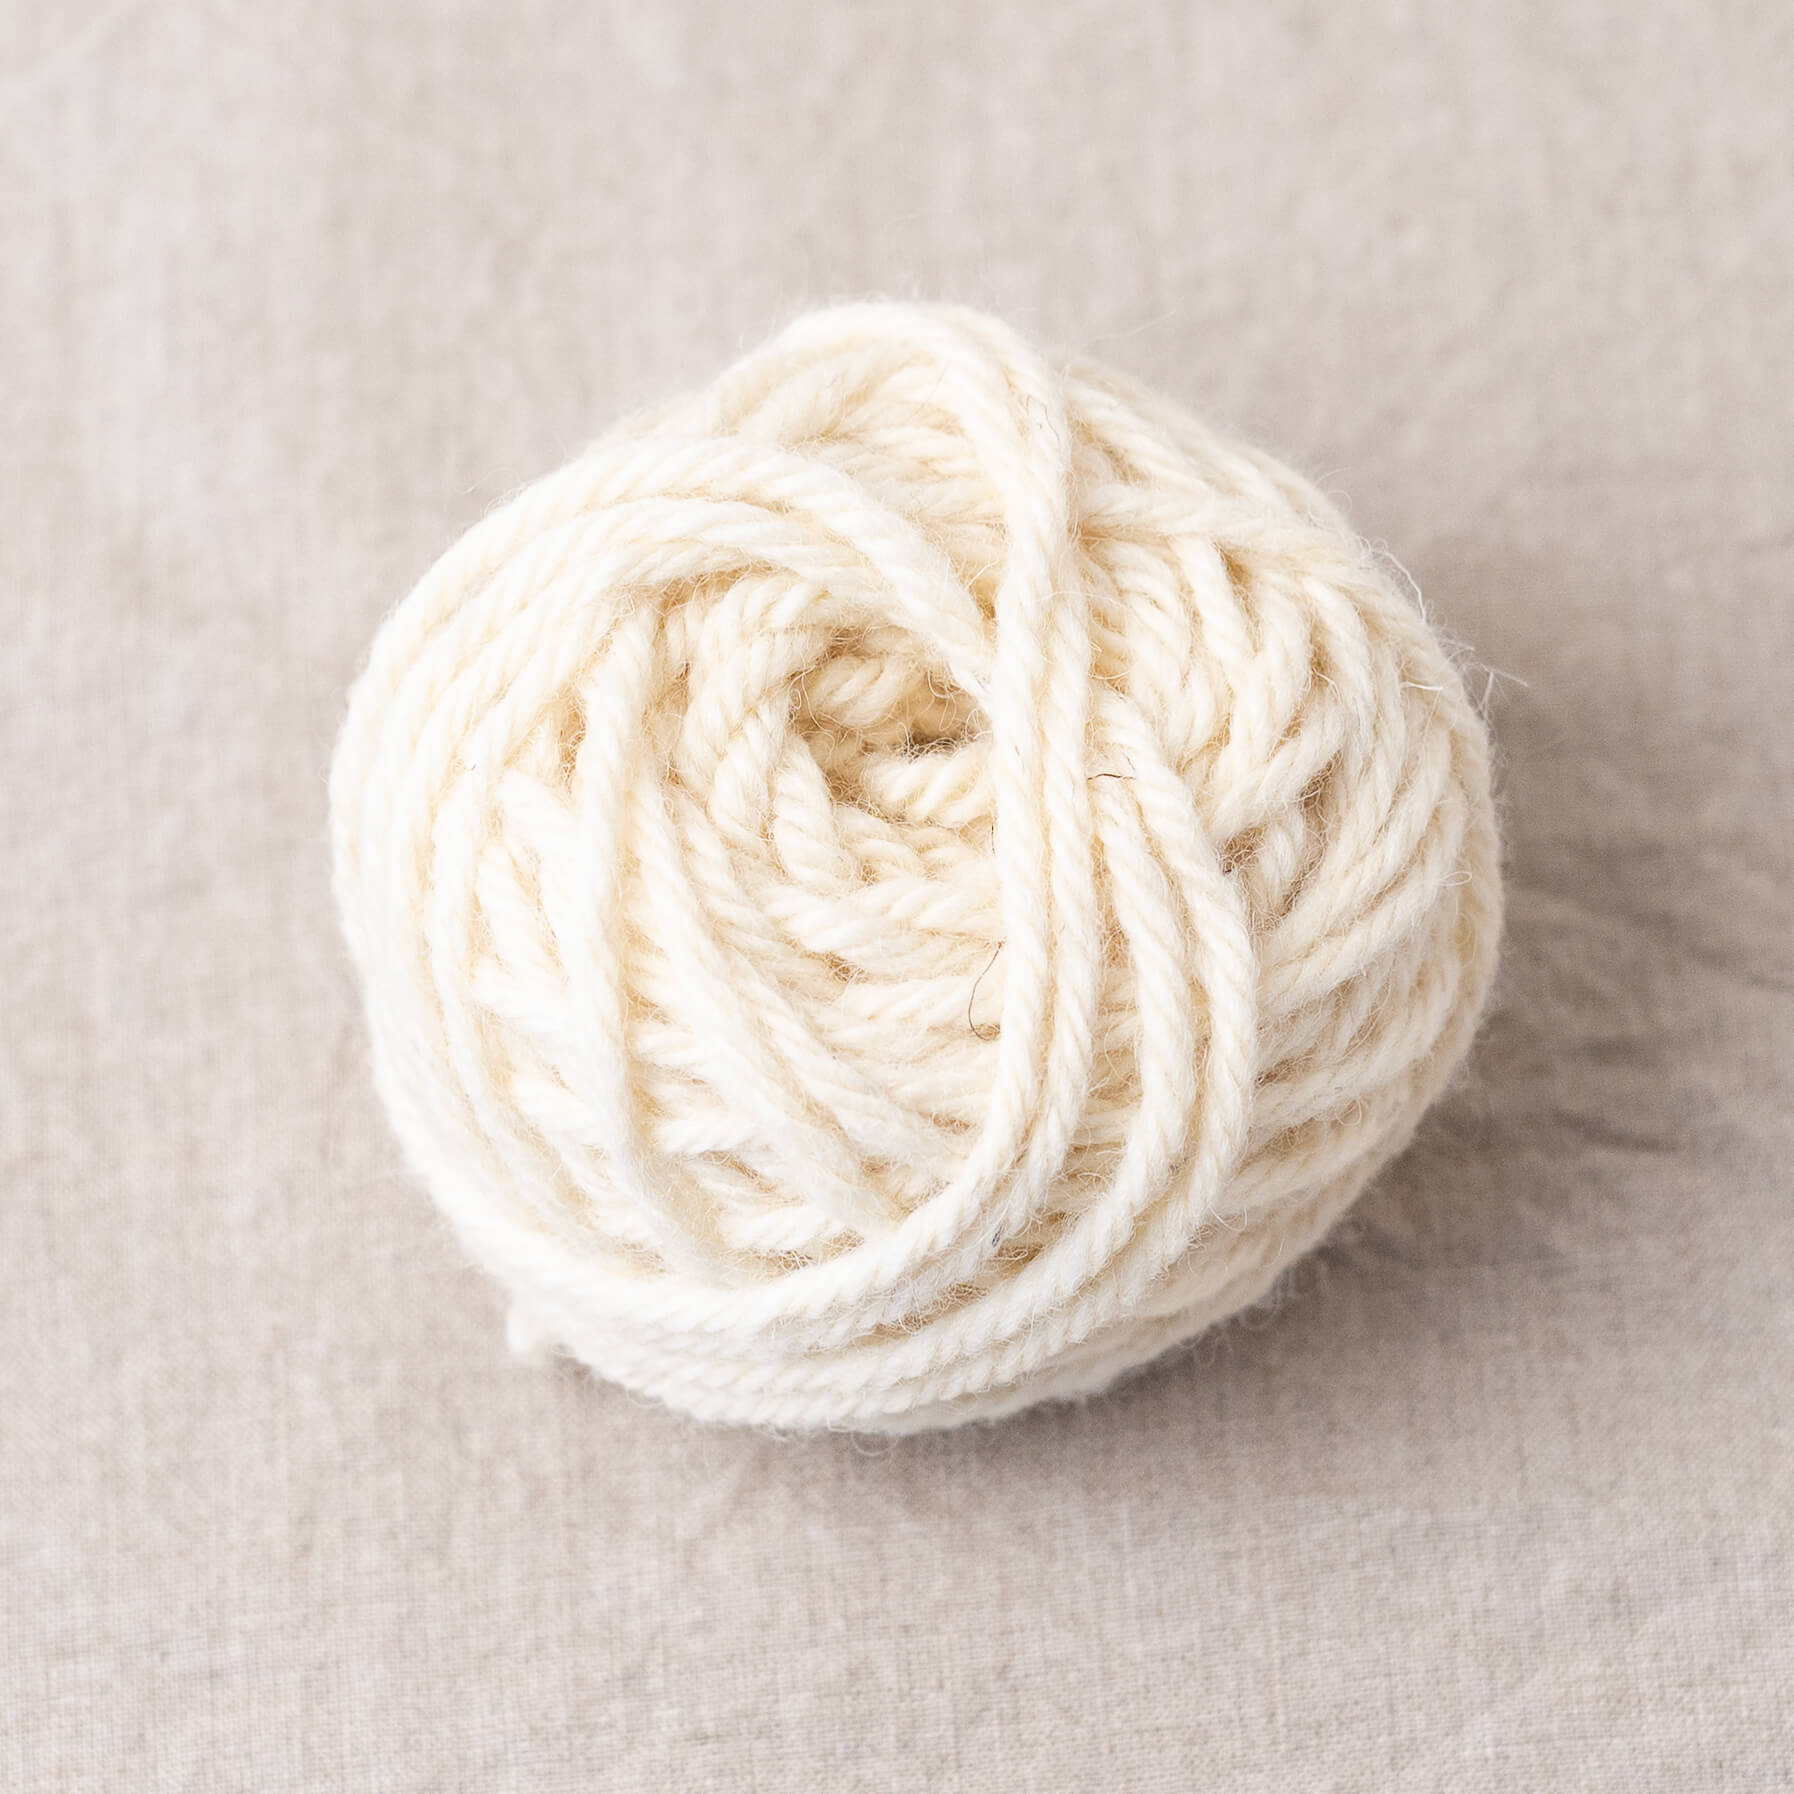
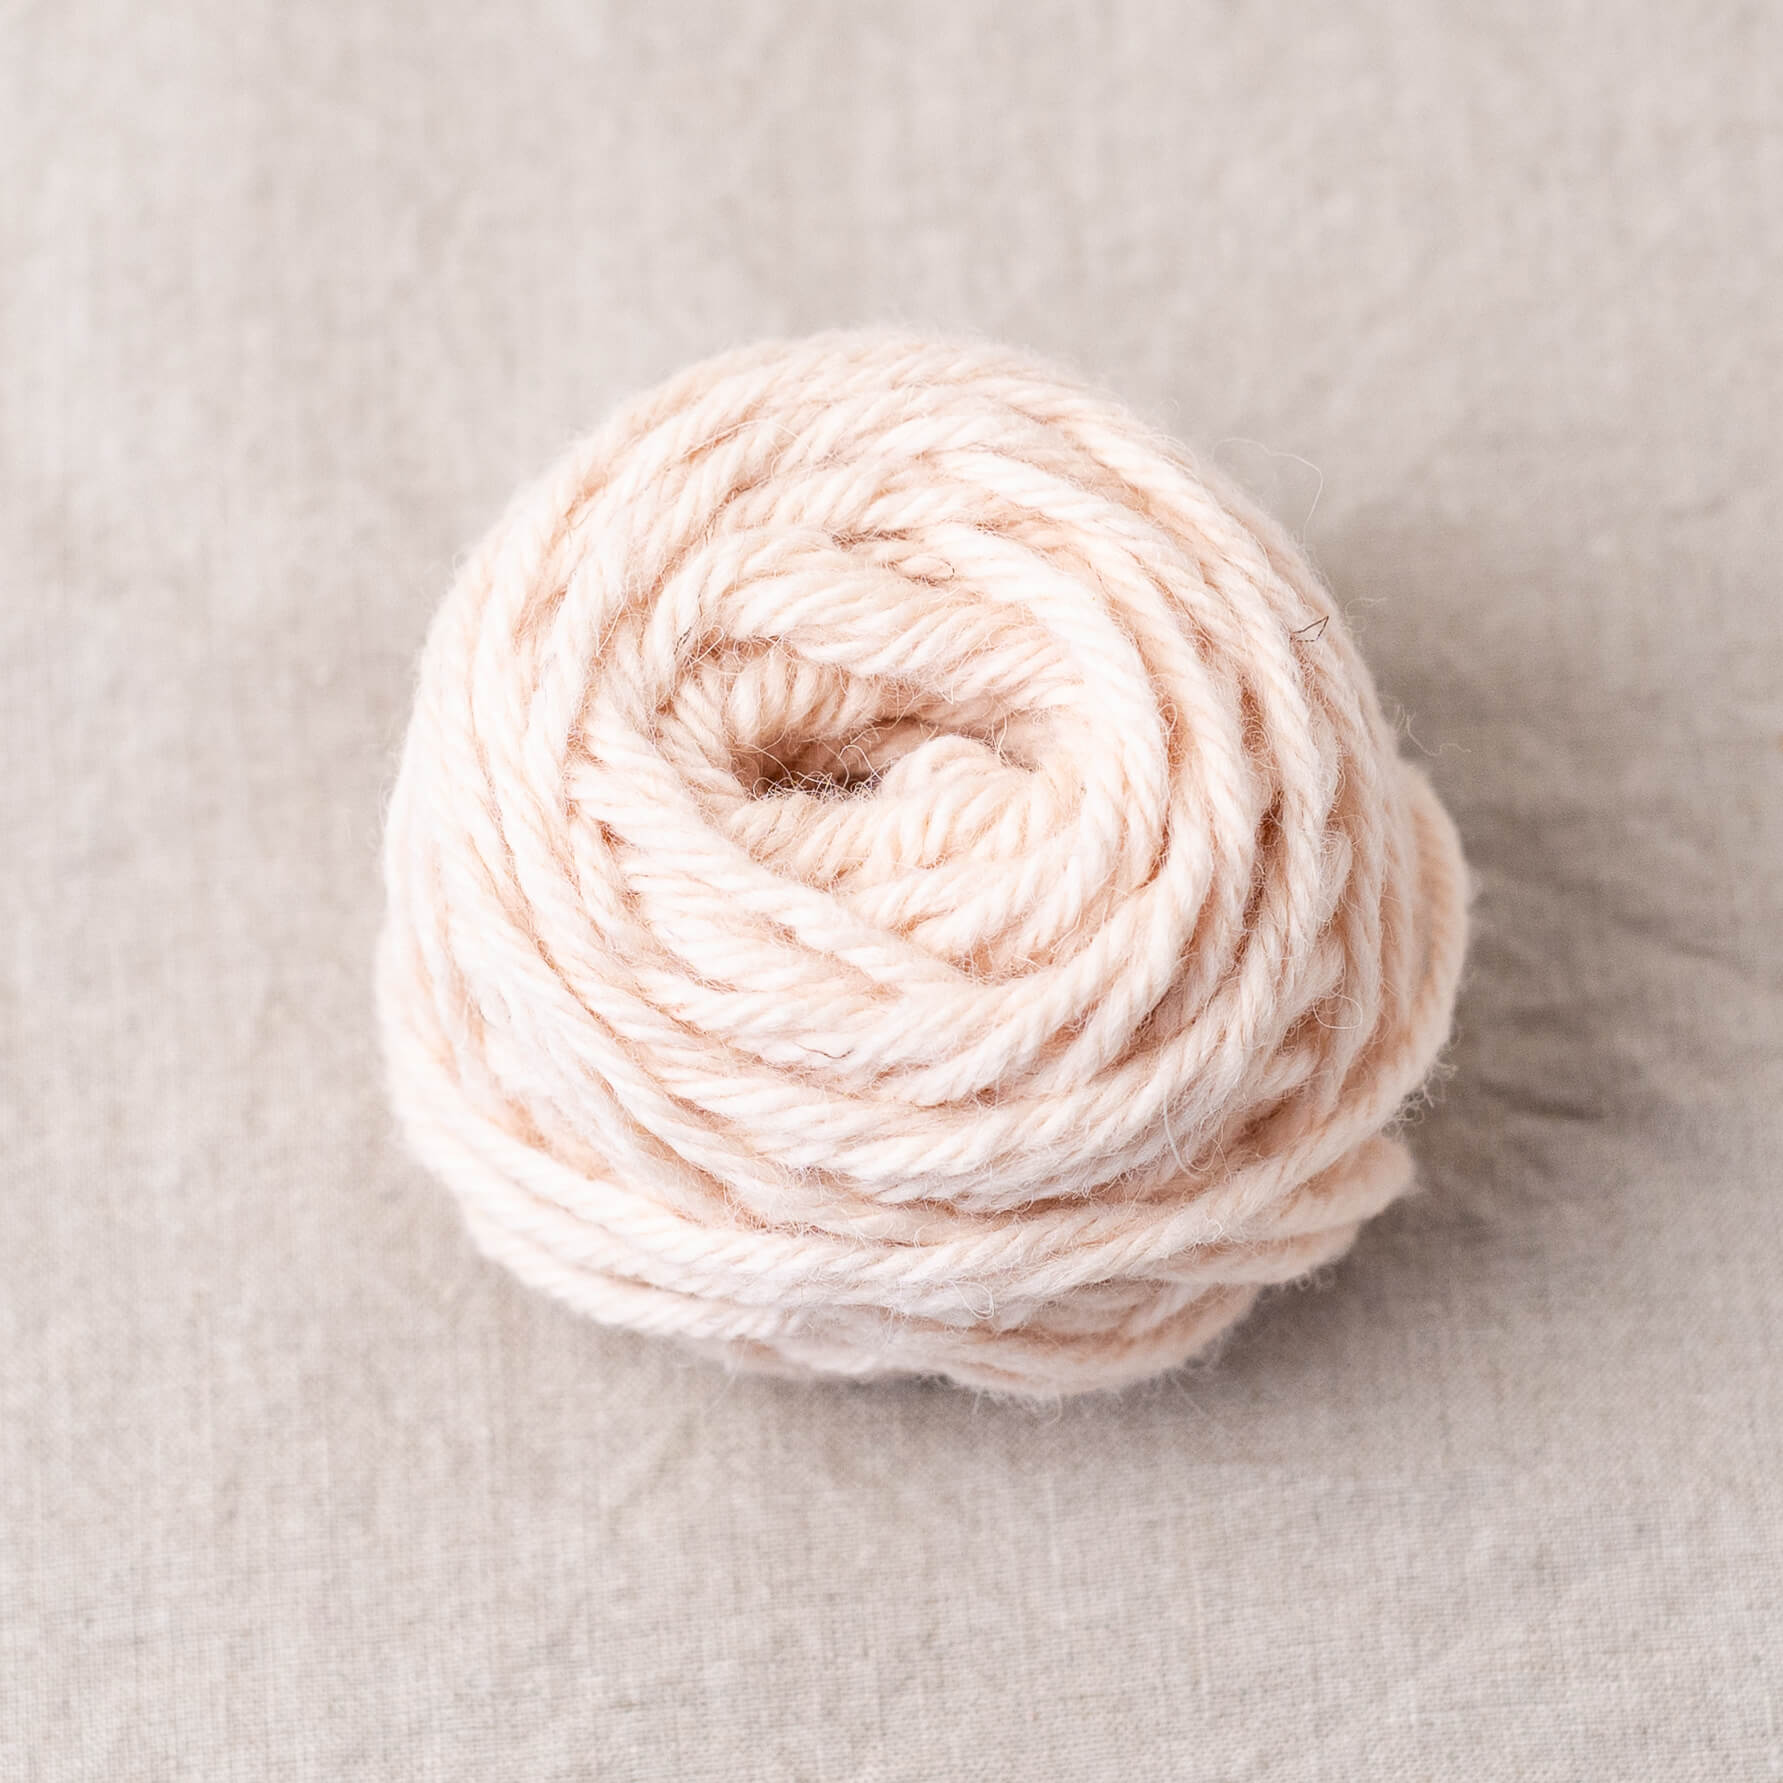
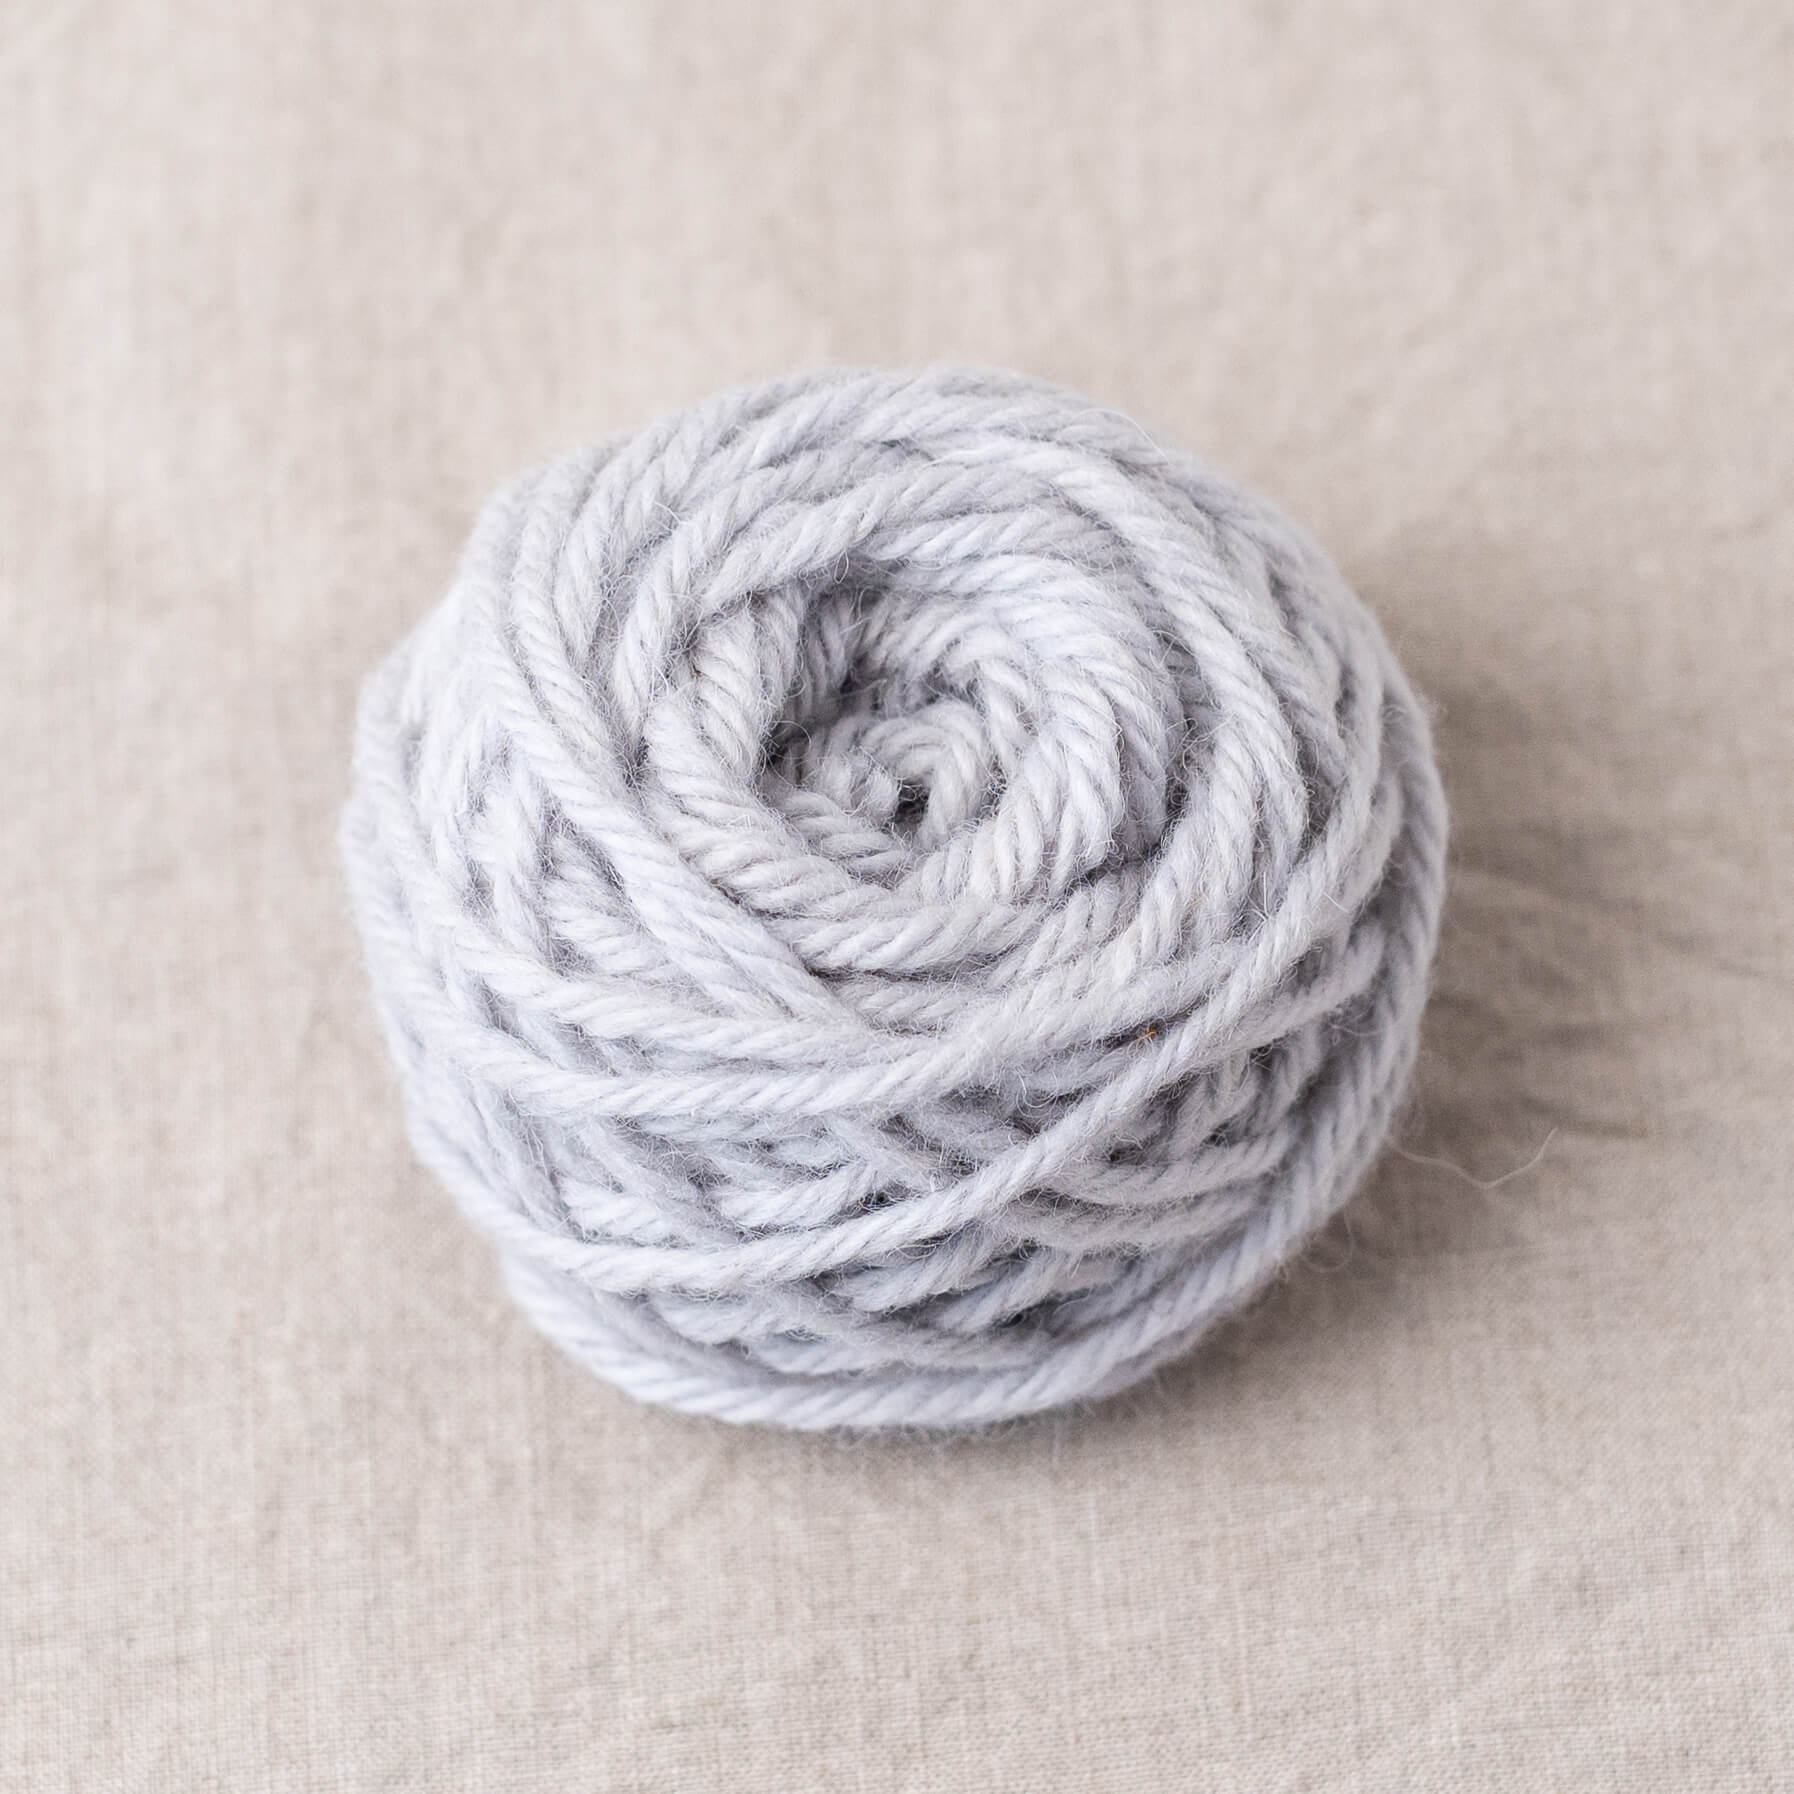
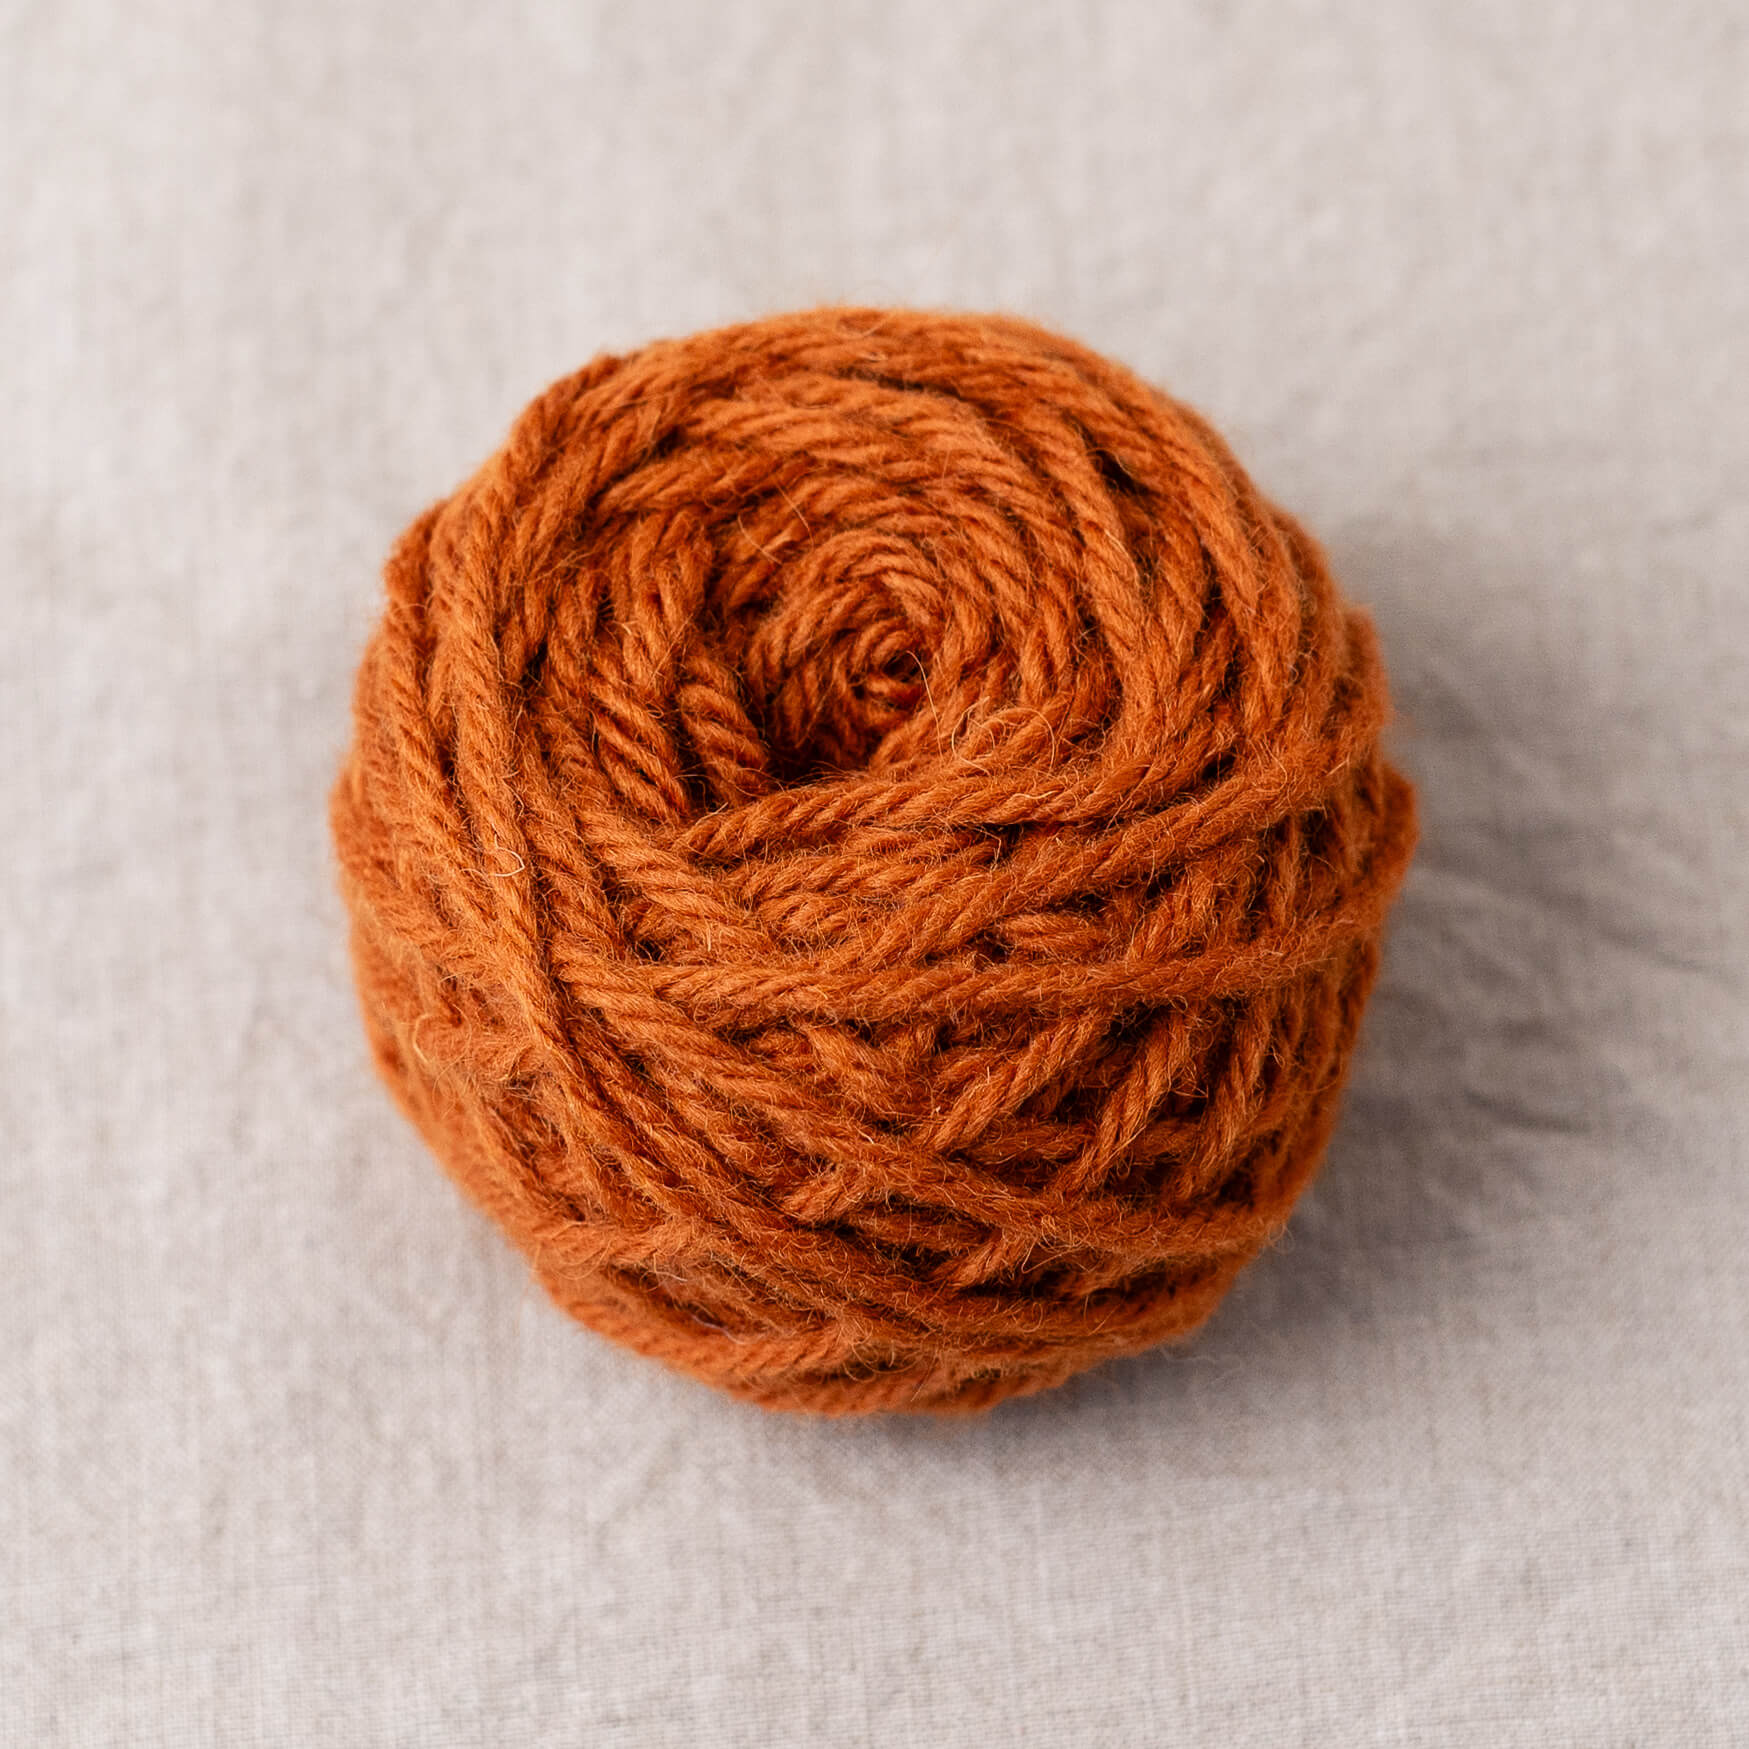
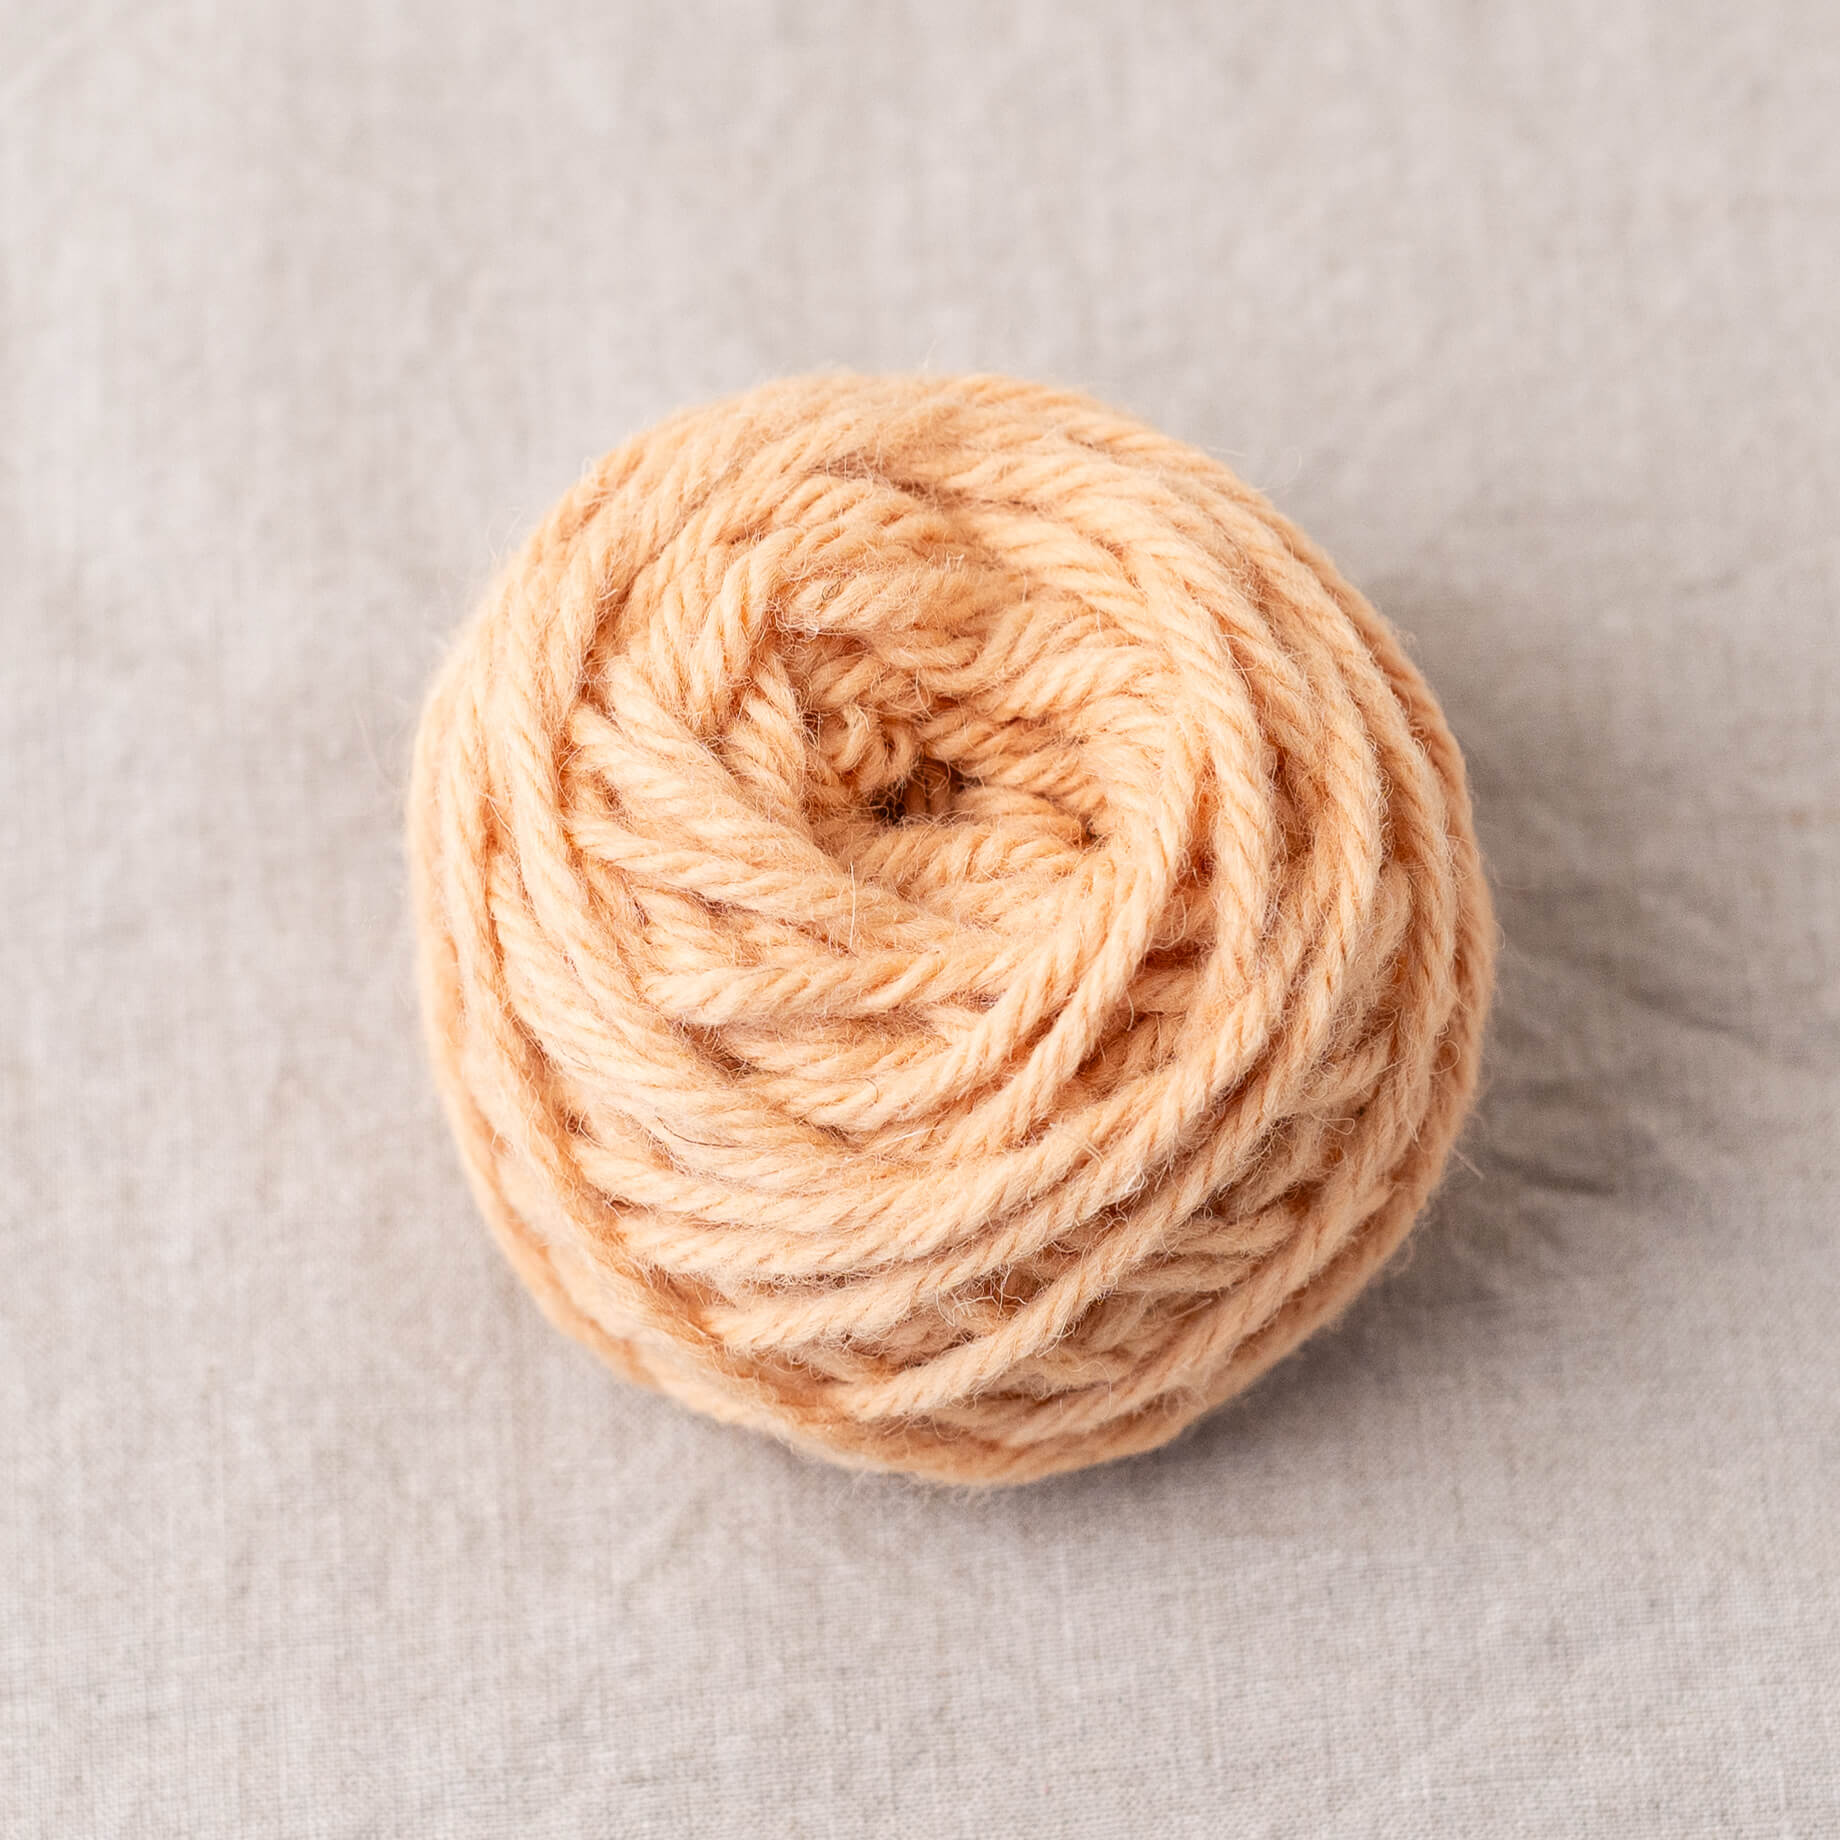
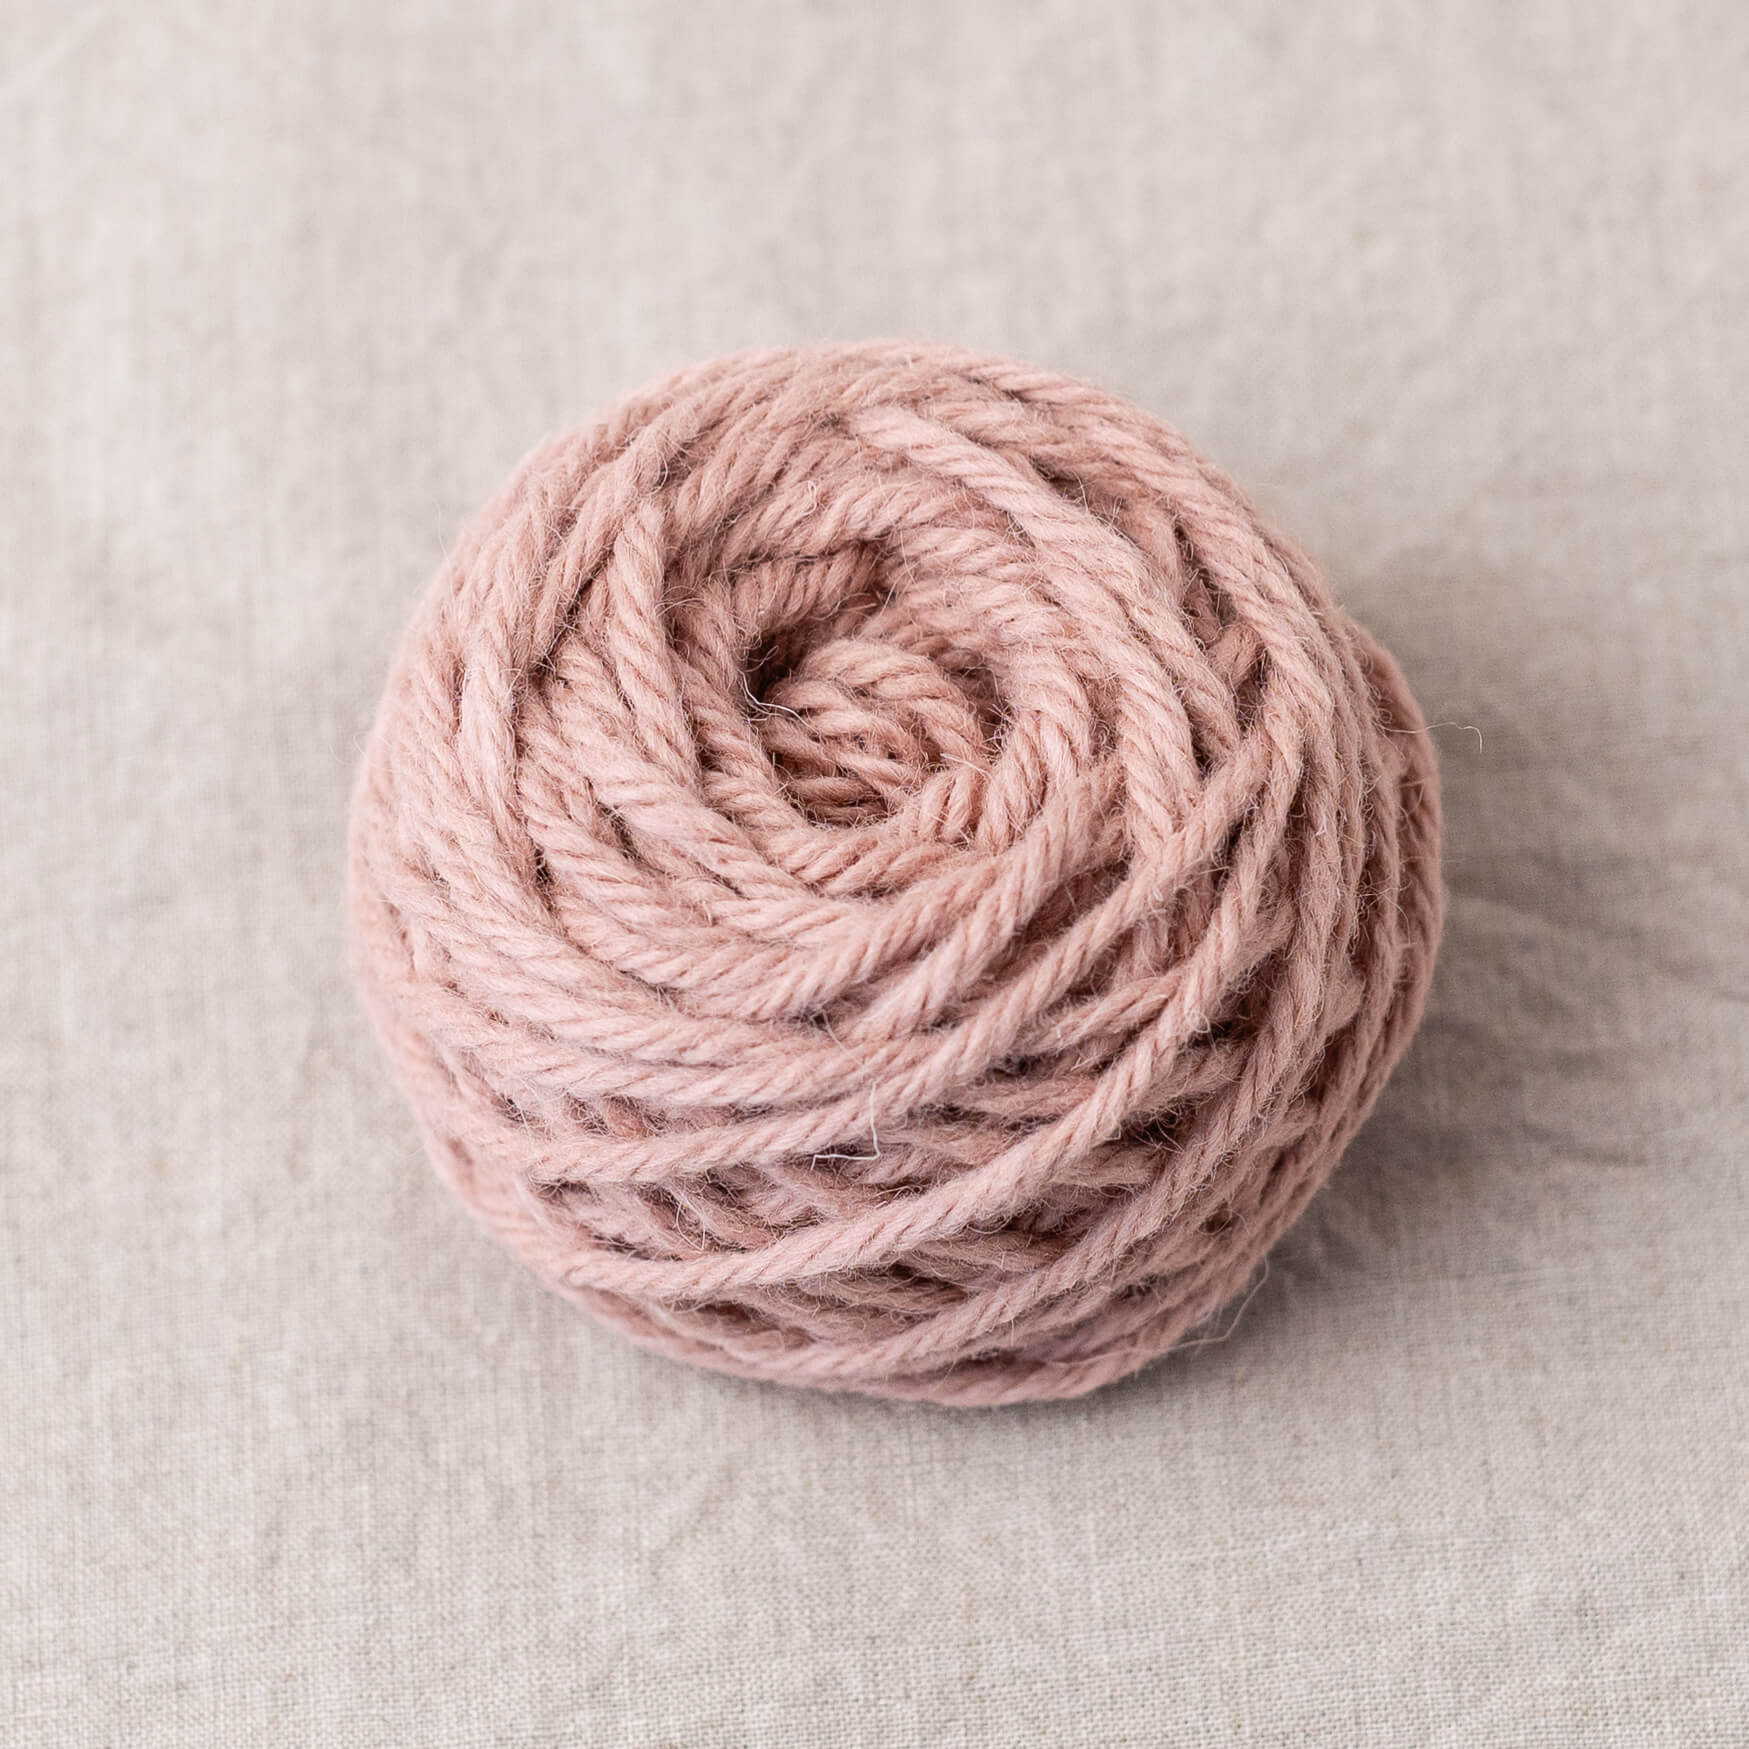
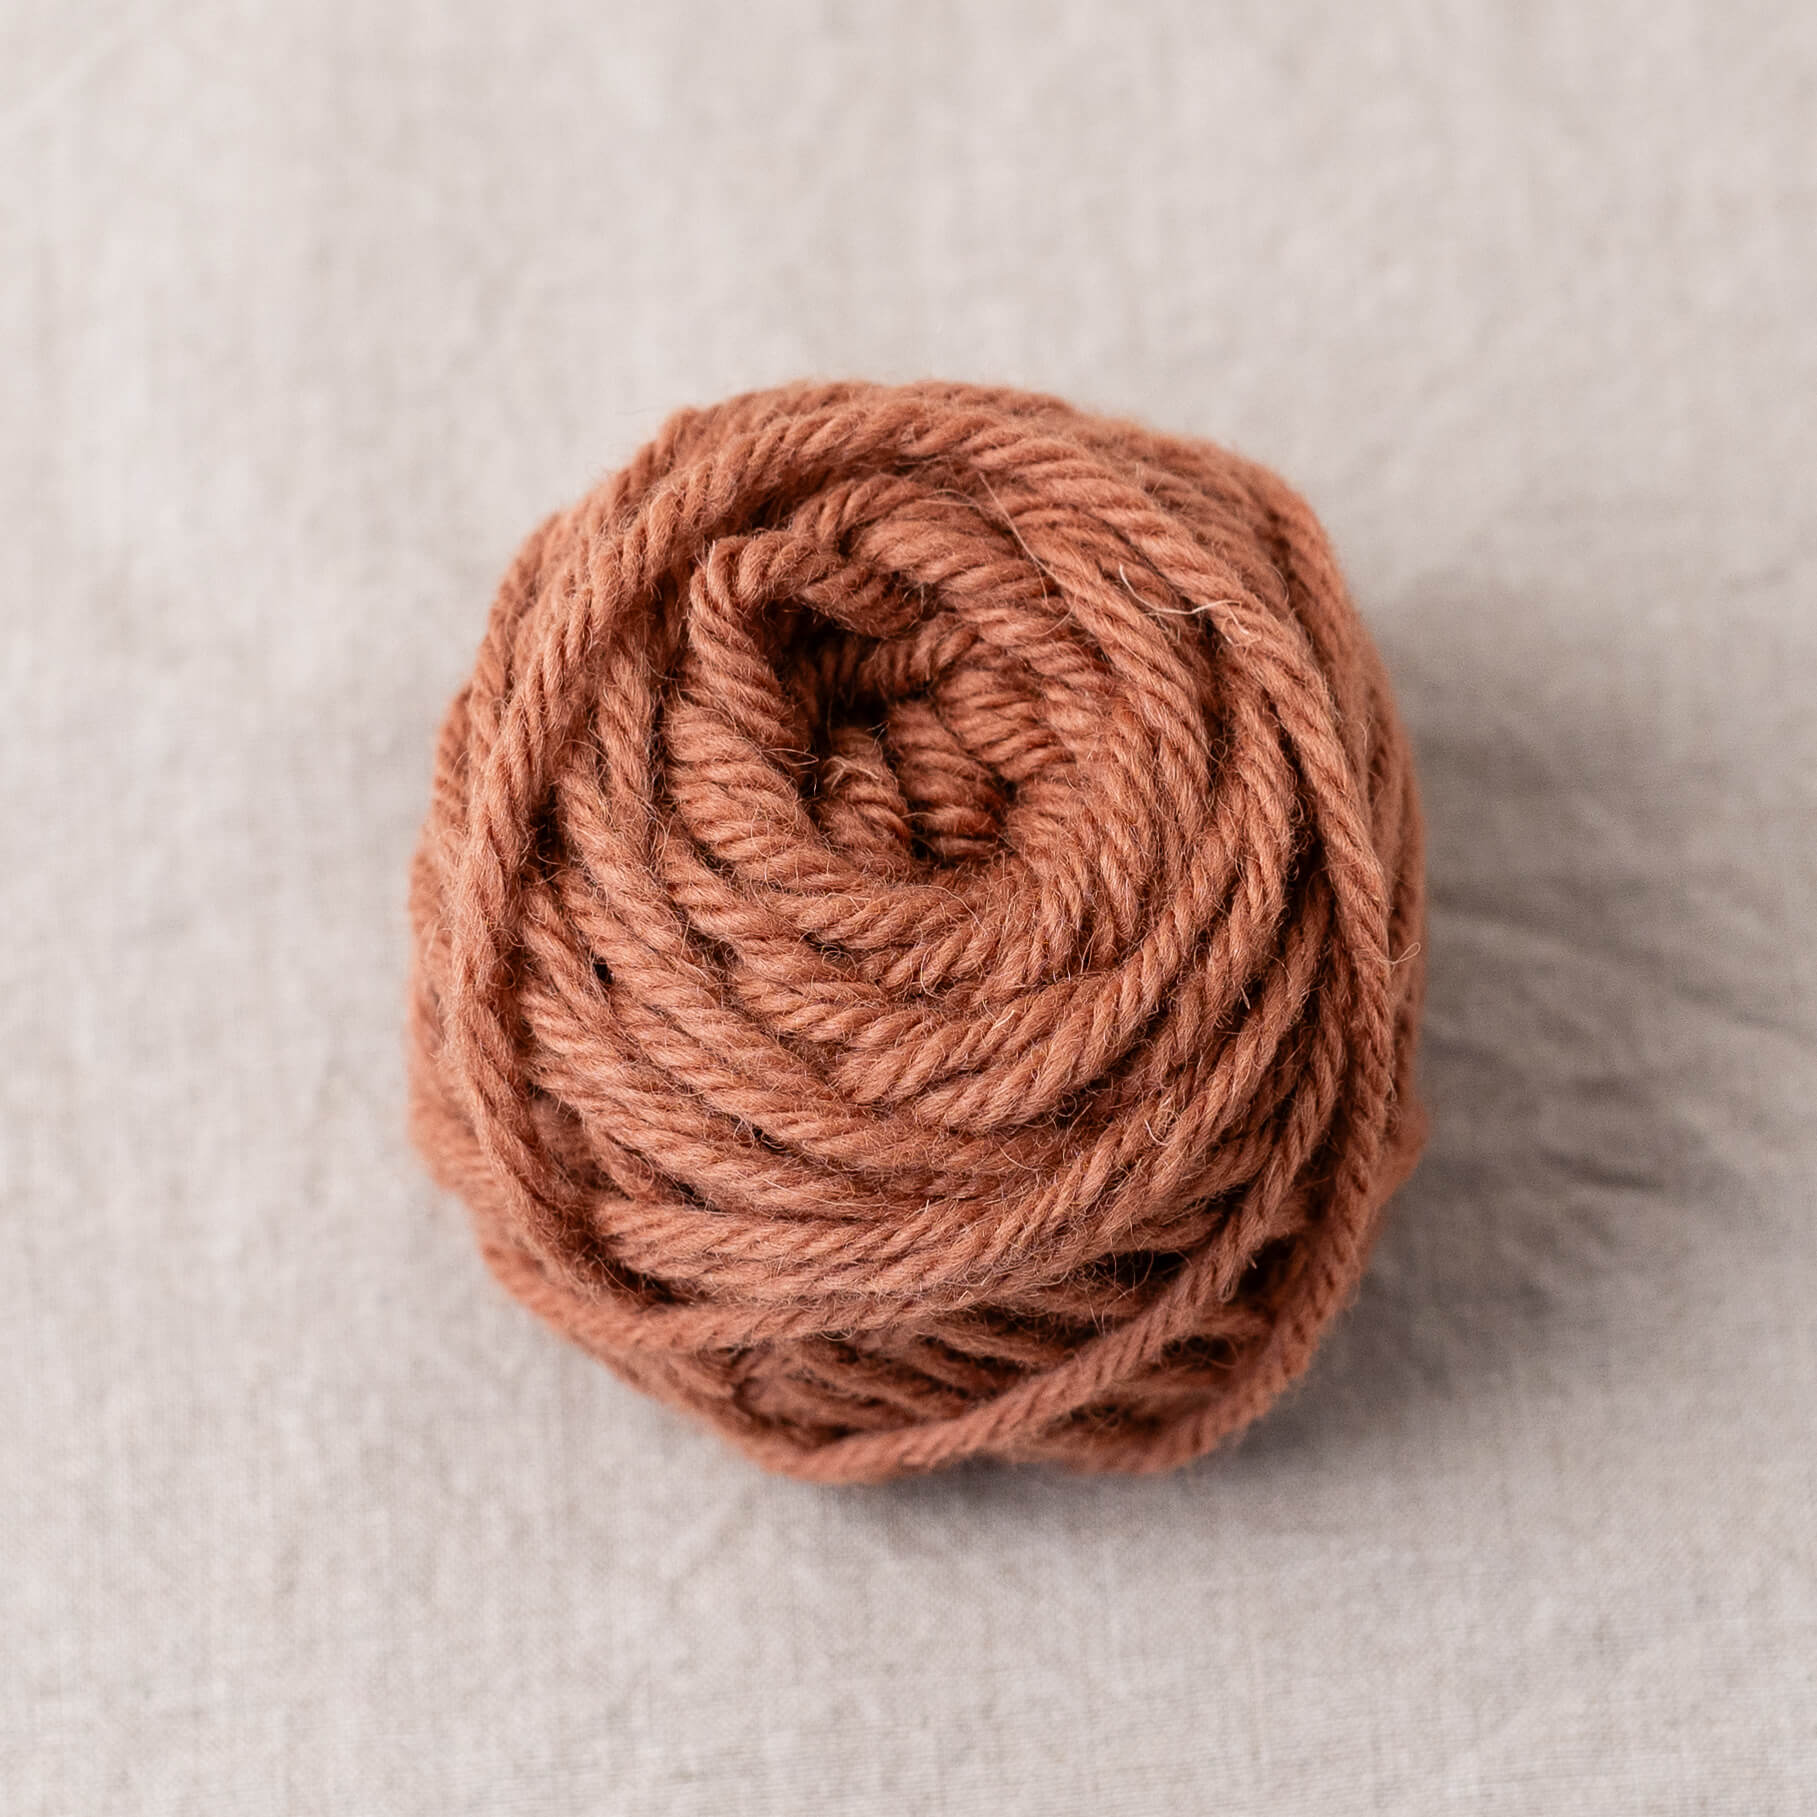
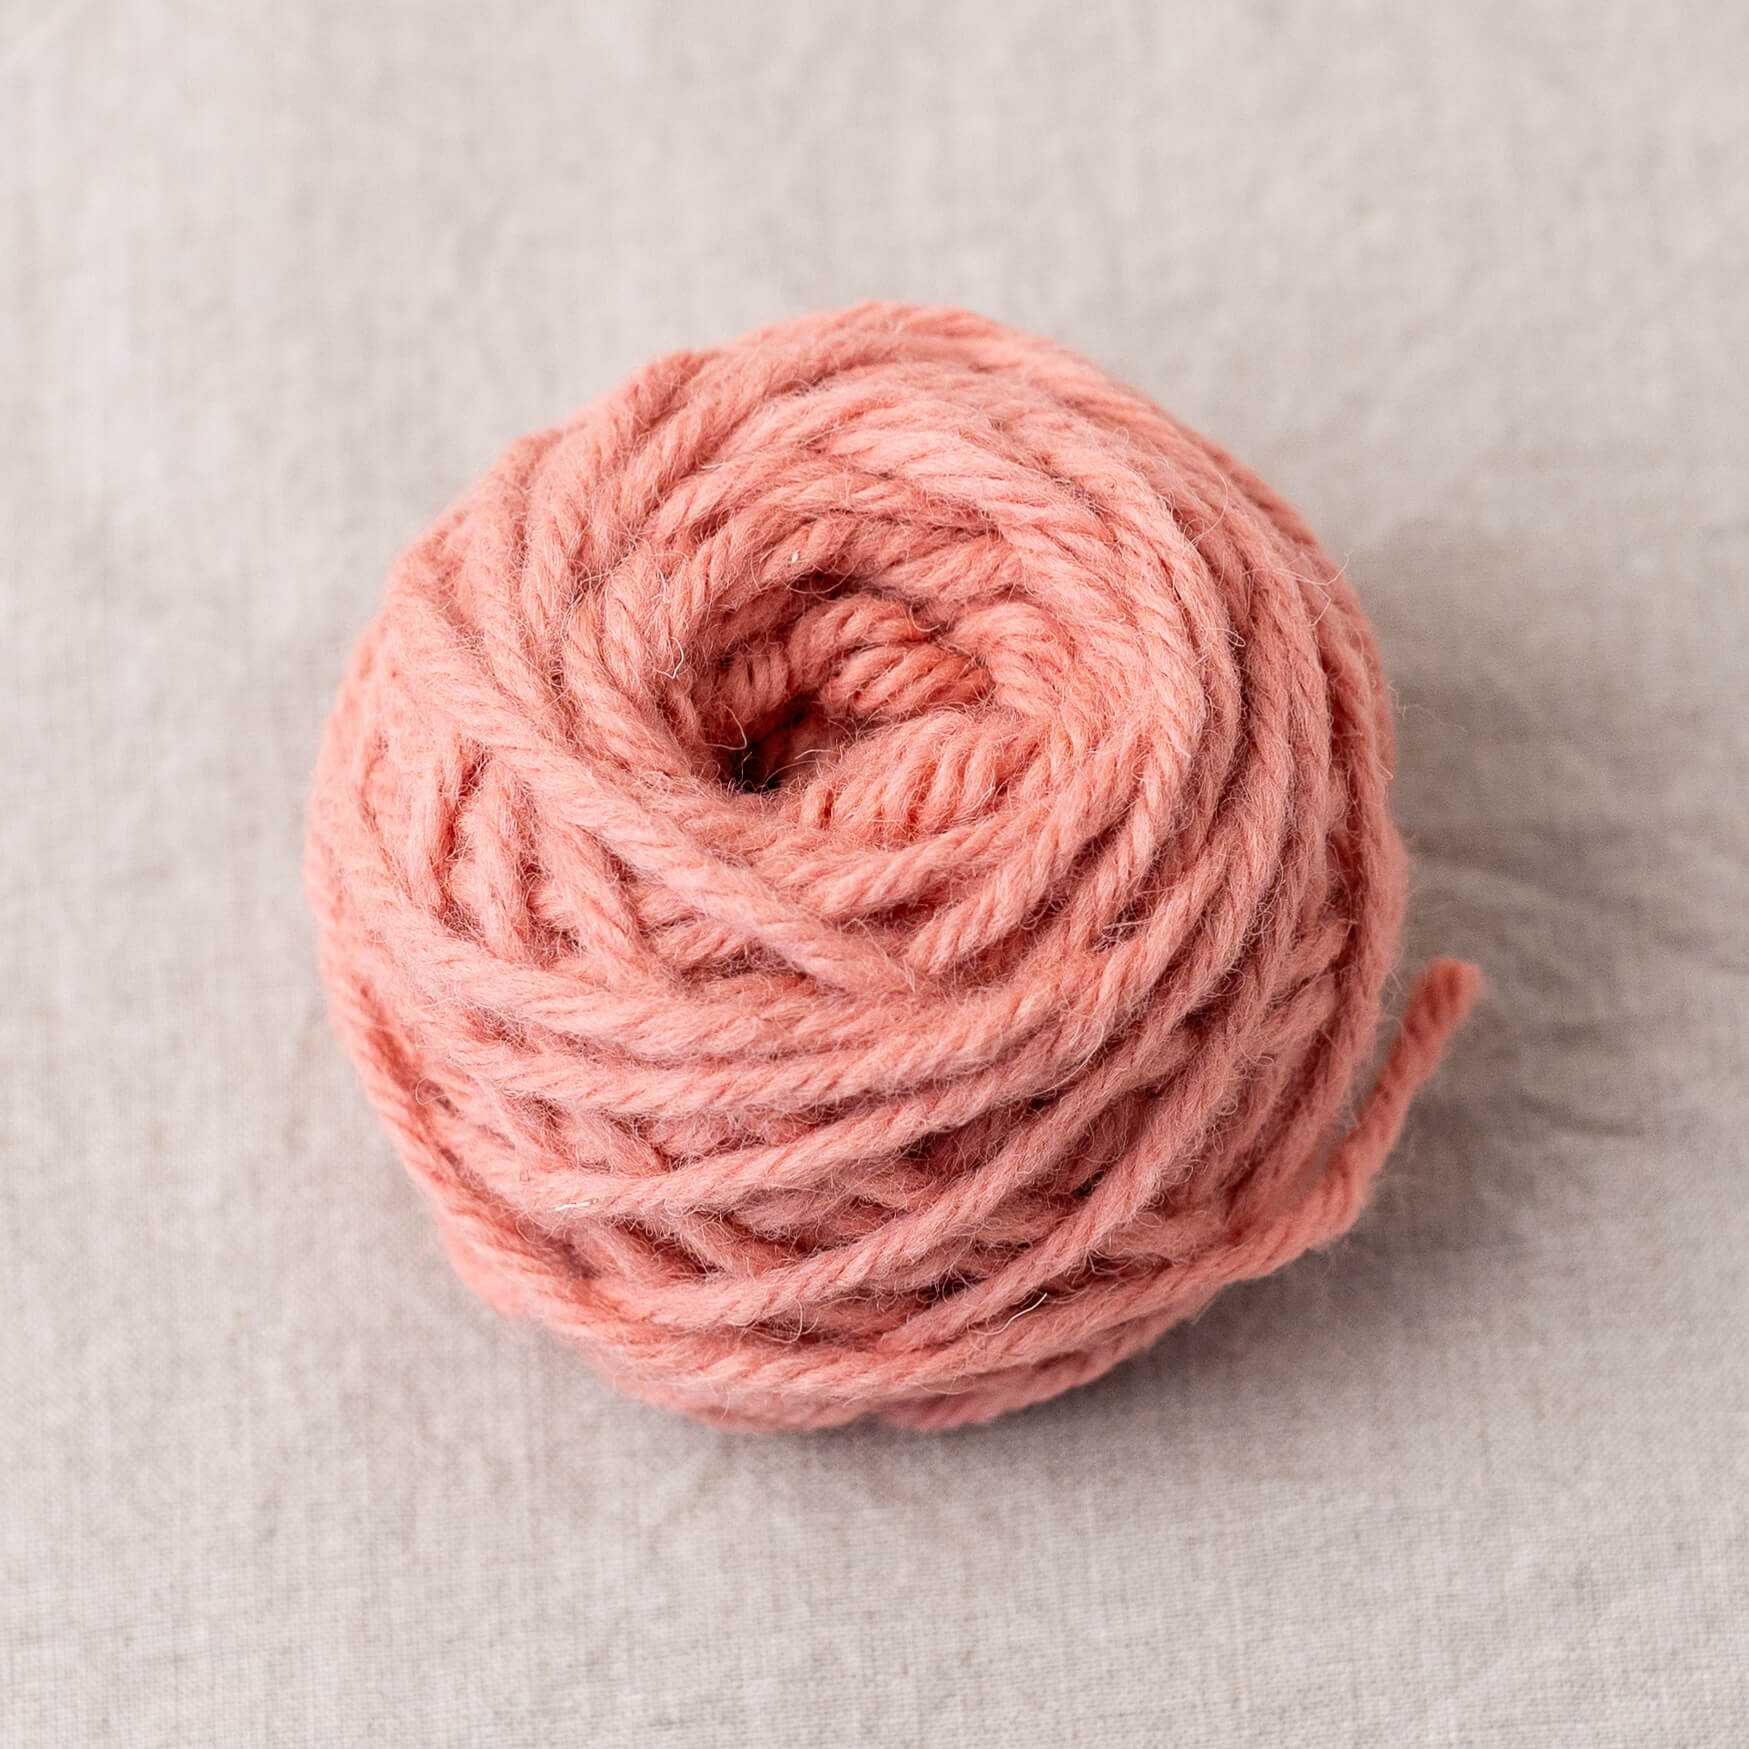
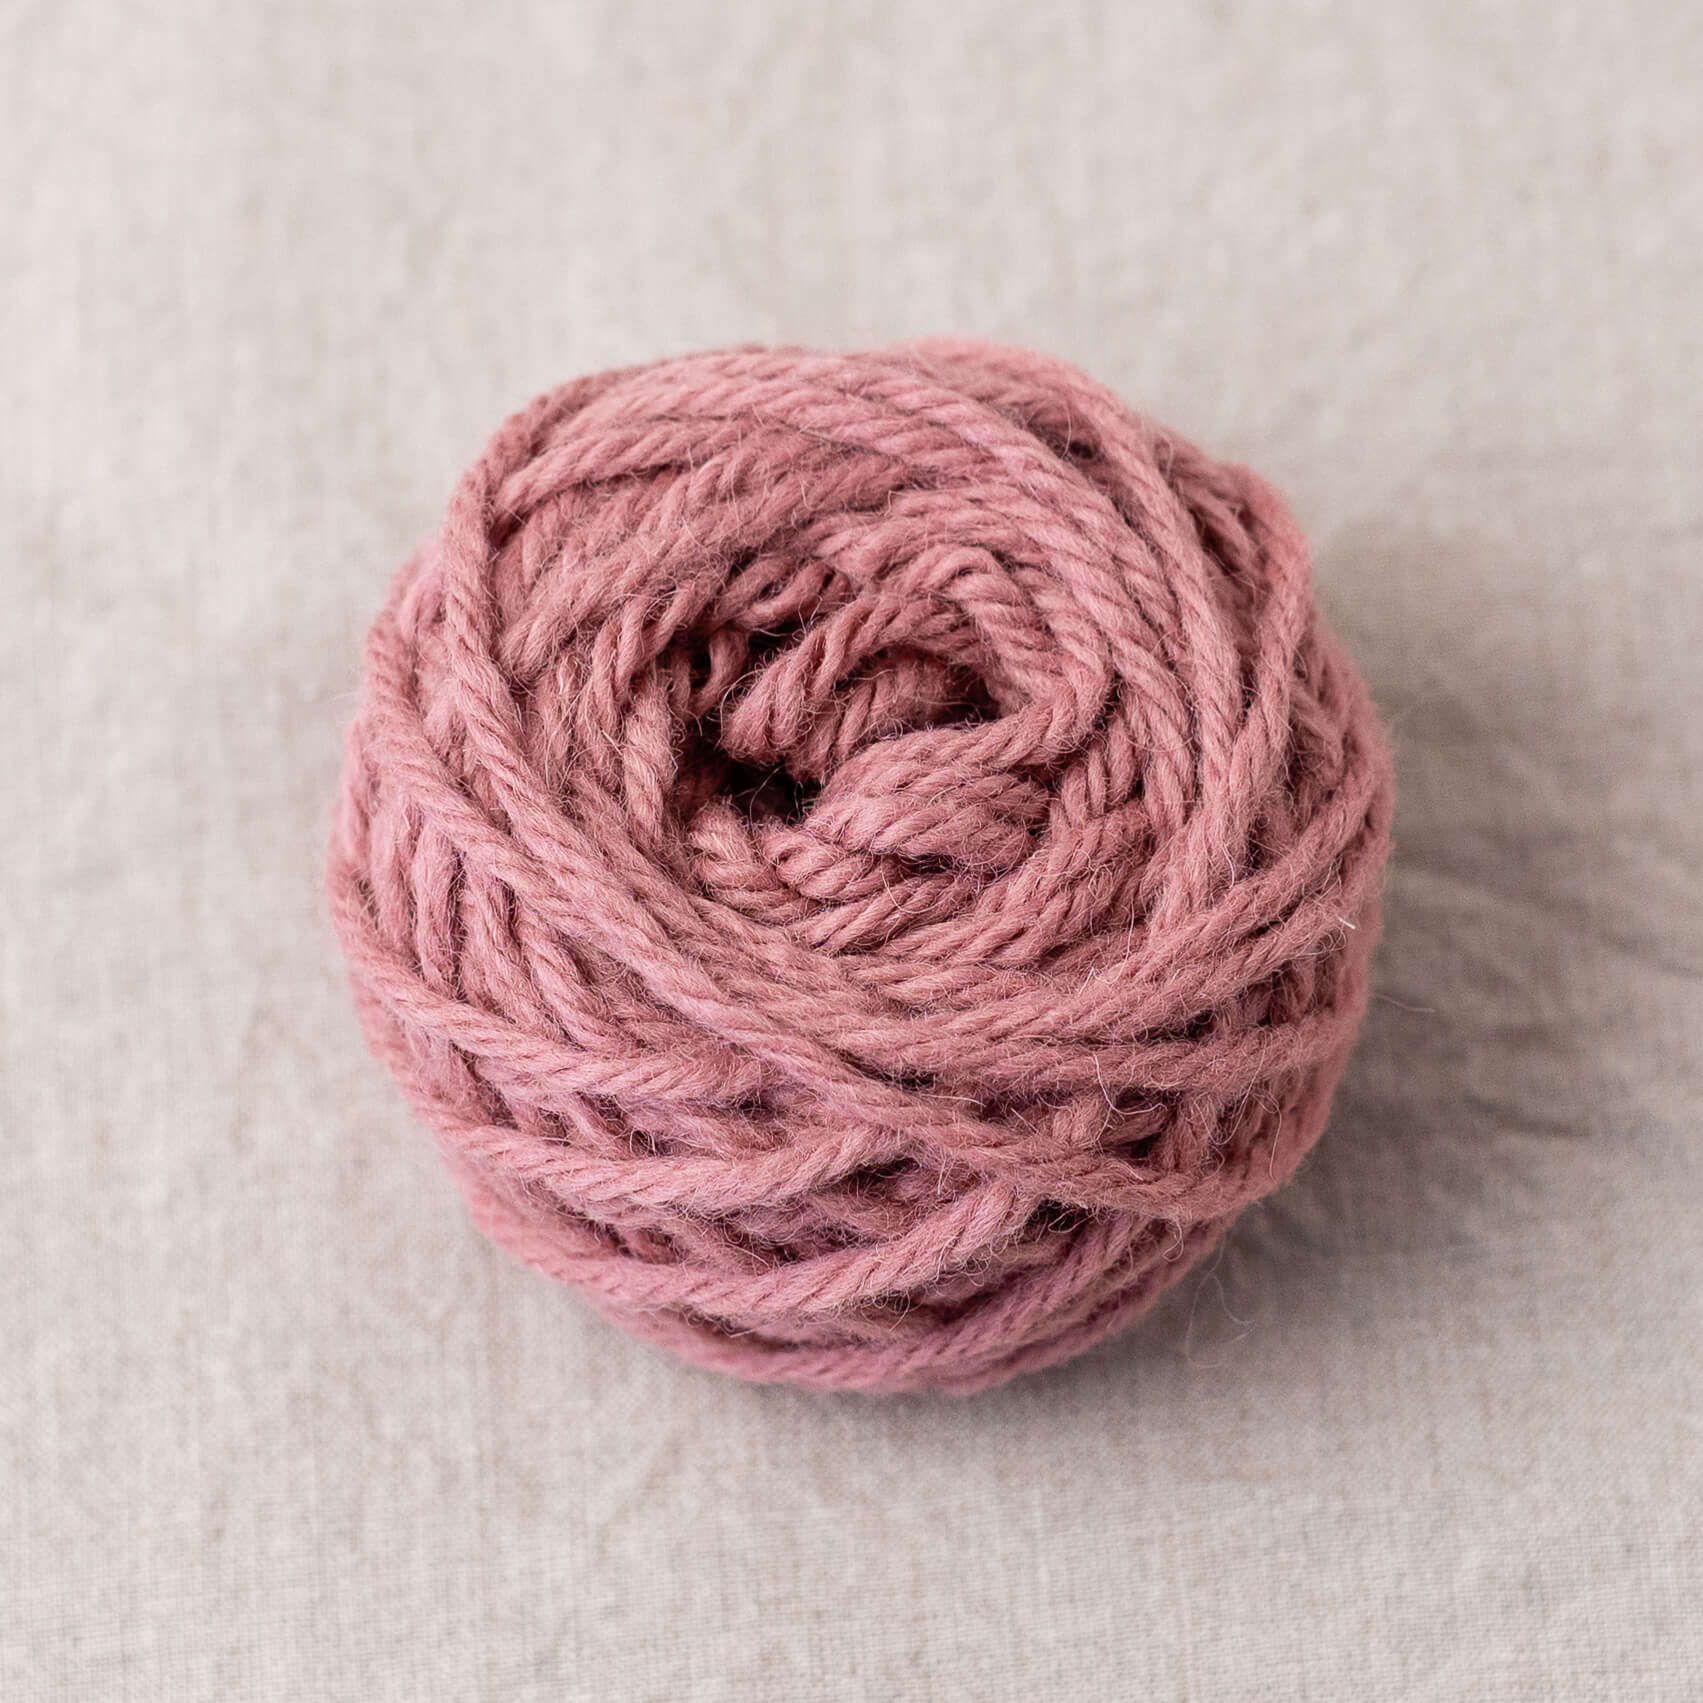
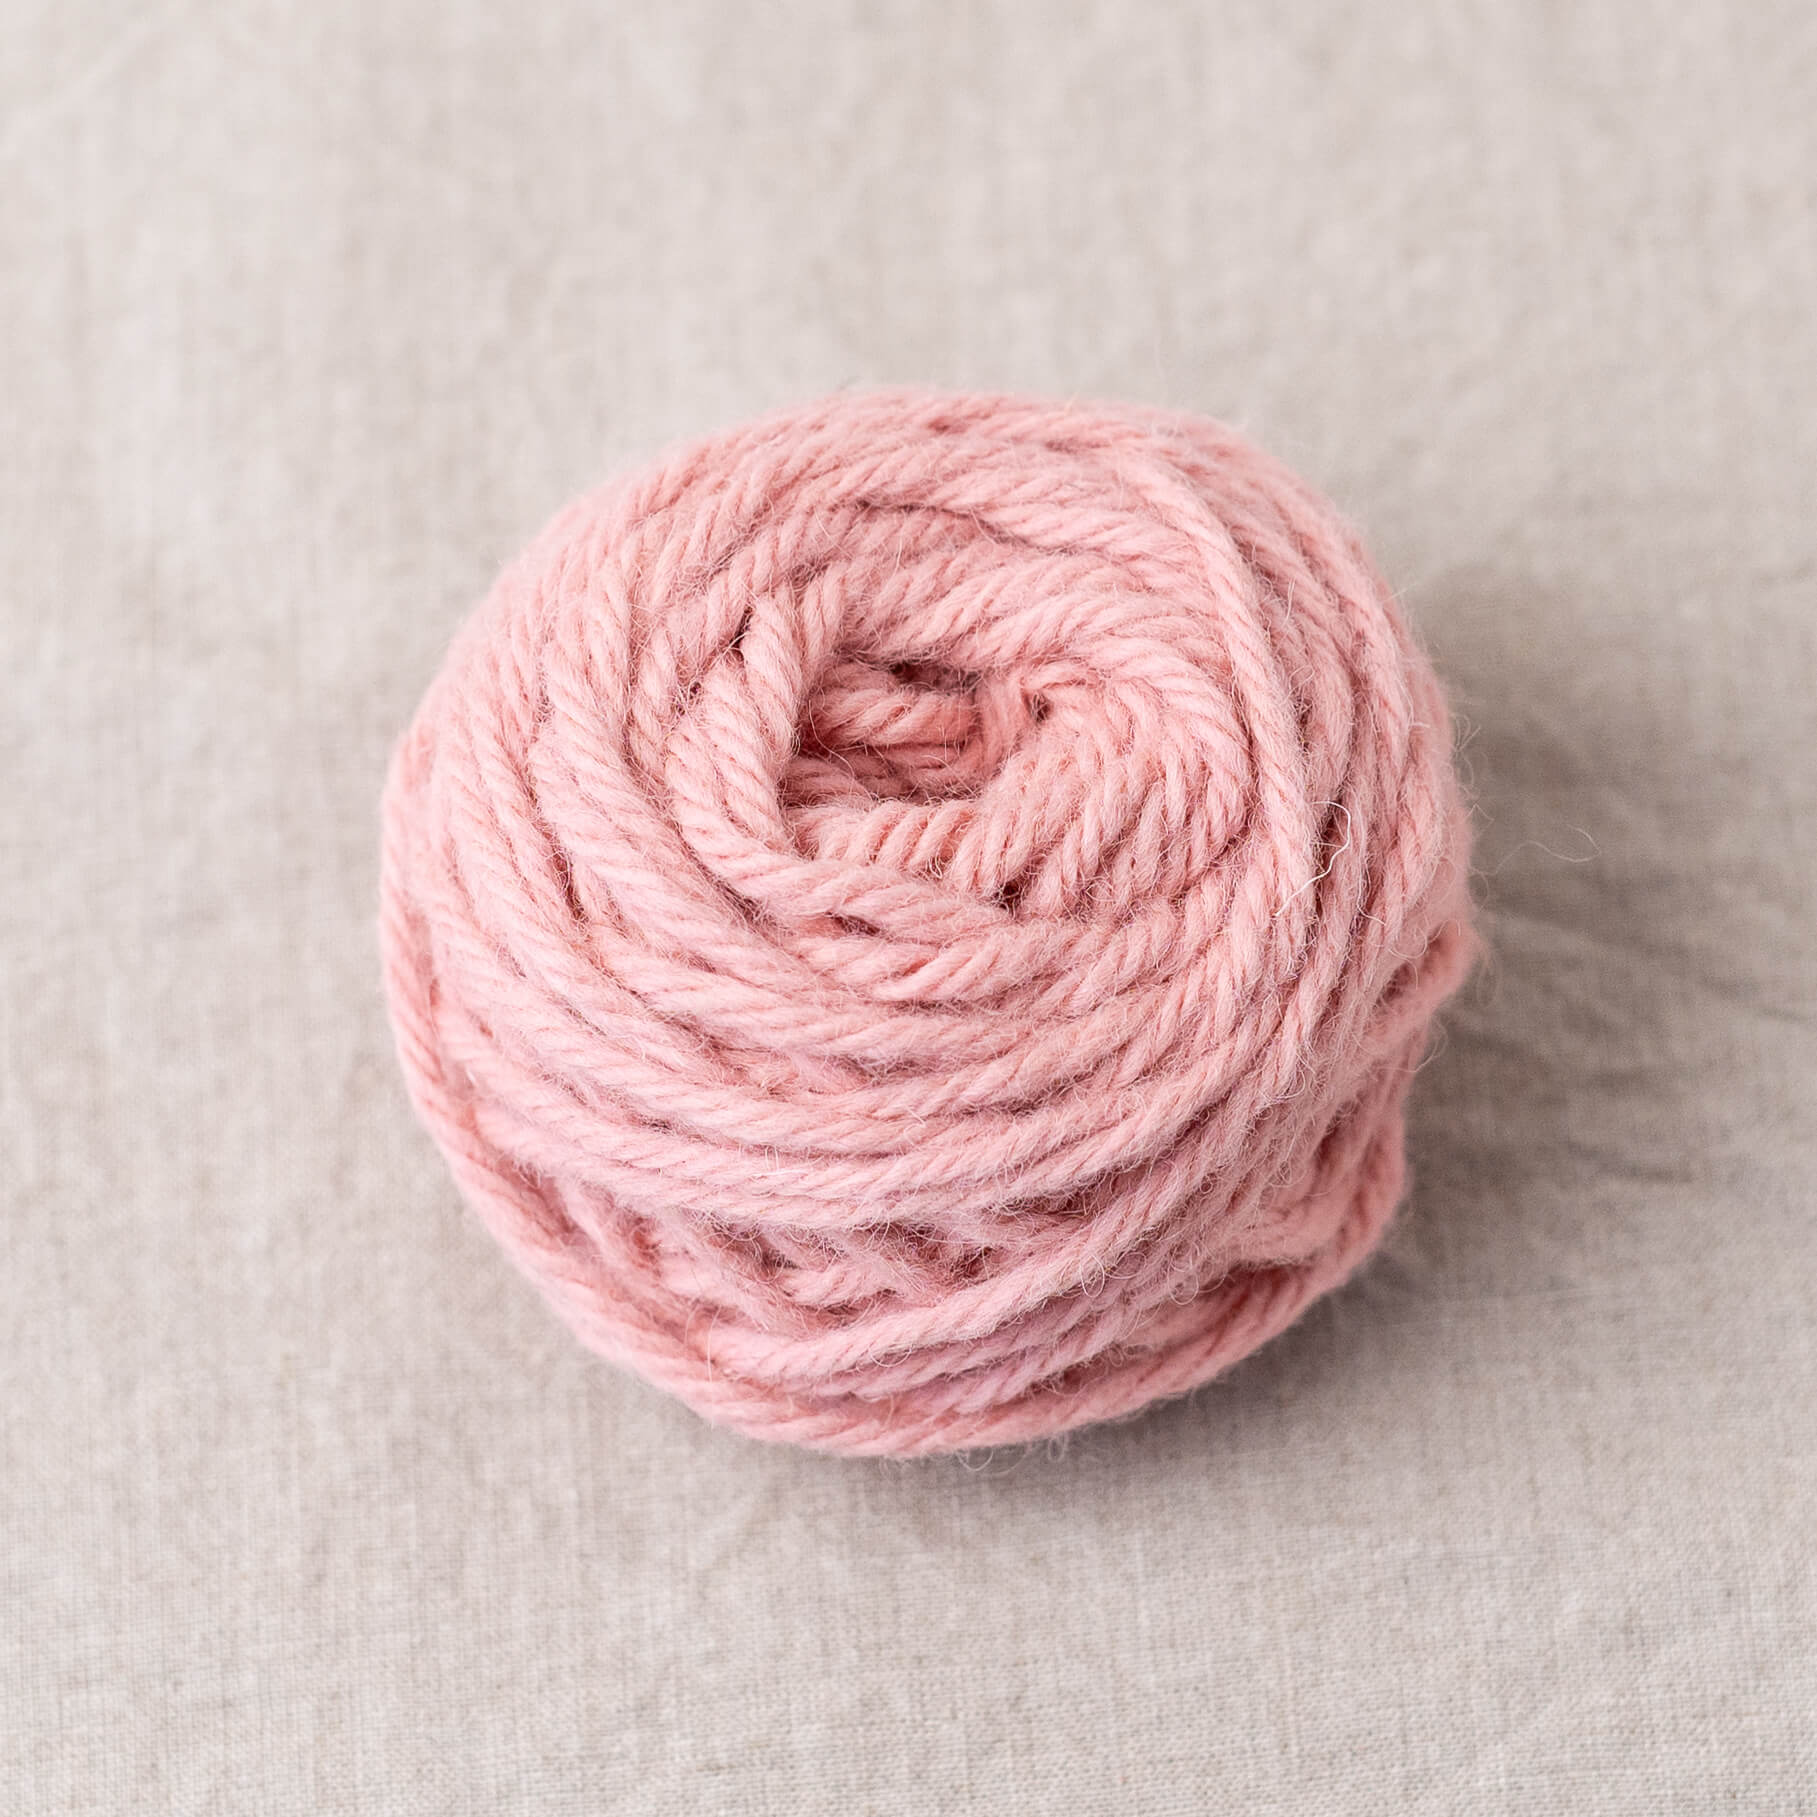
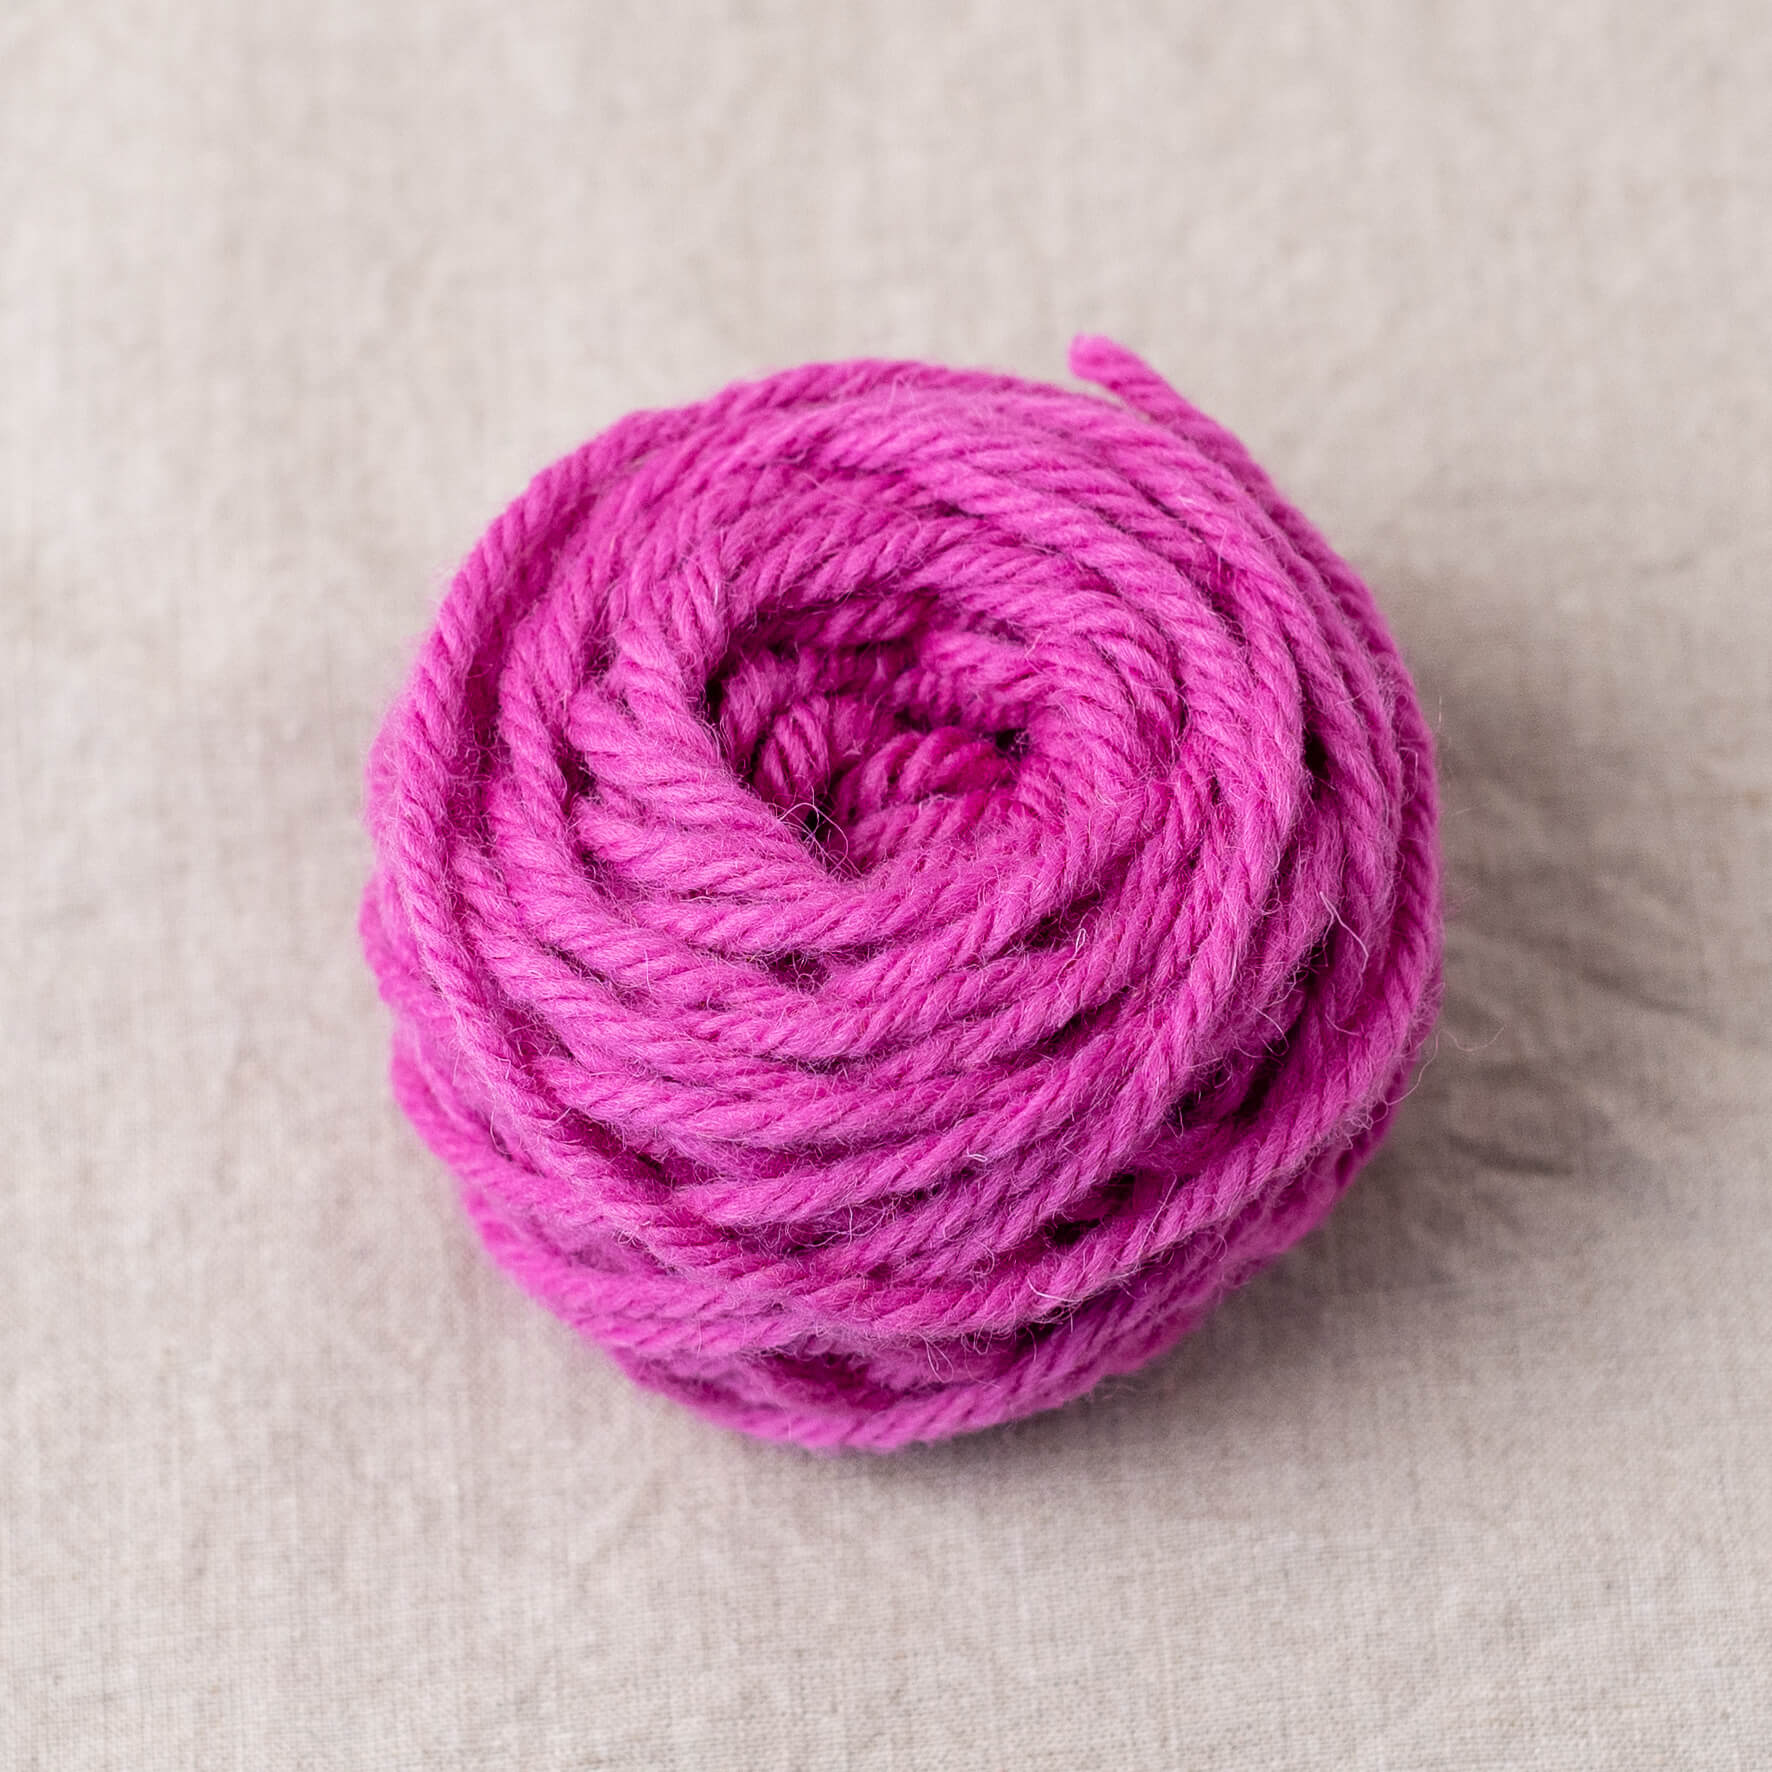
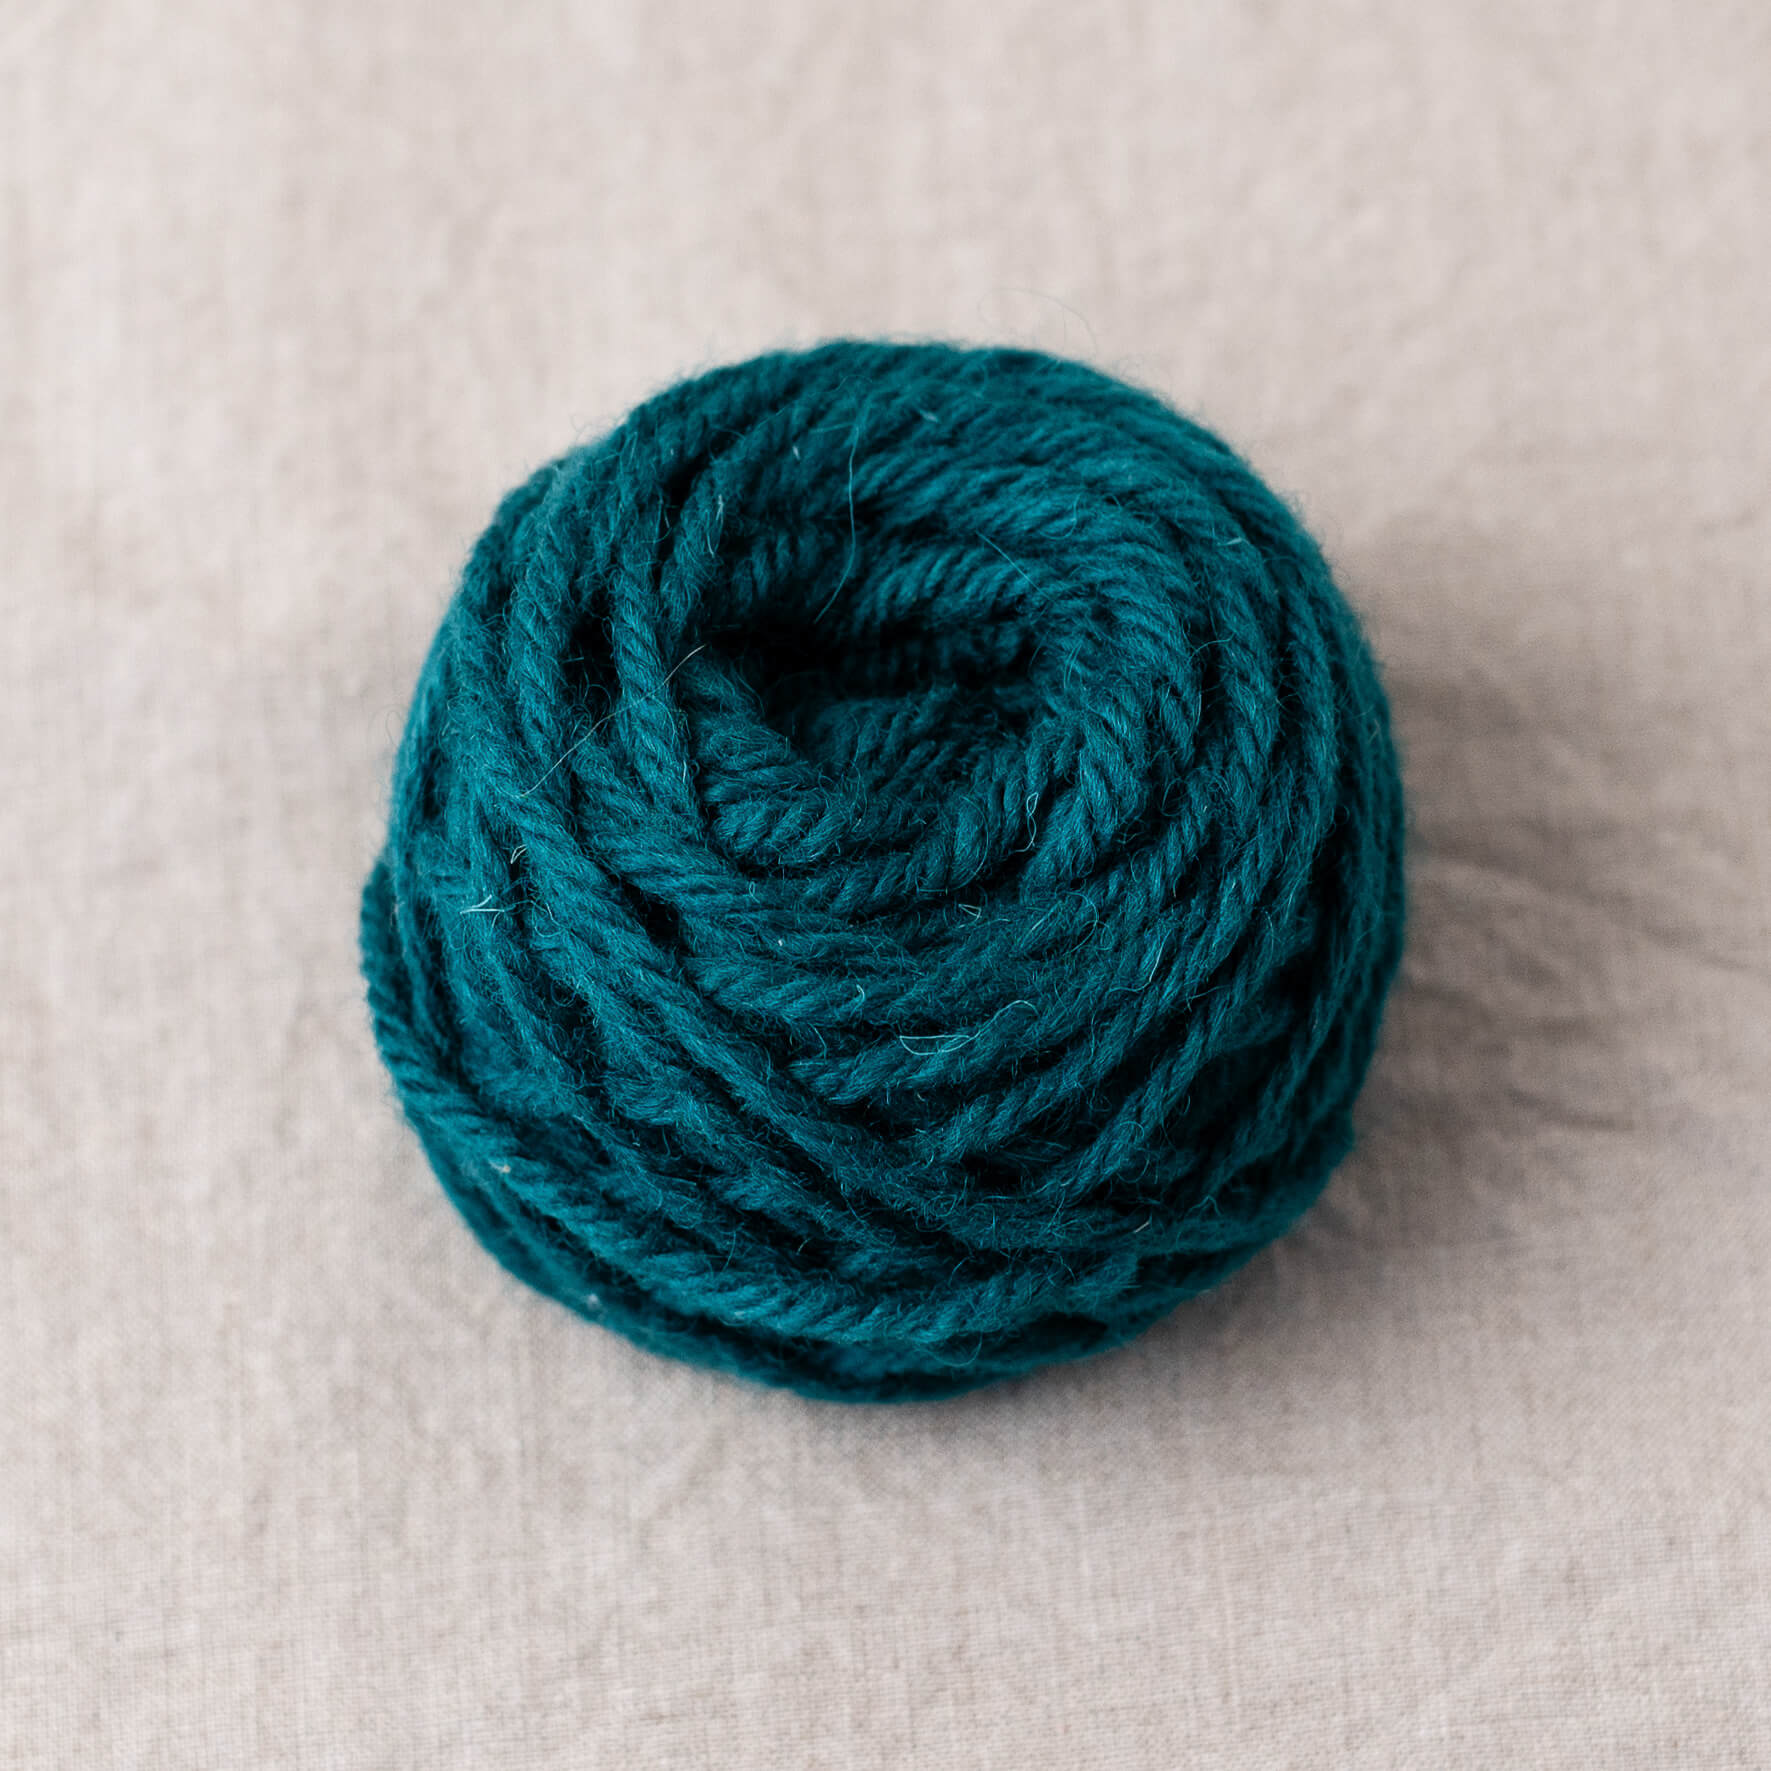
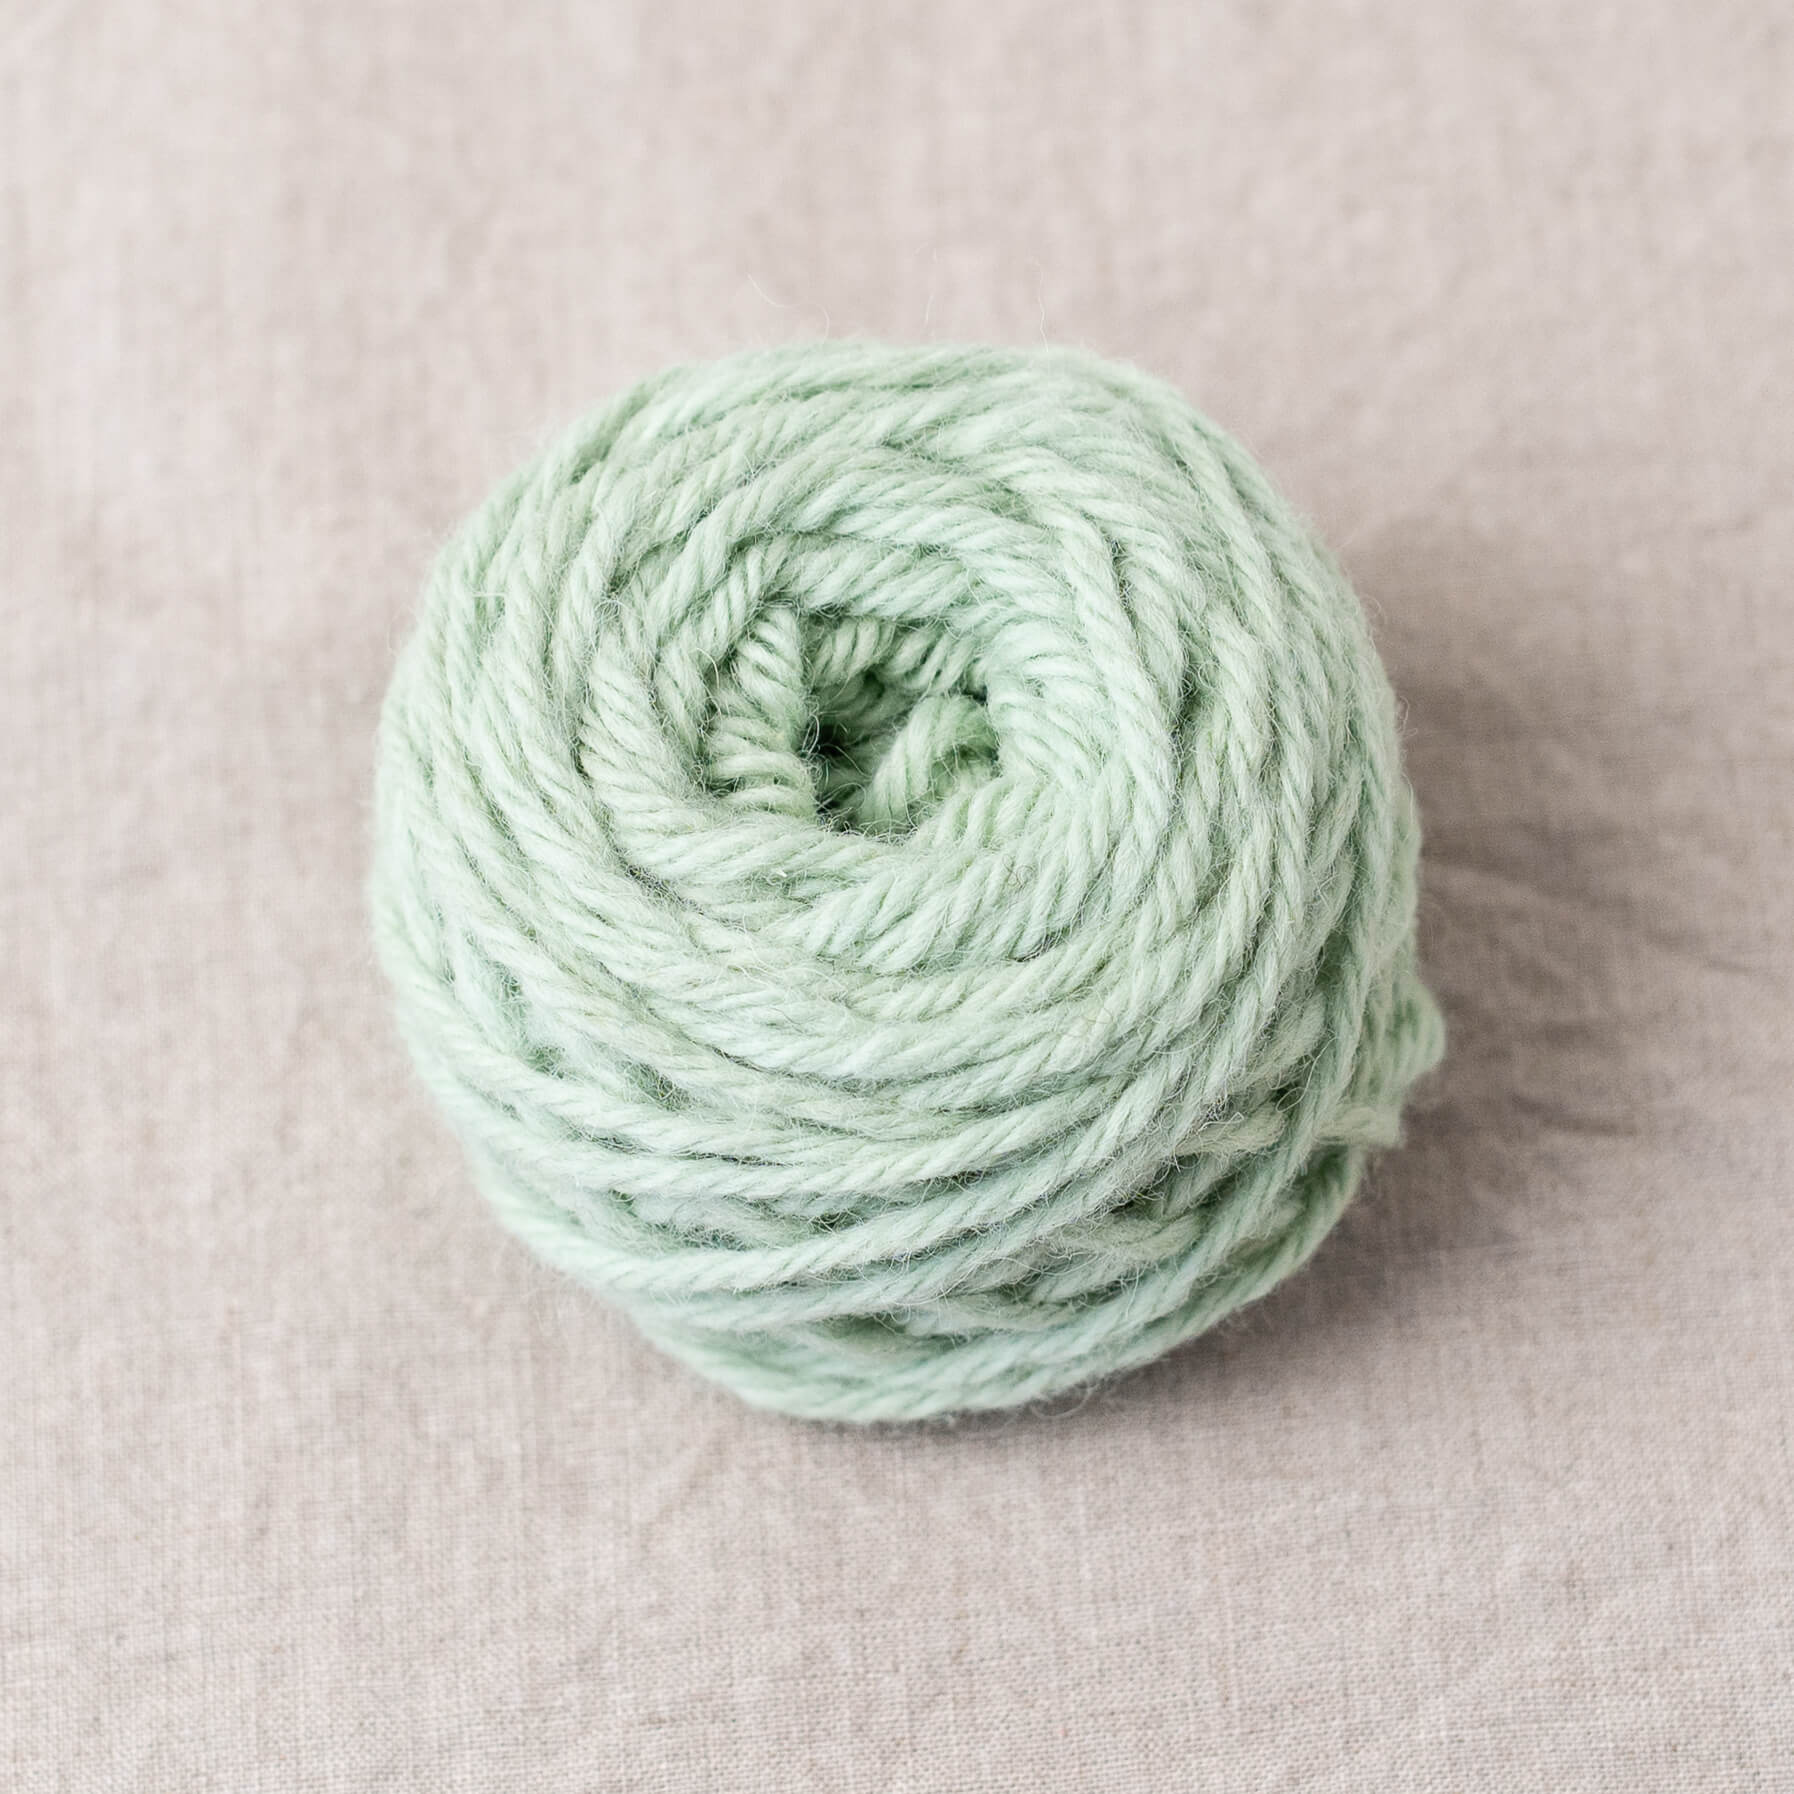
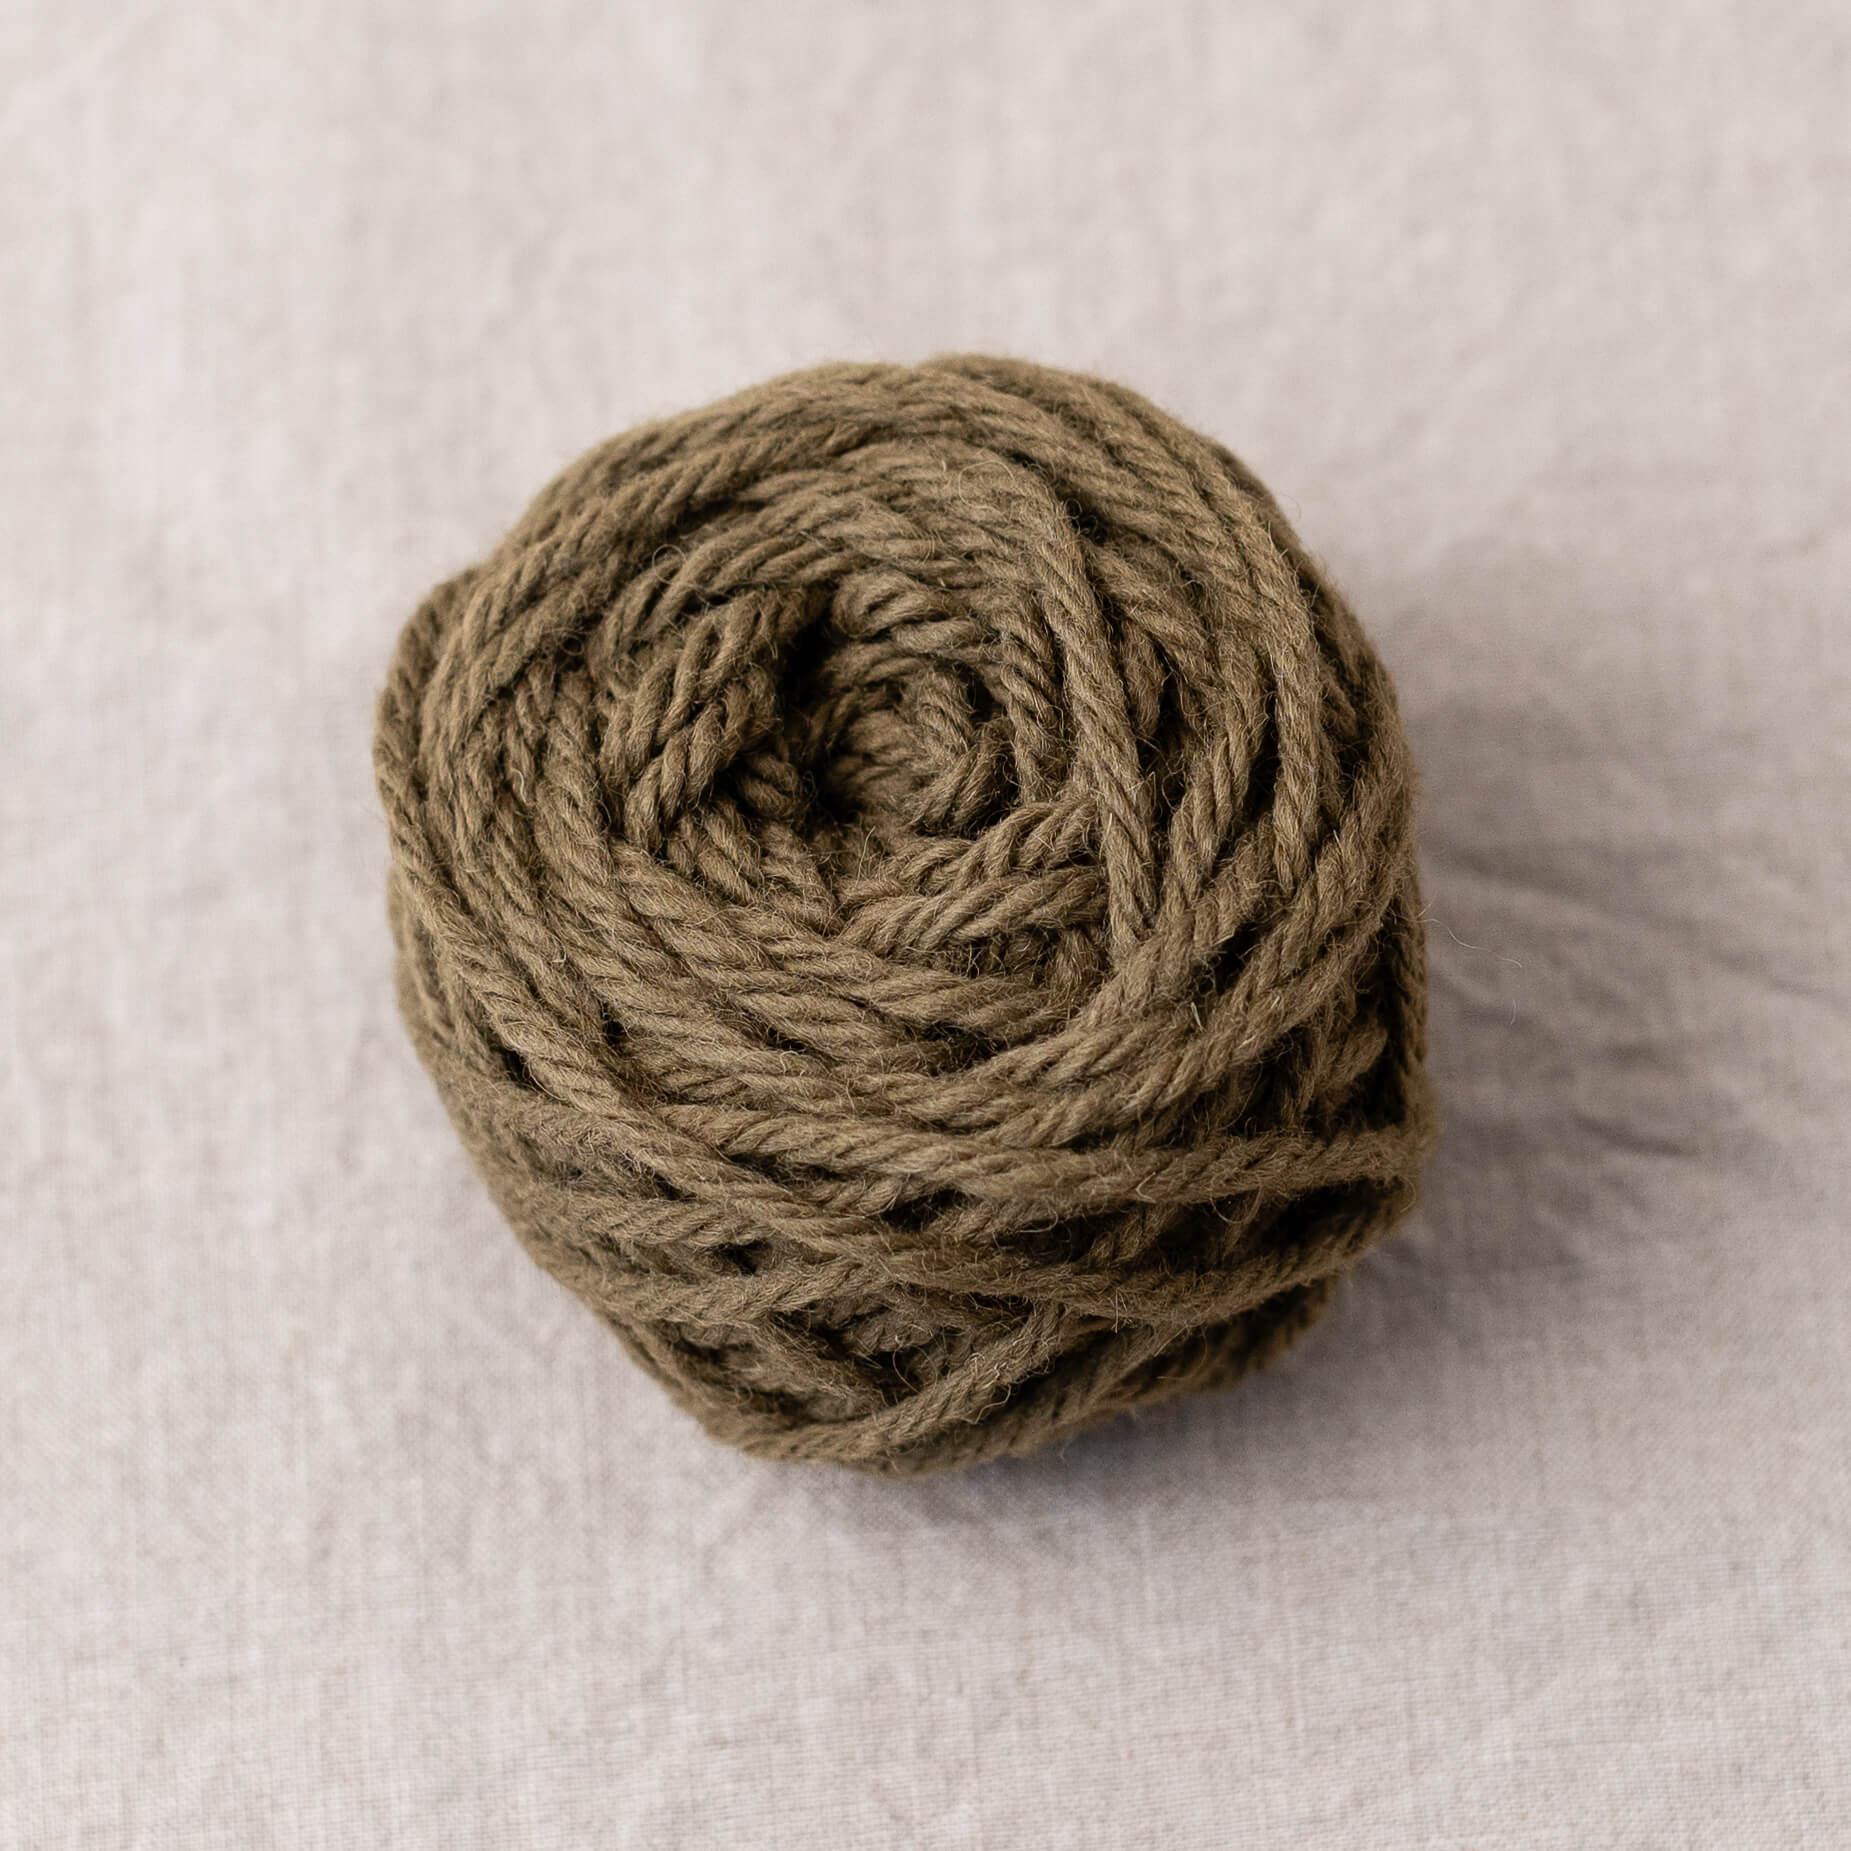
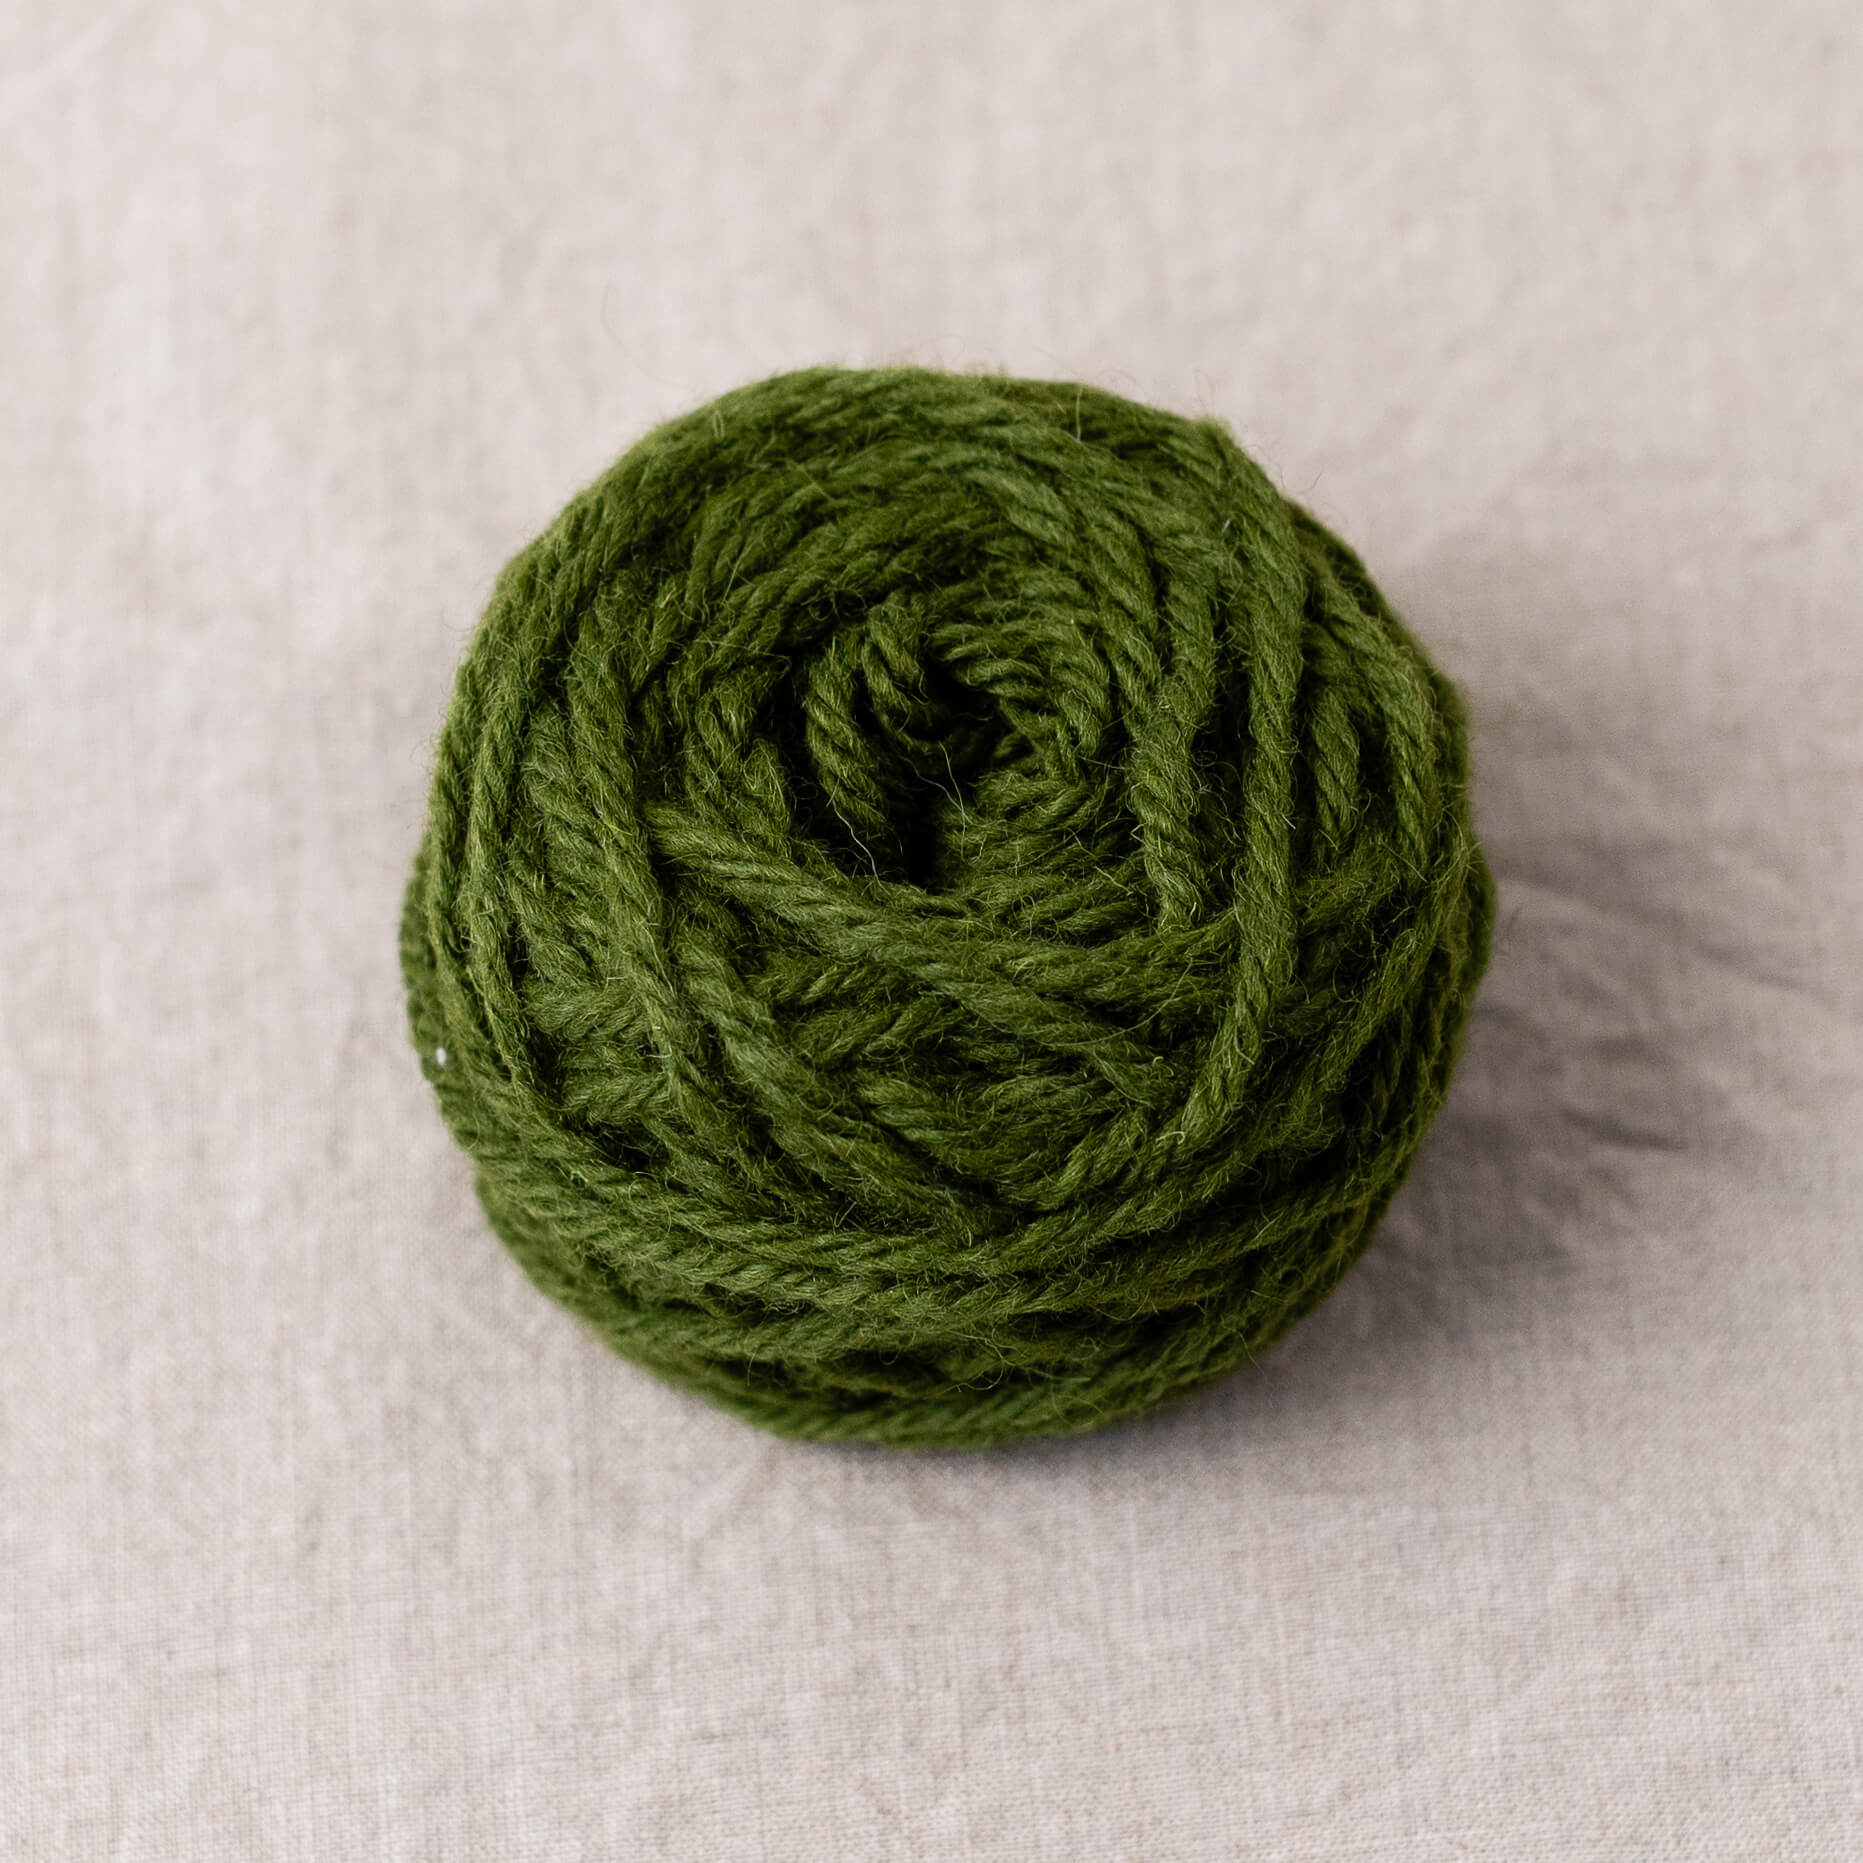
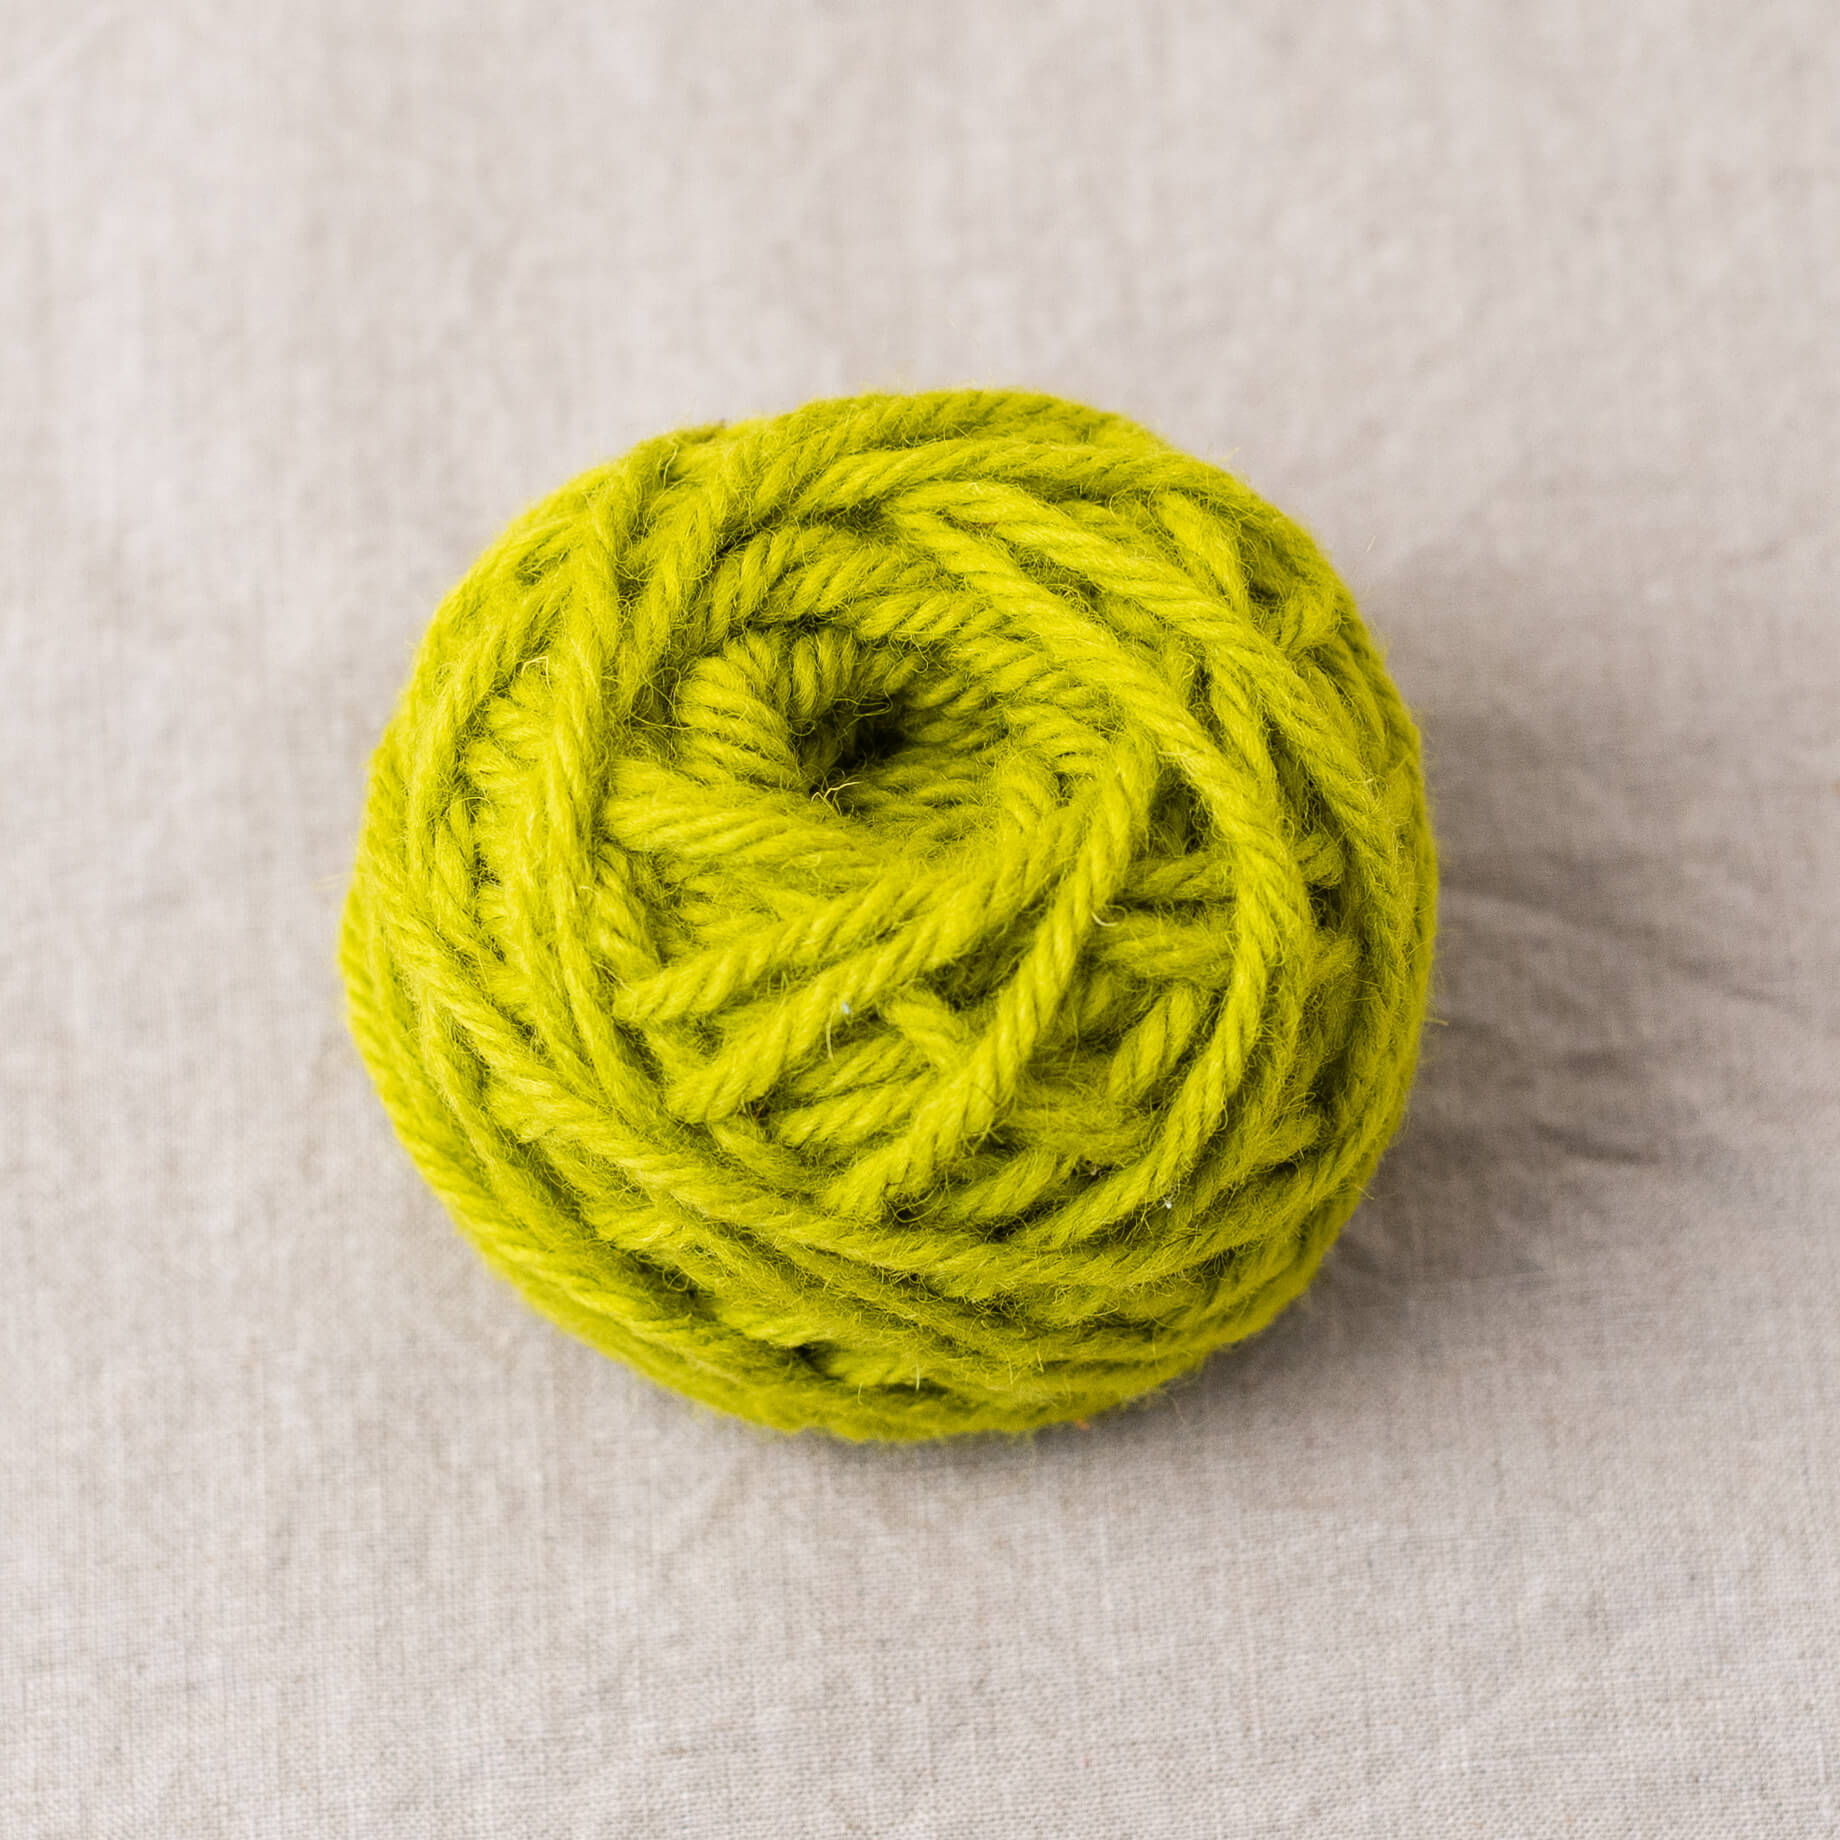
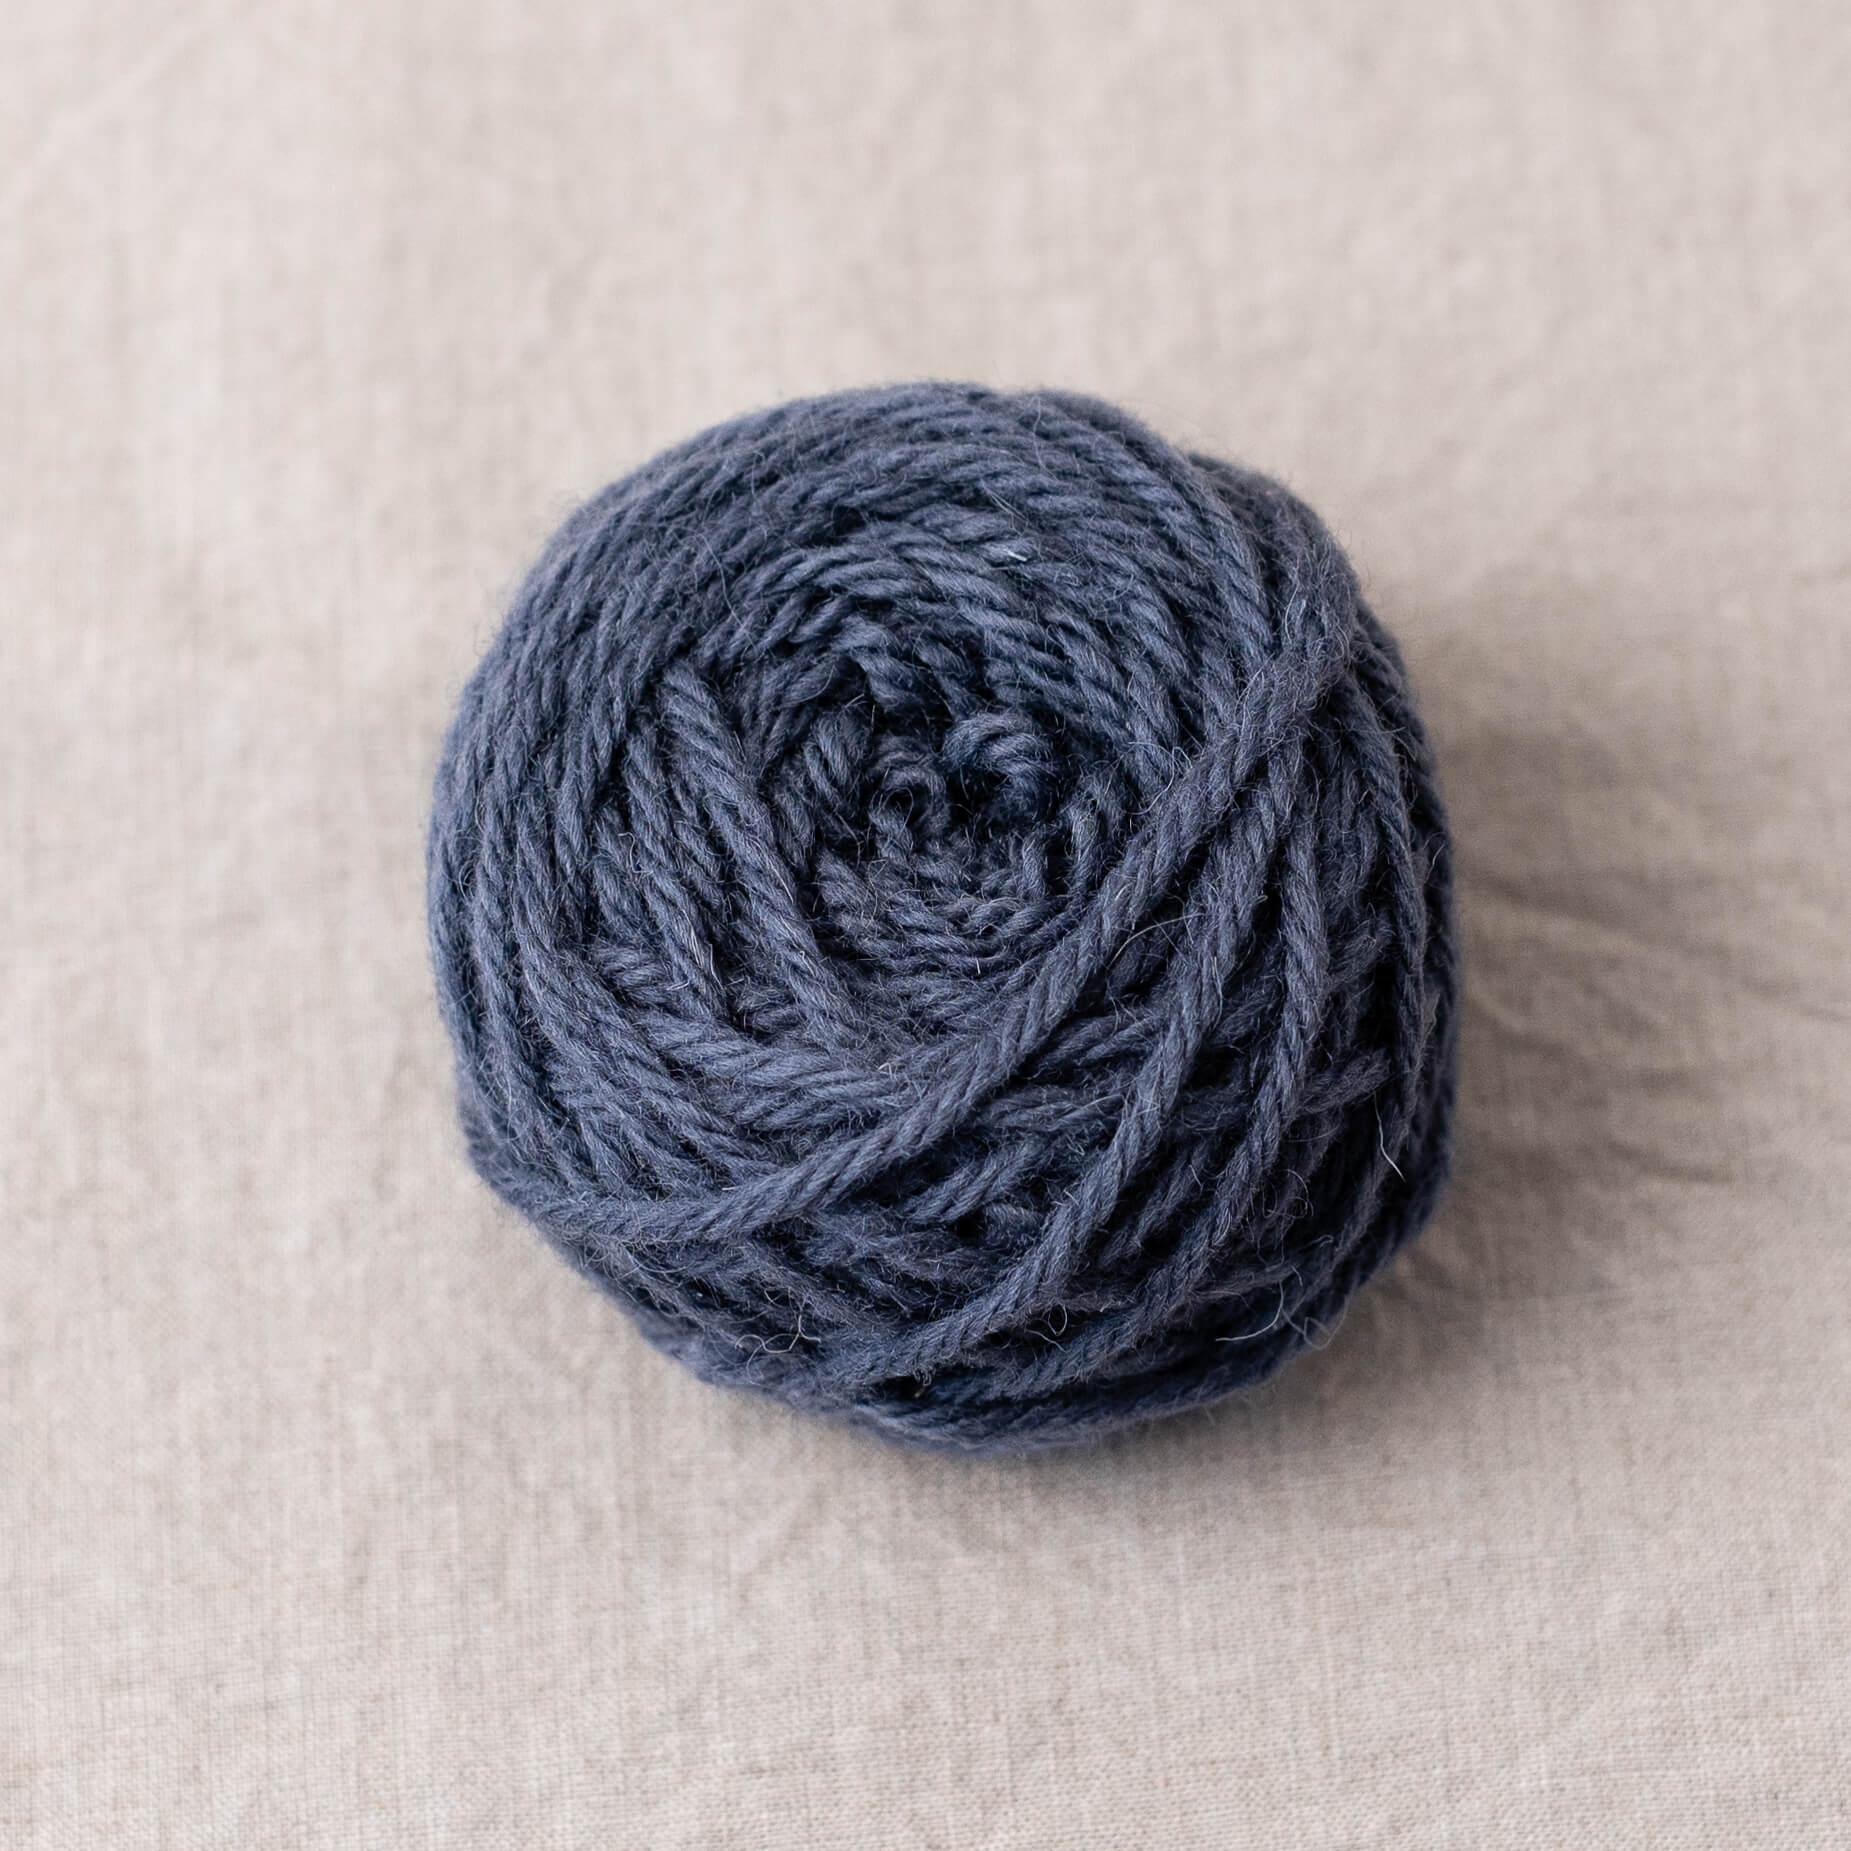
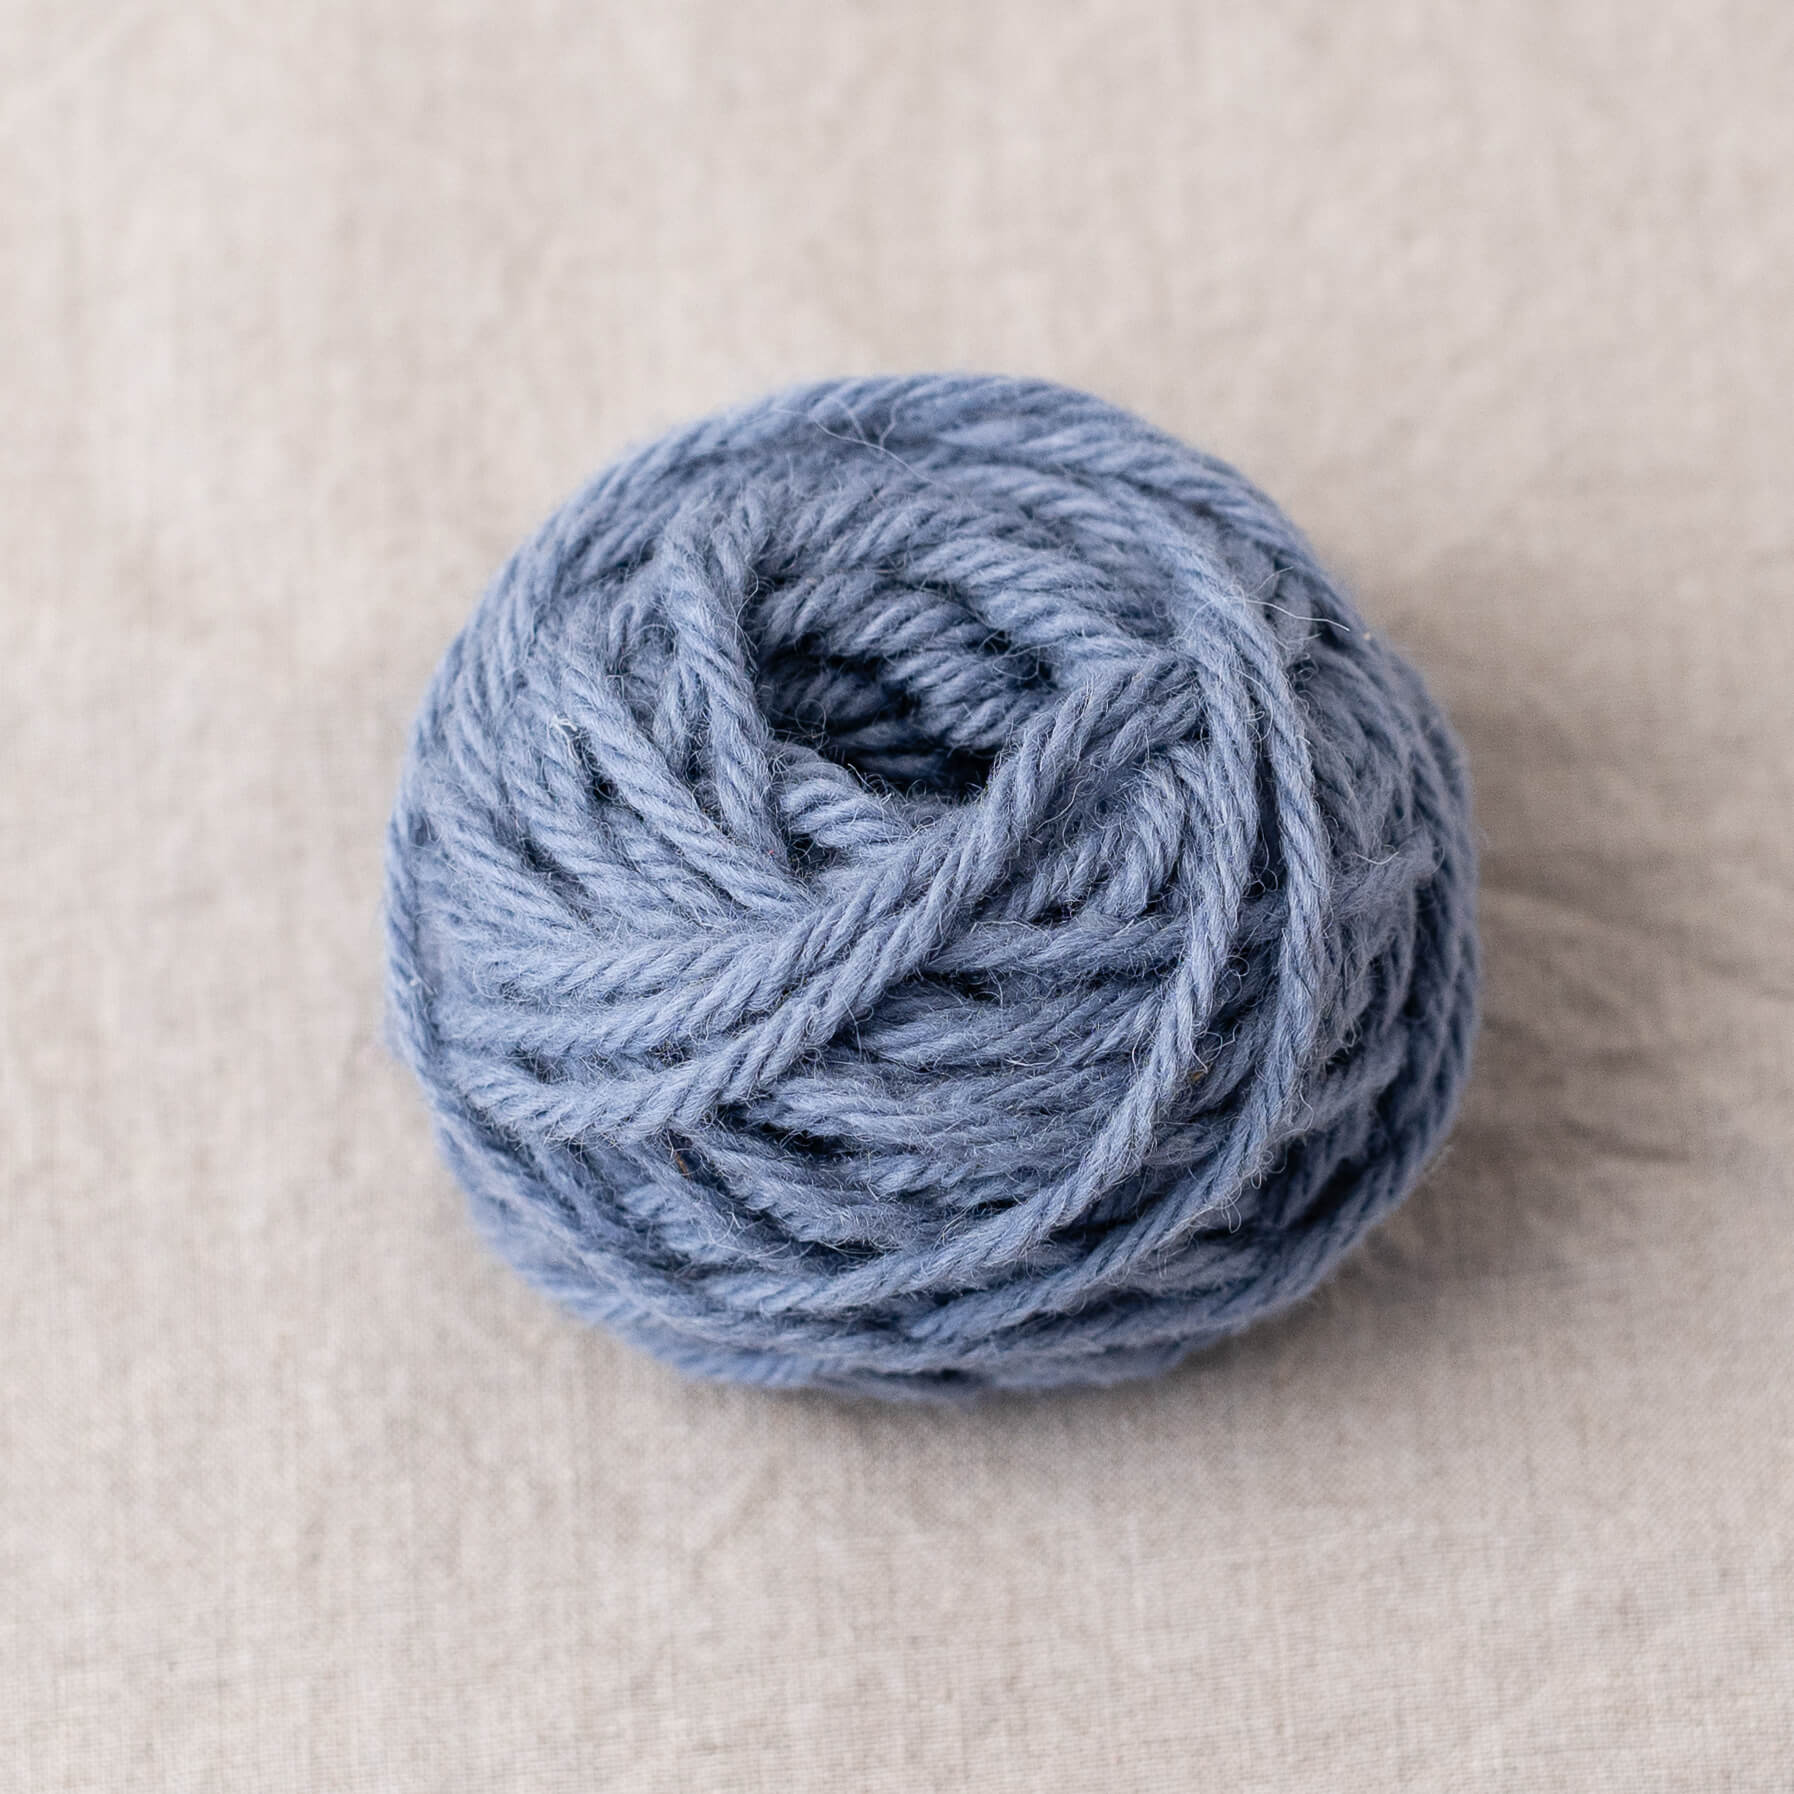
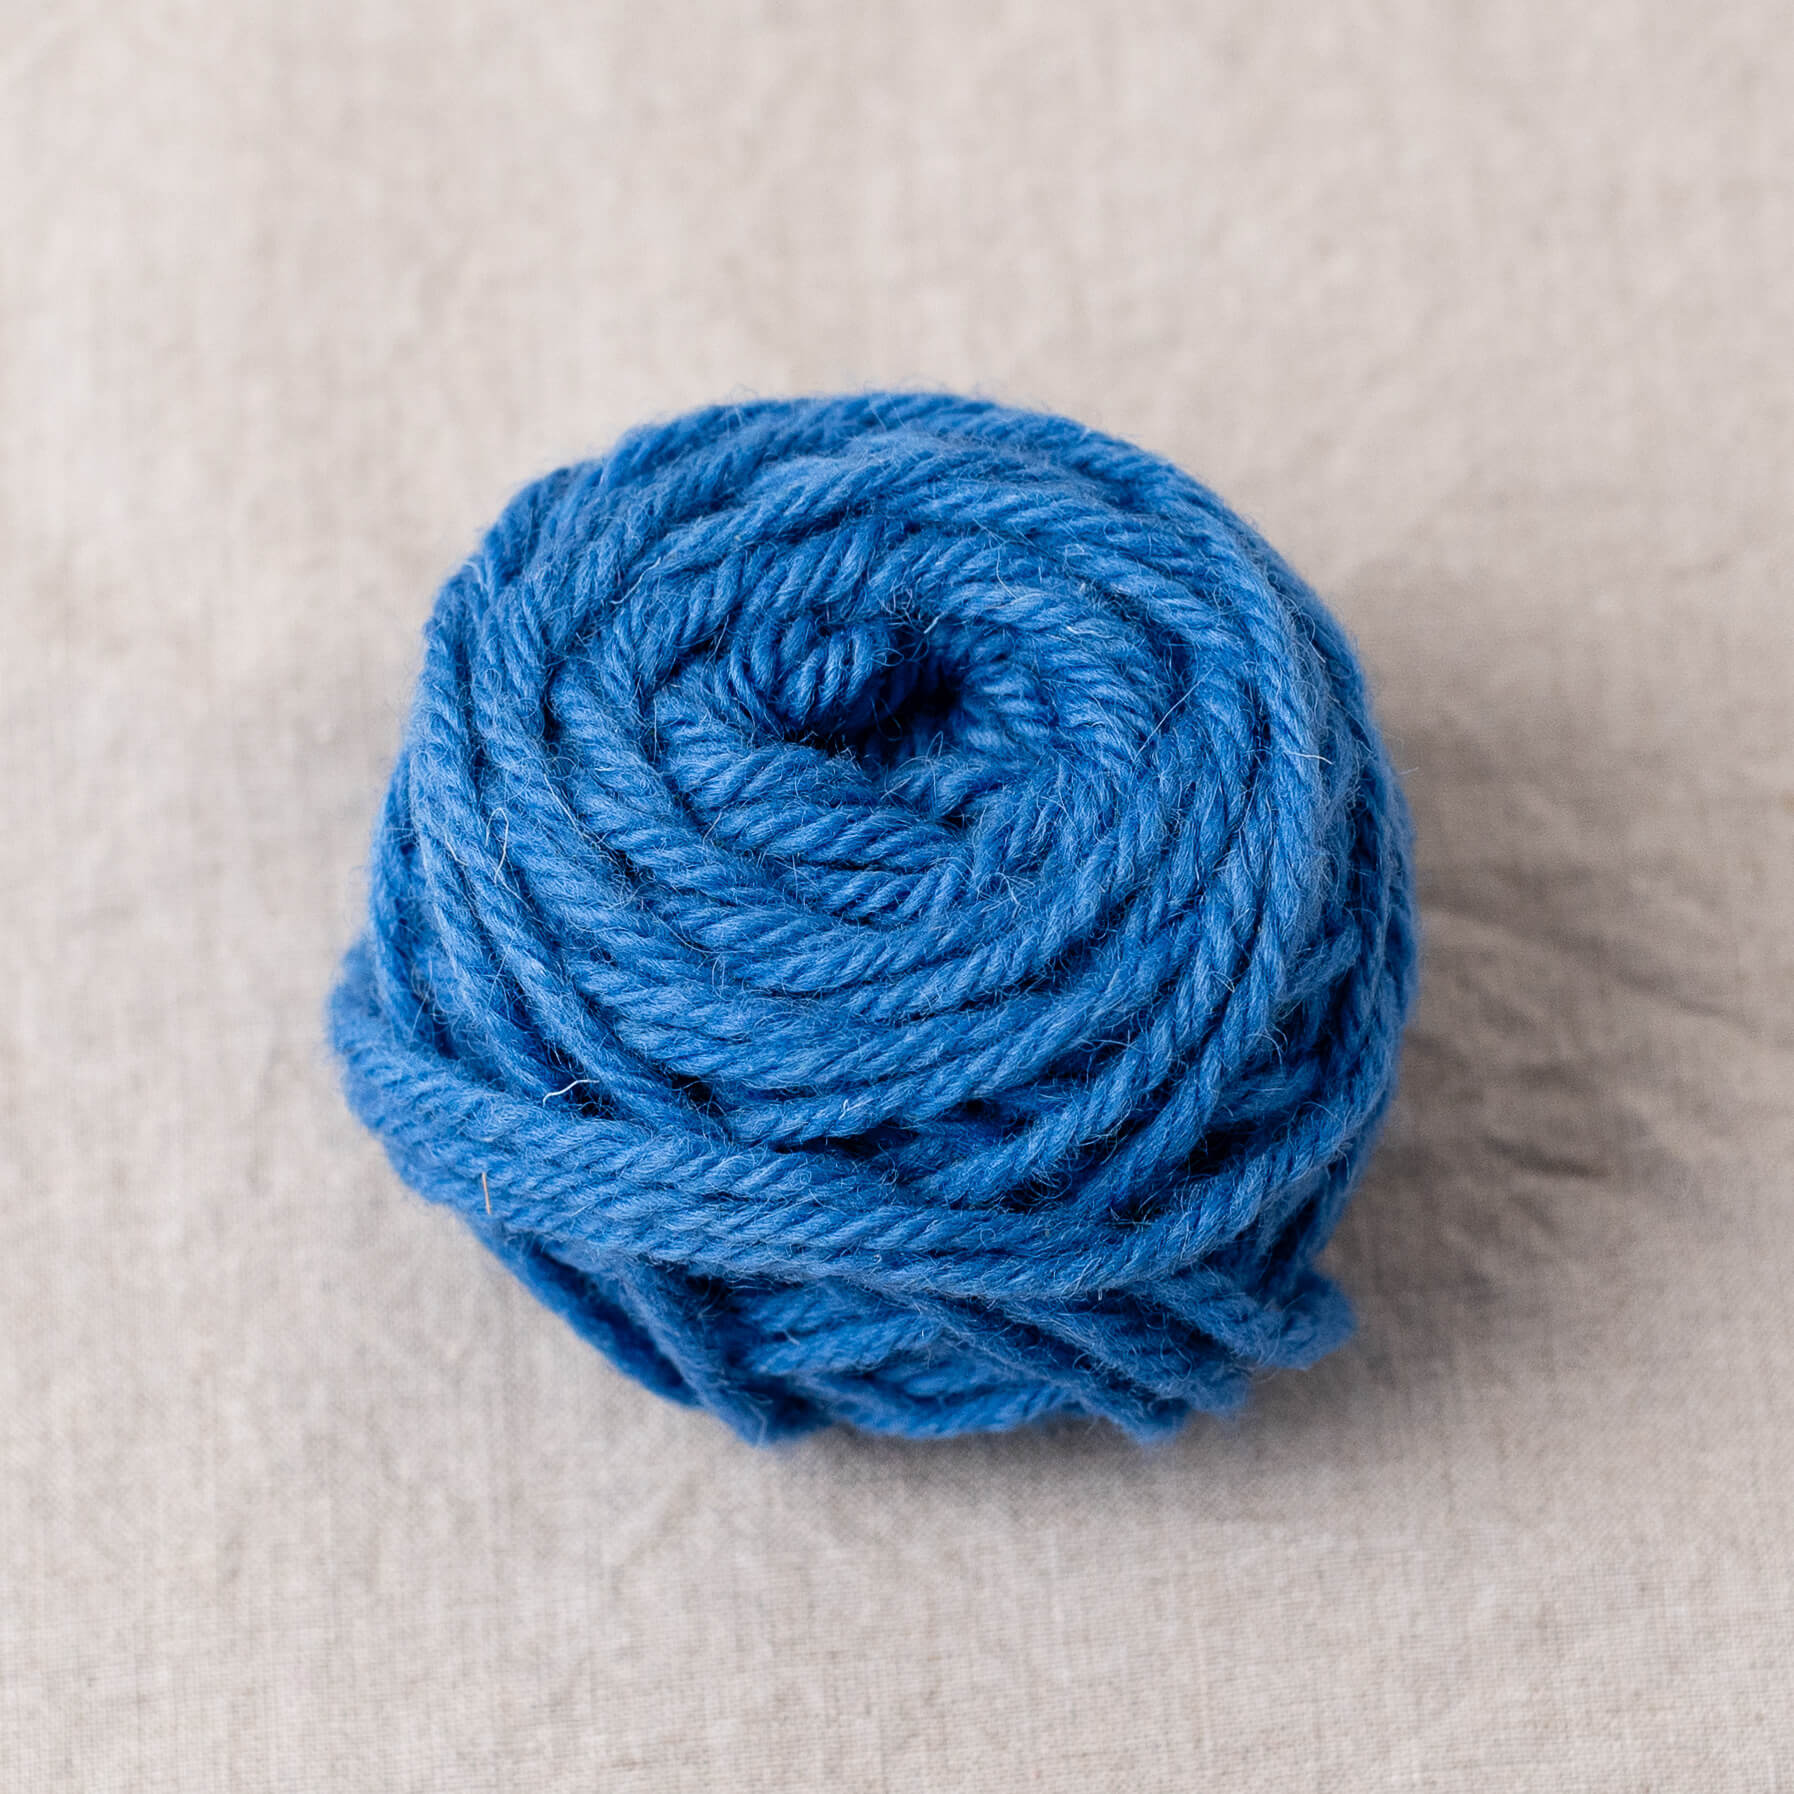
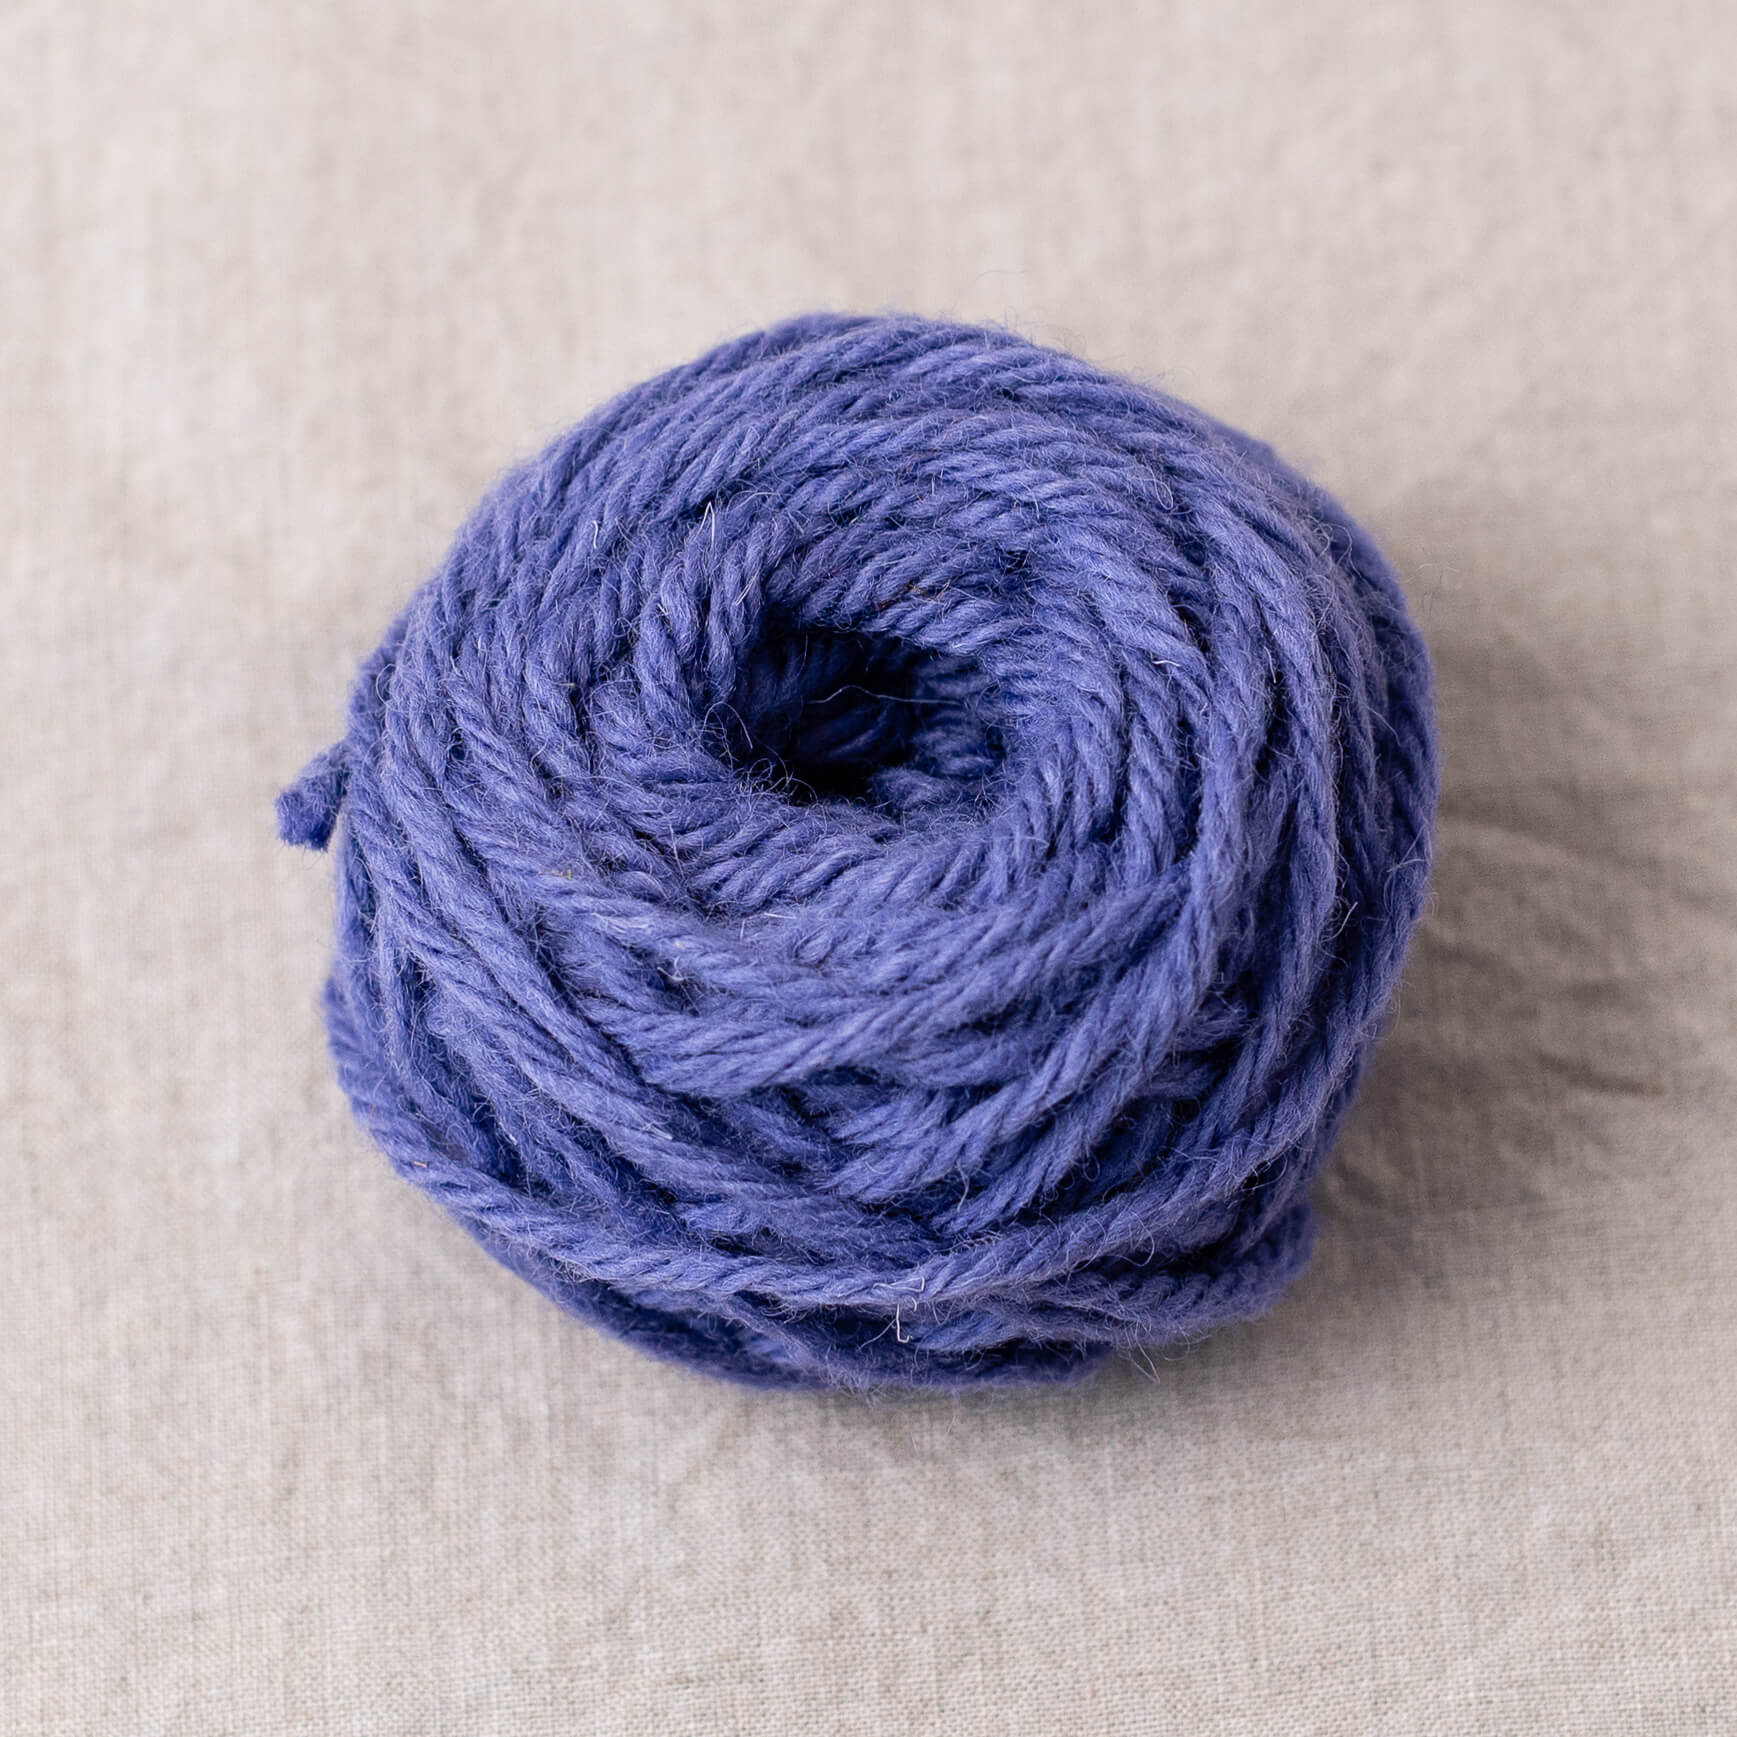
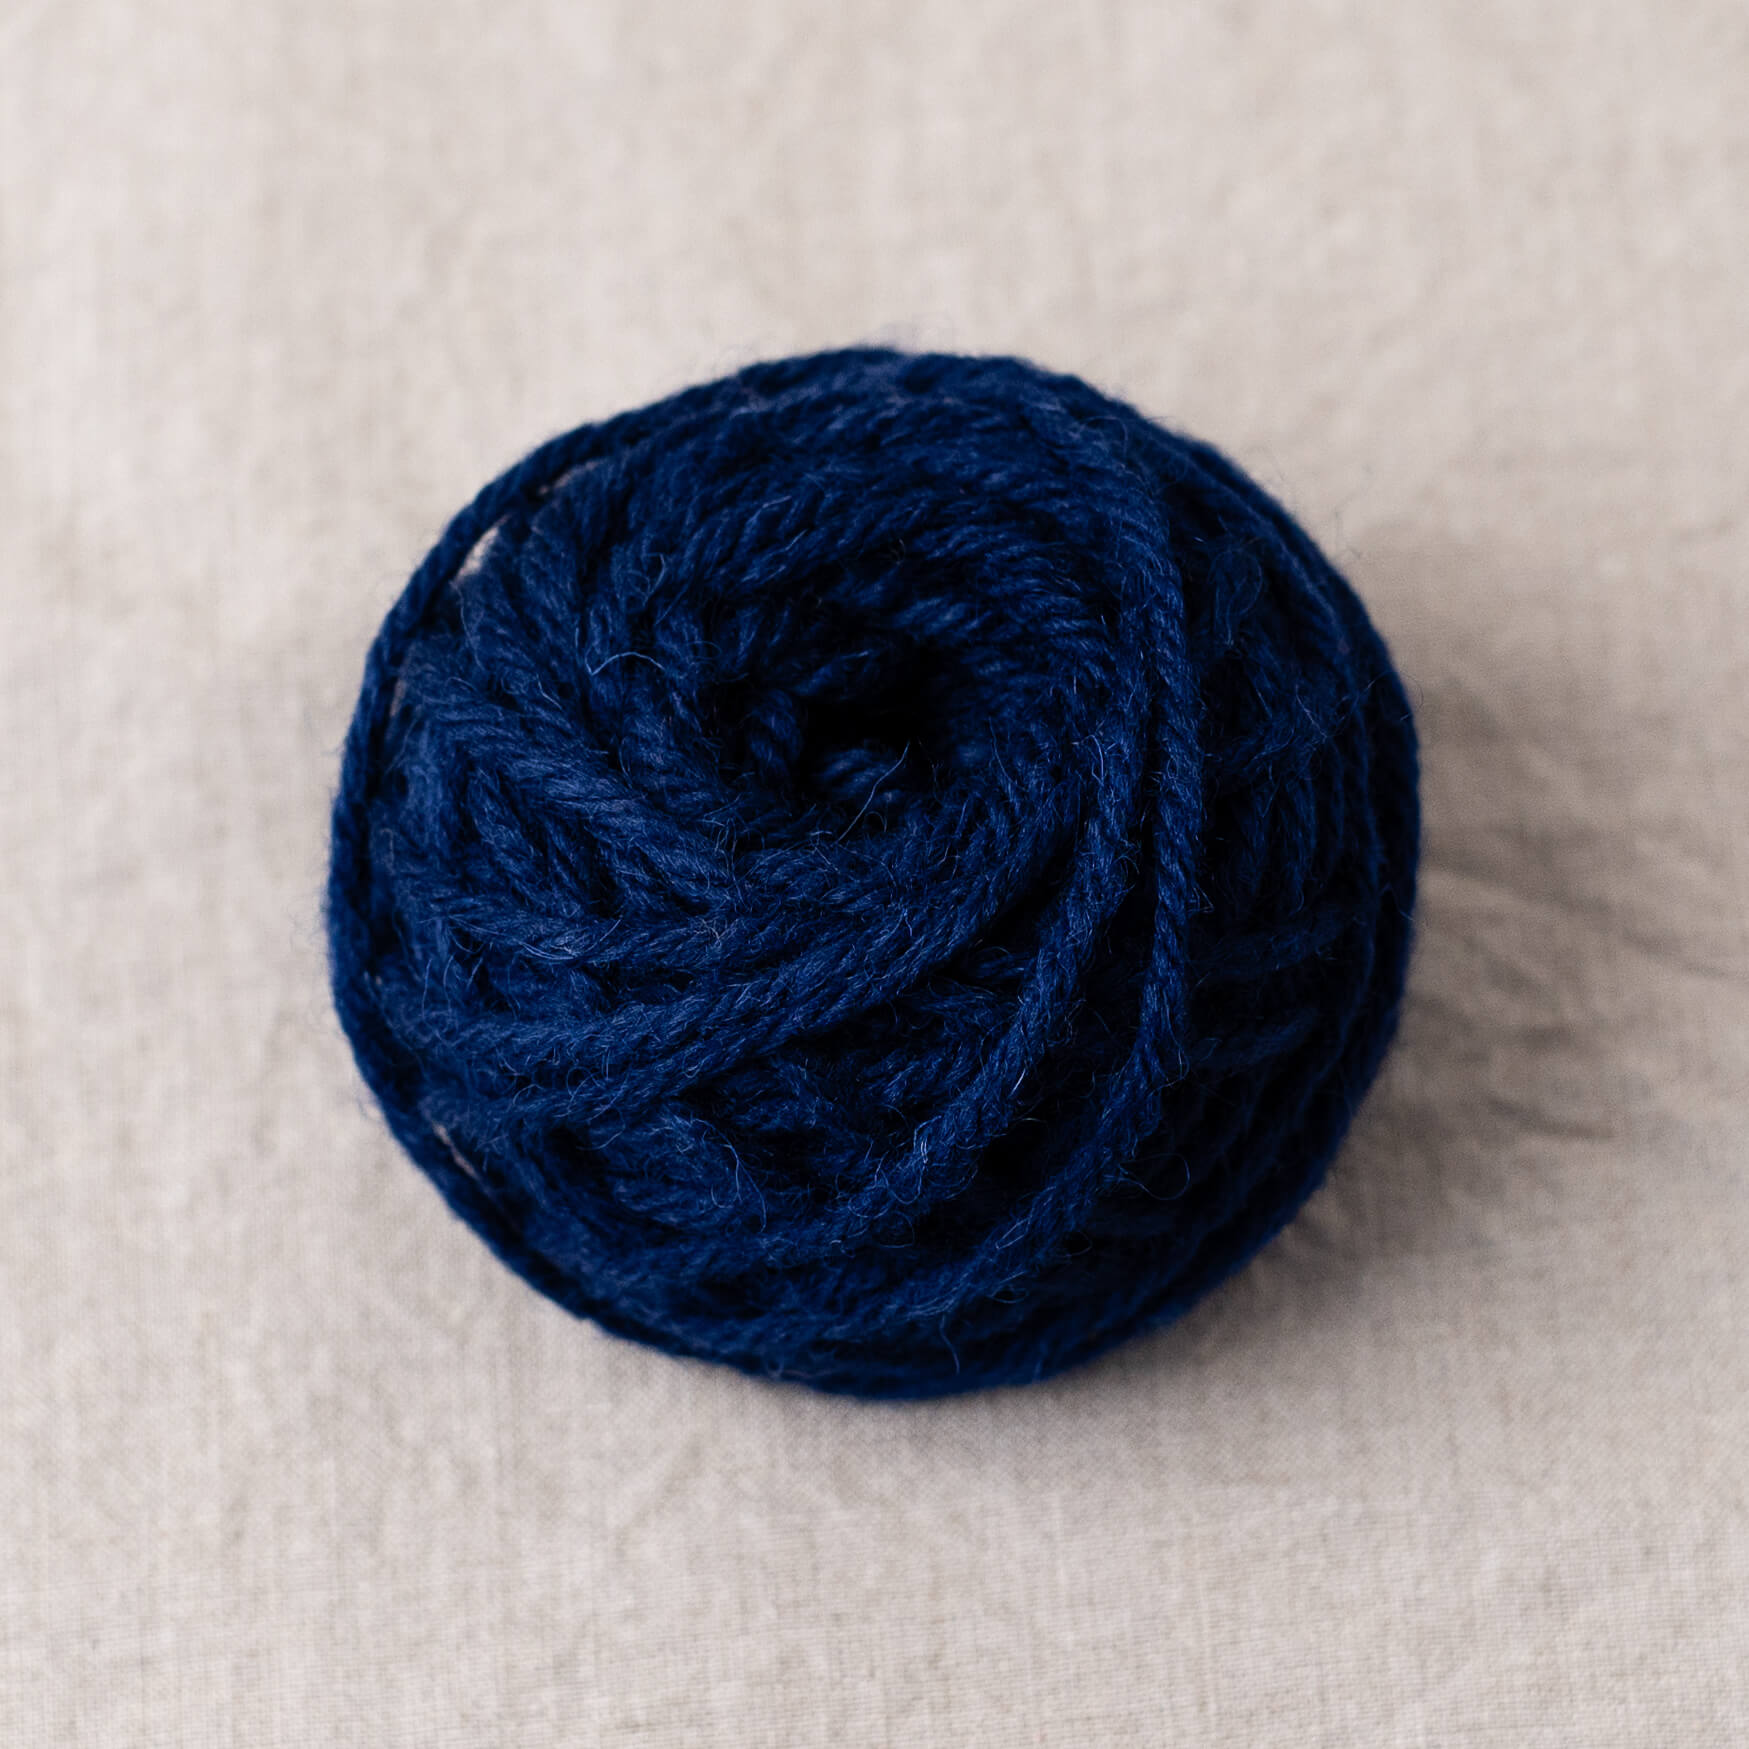
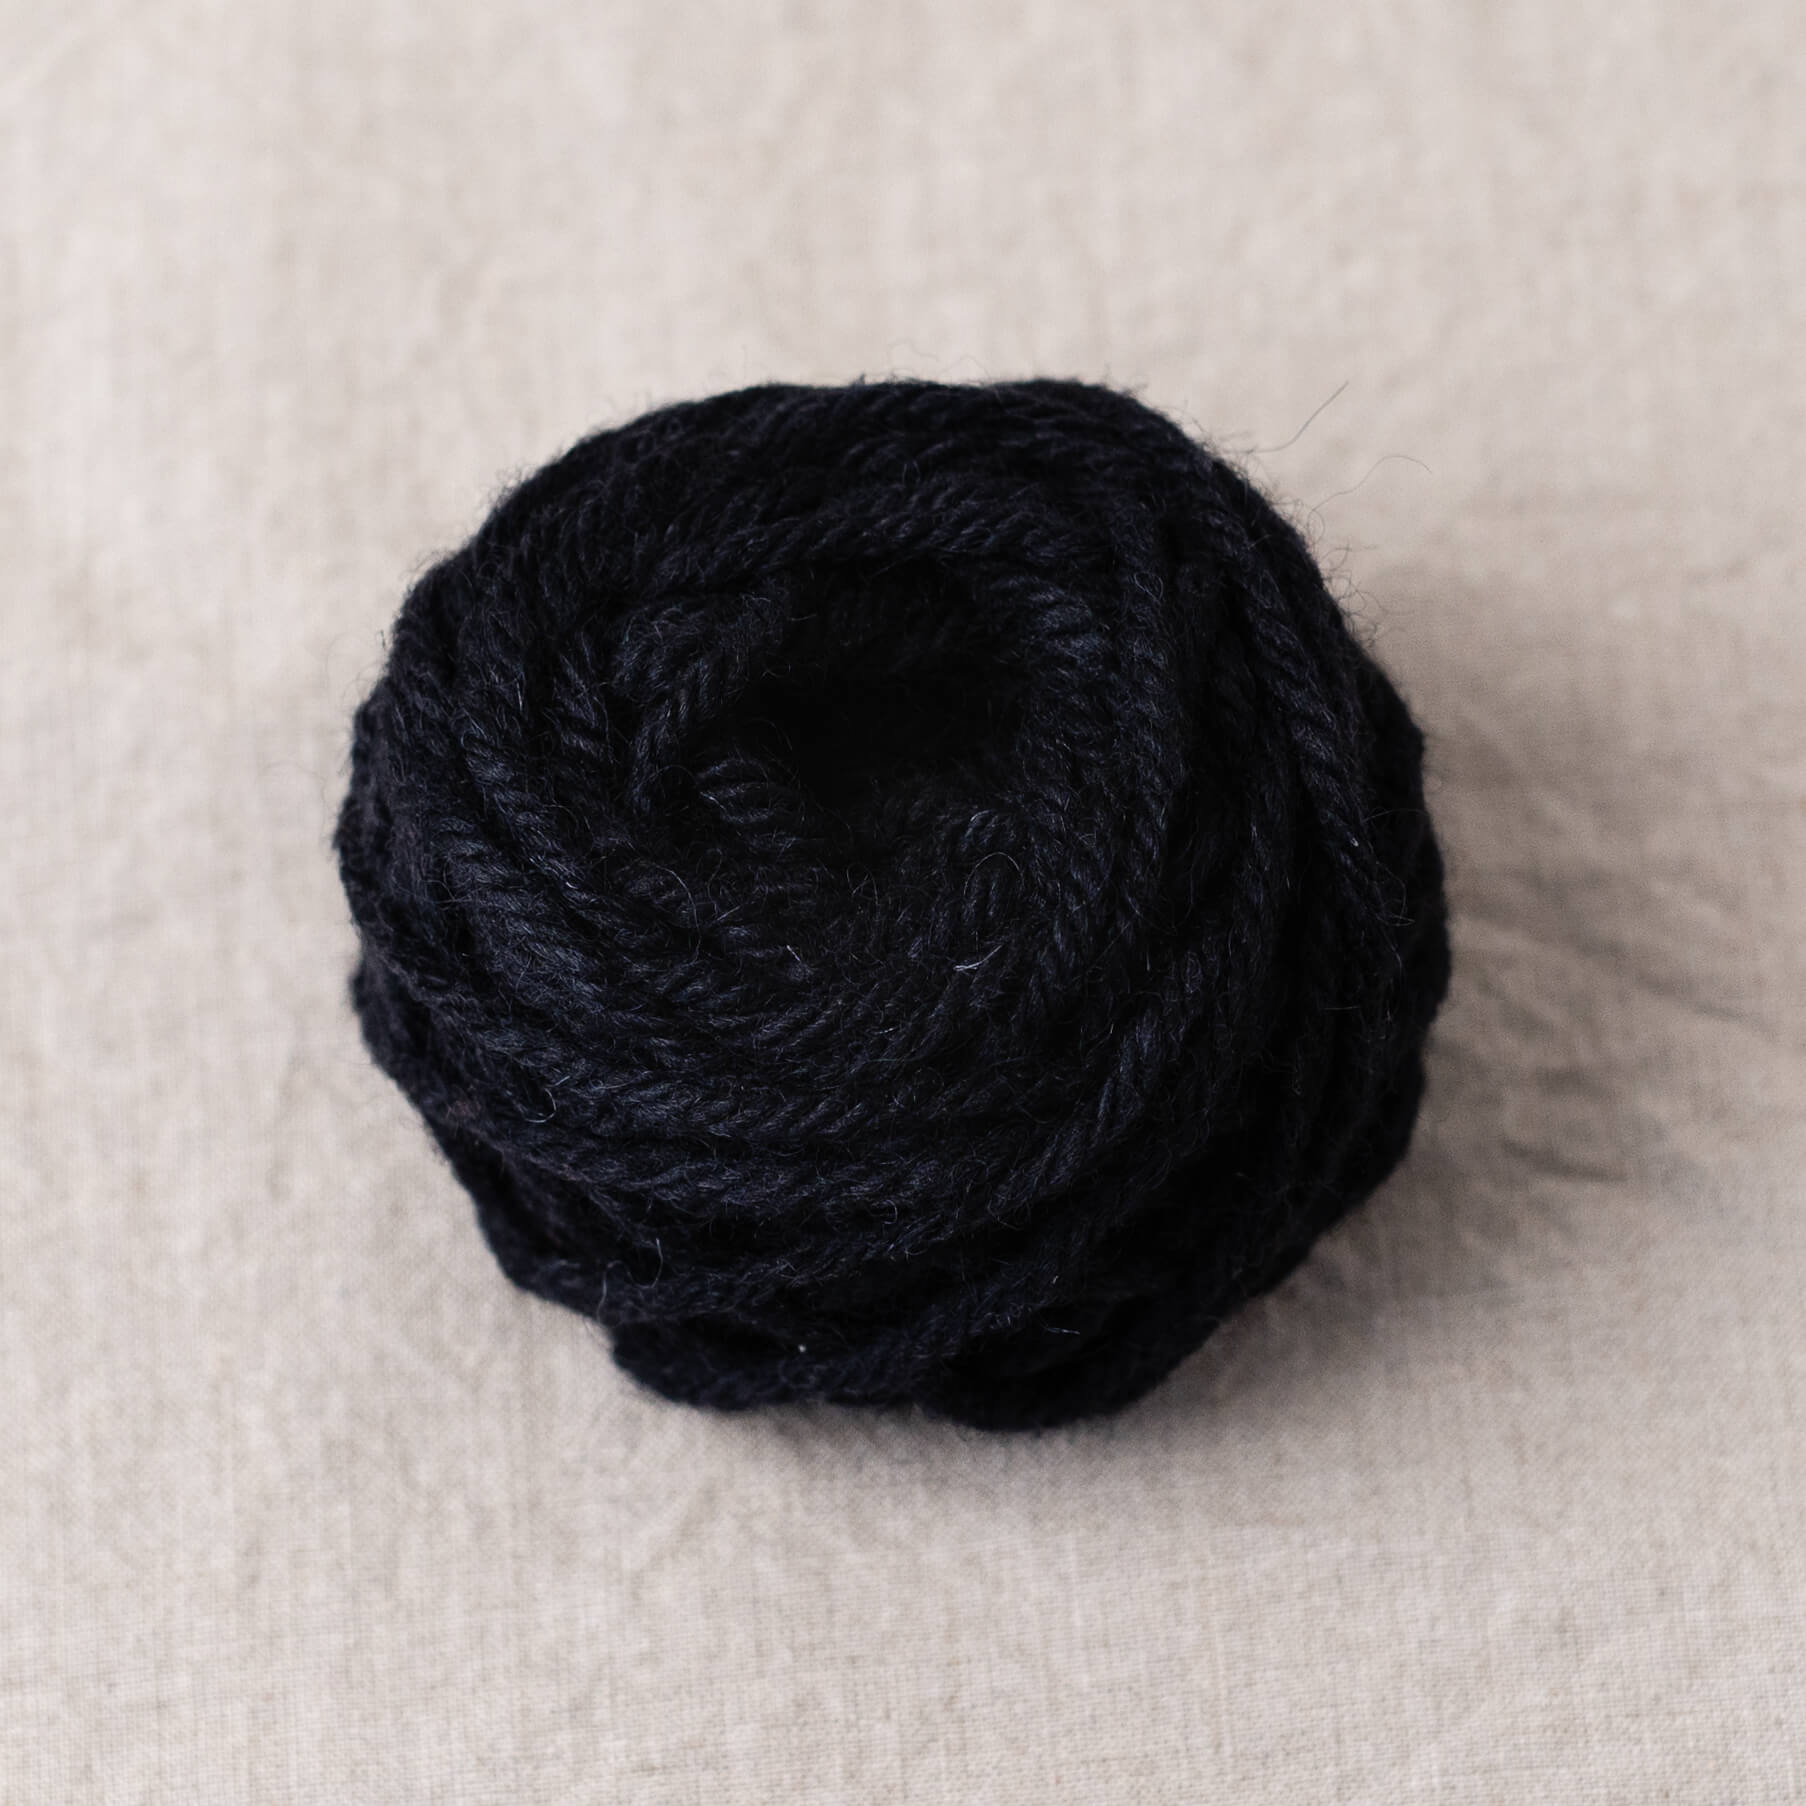
For my second rug I chose all my favourite colours of 100% wool chunky rug yarn.
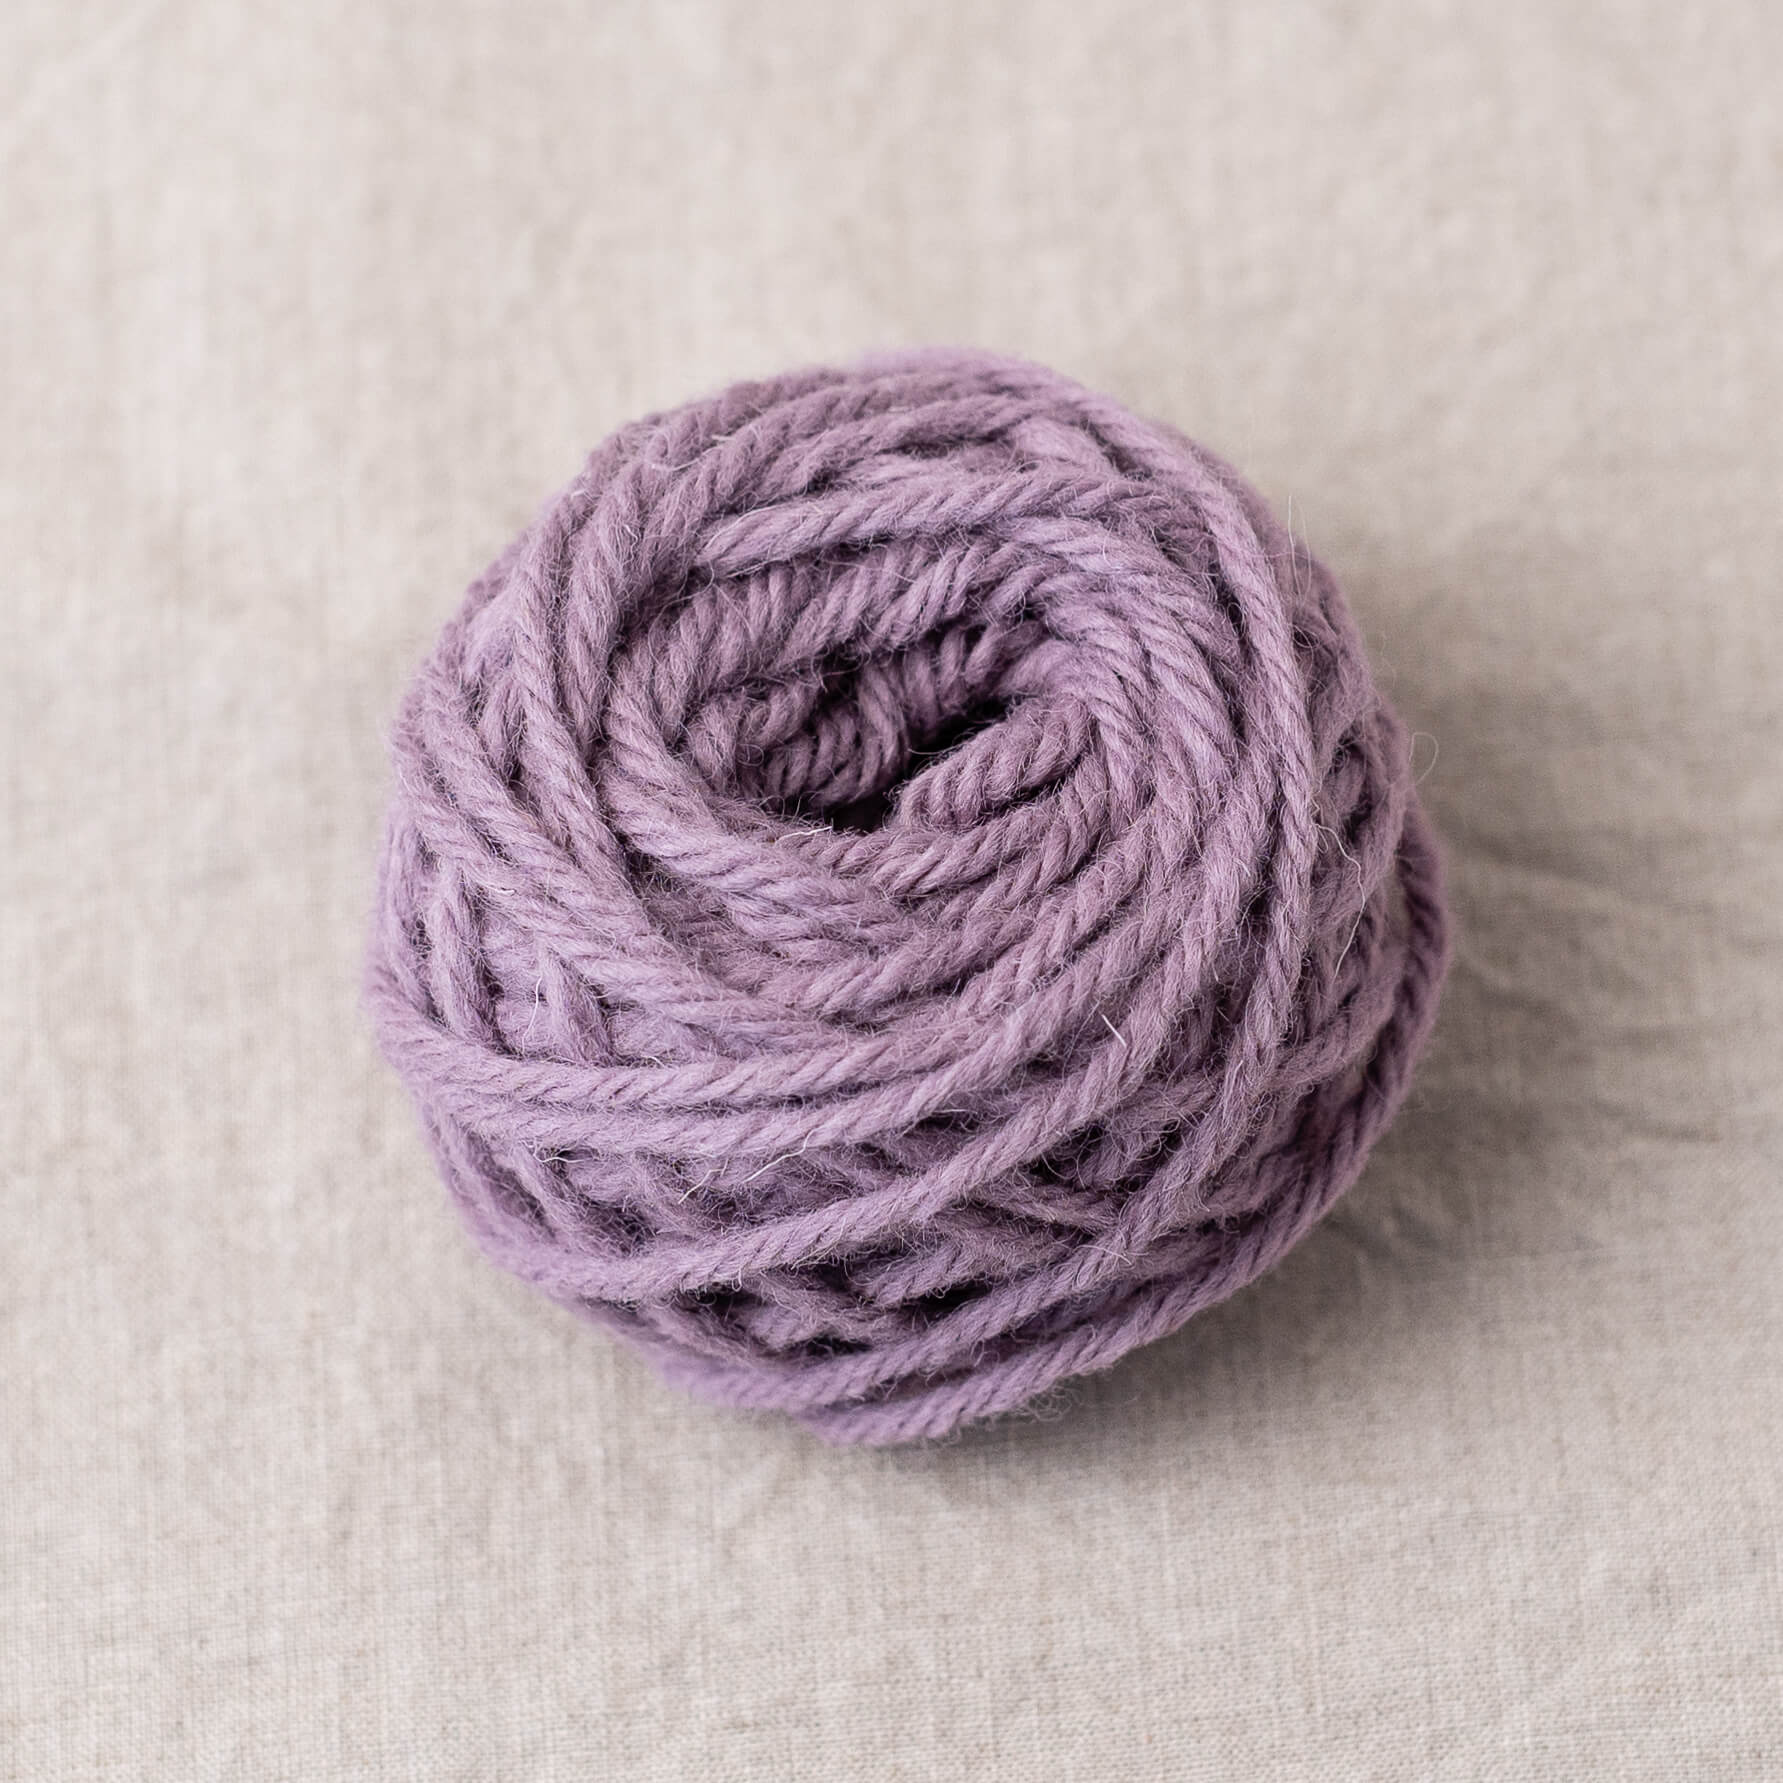
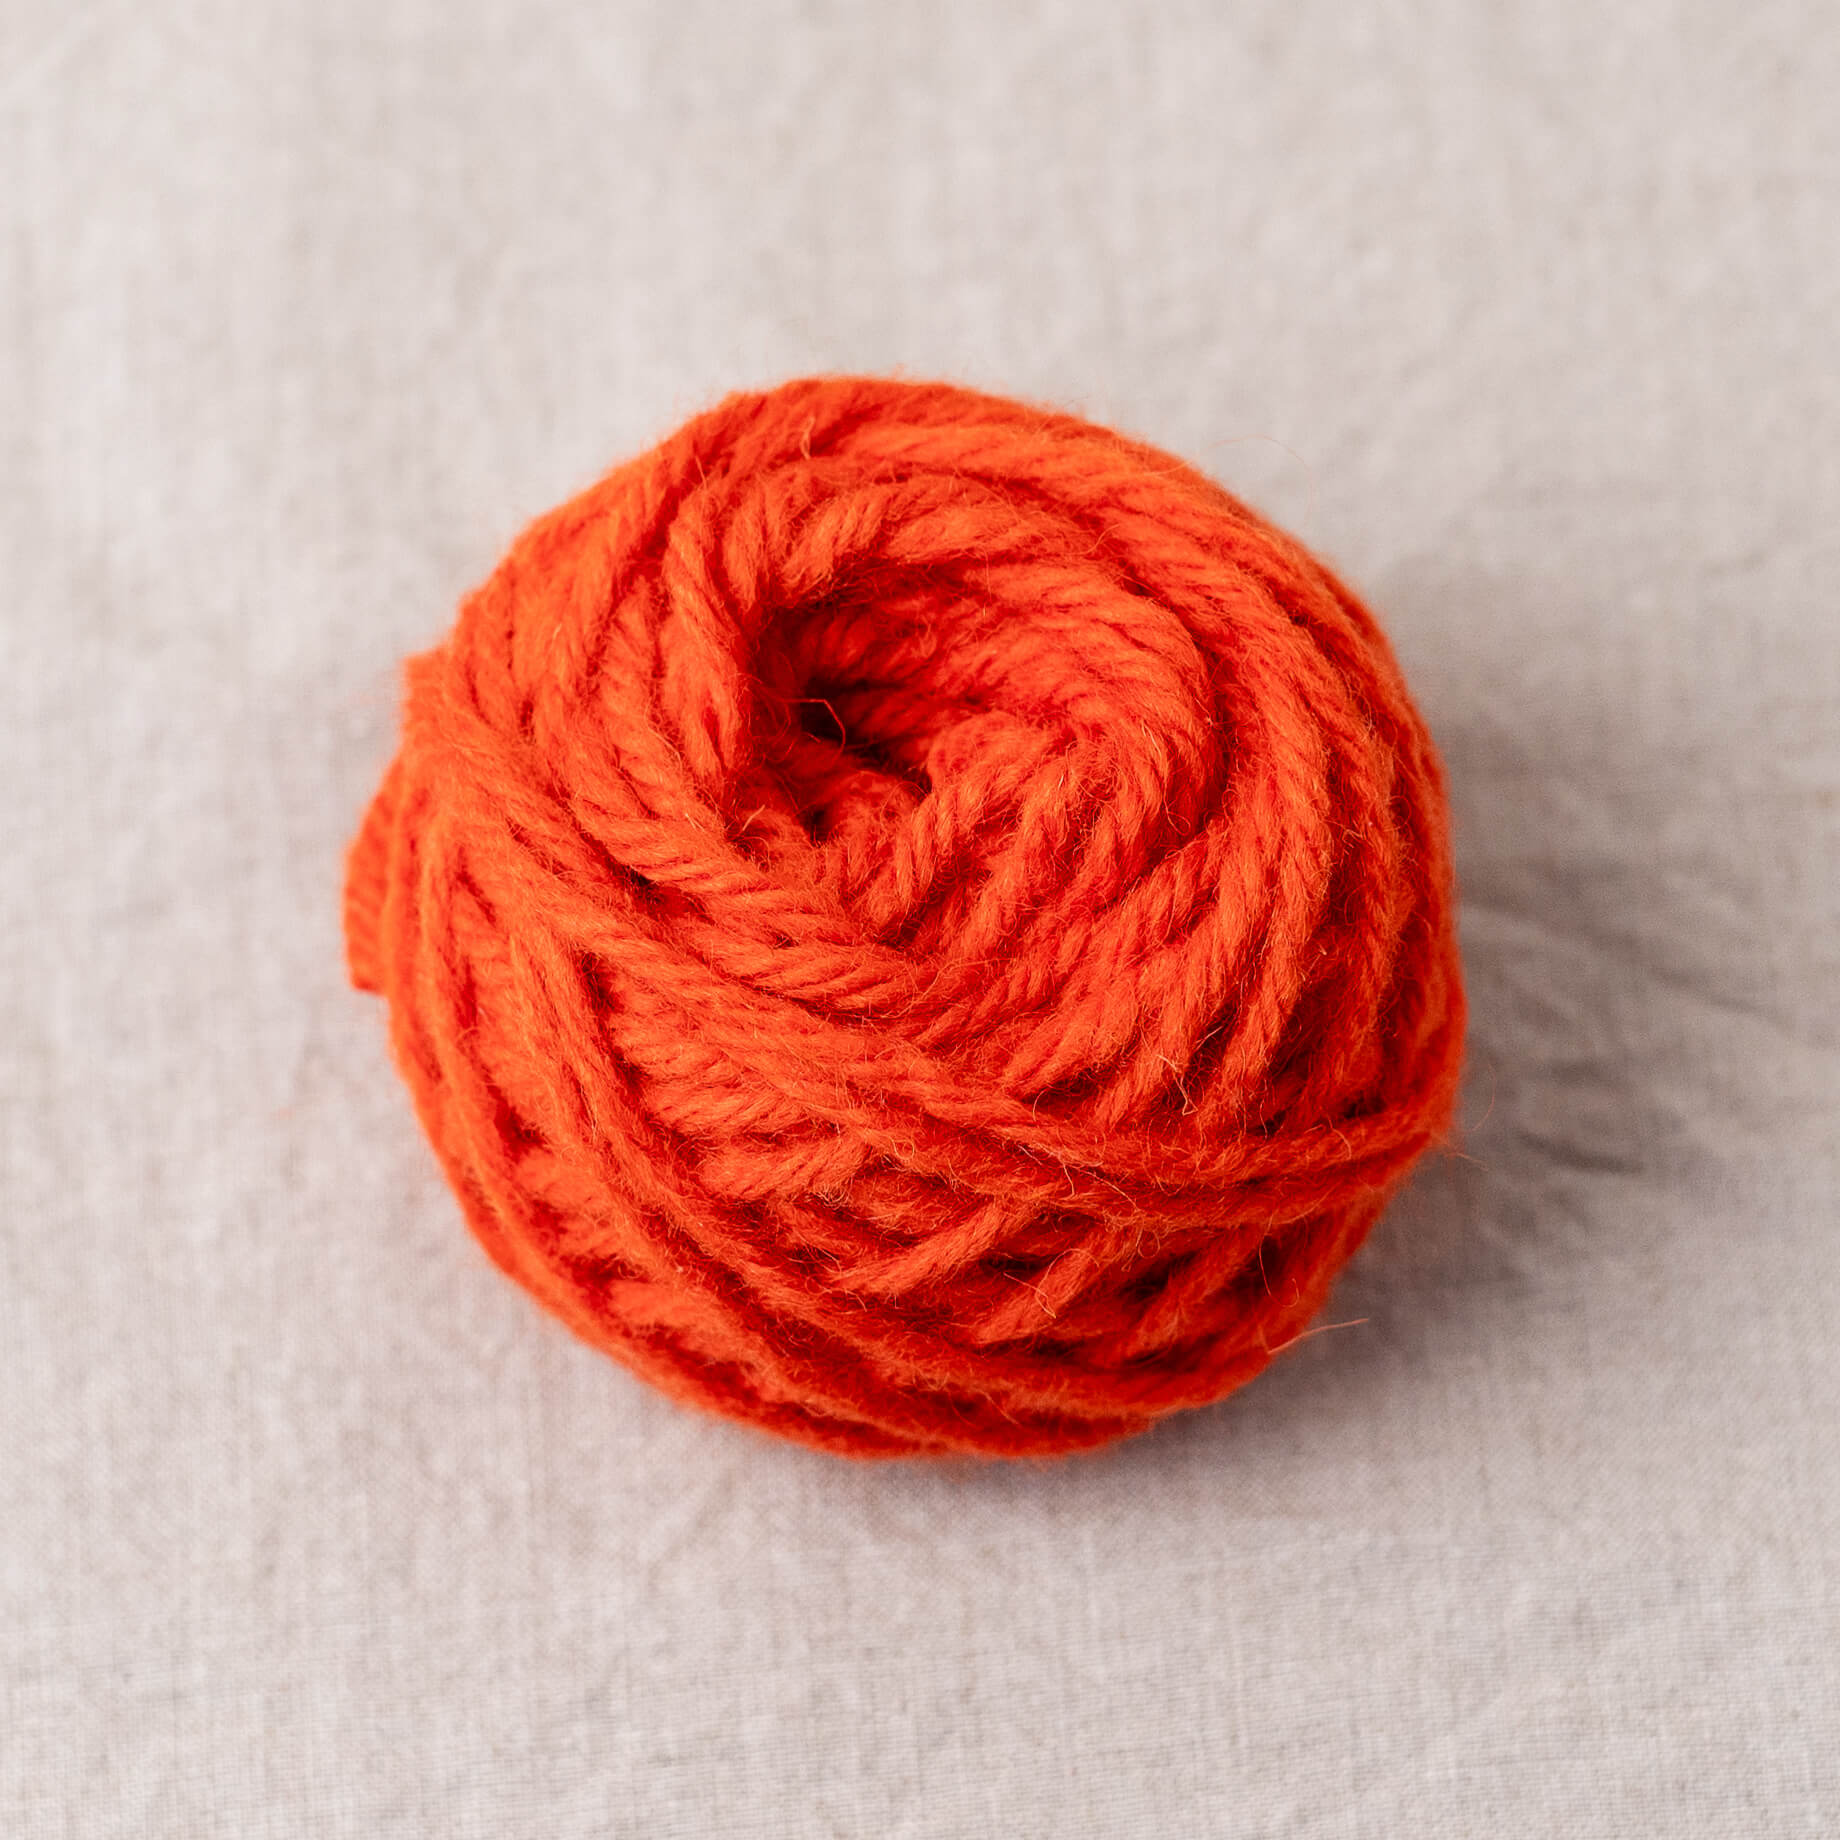
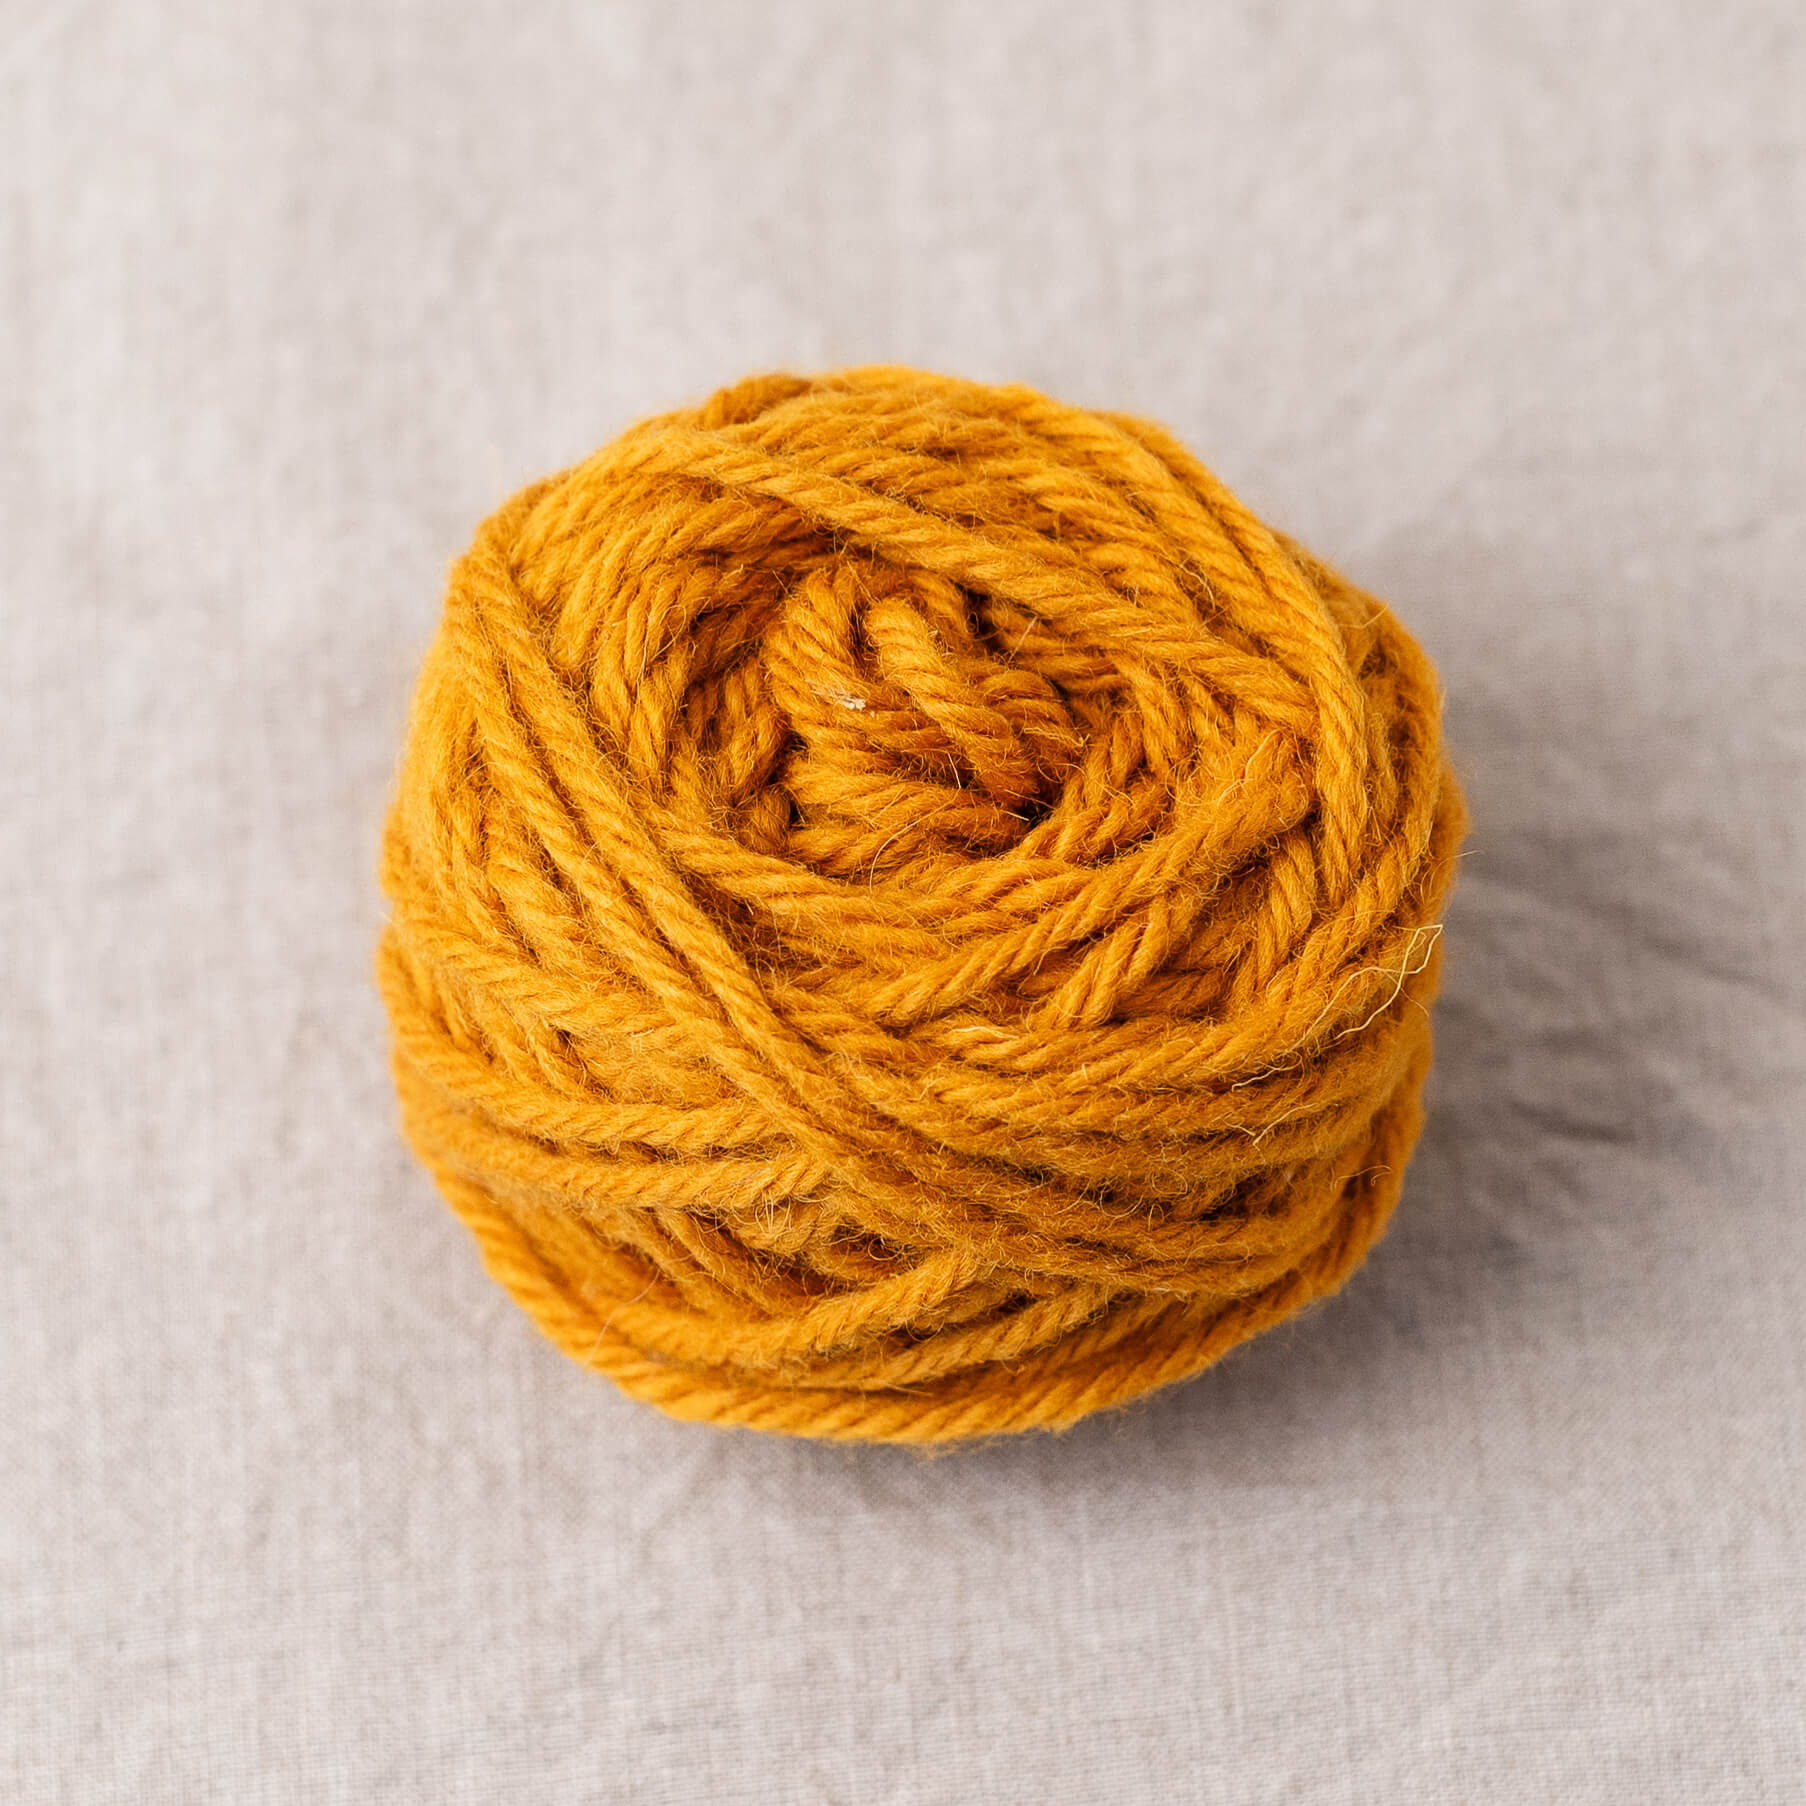
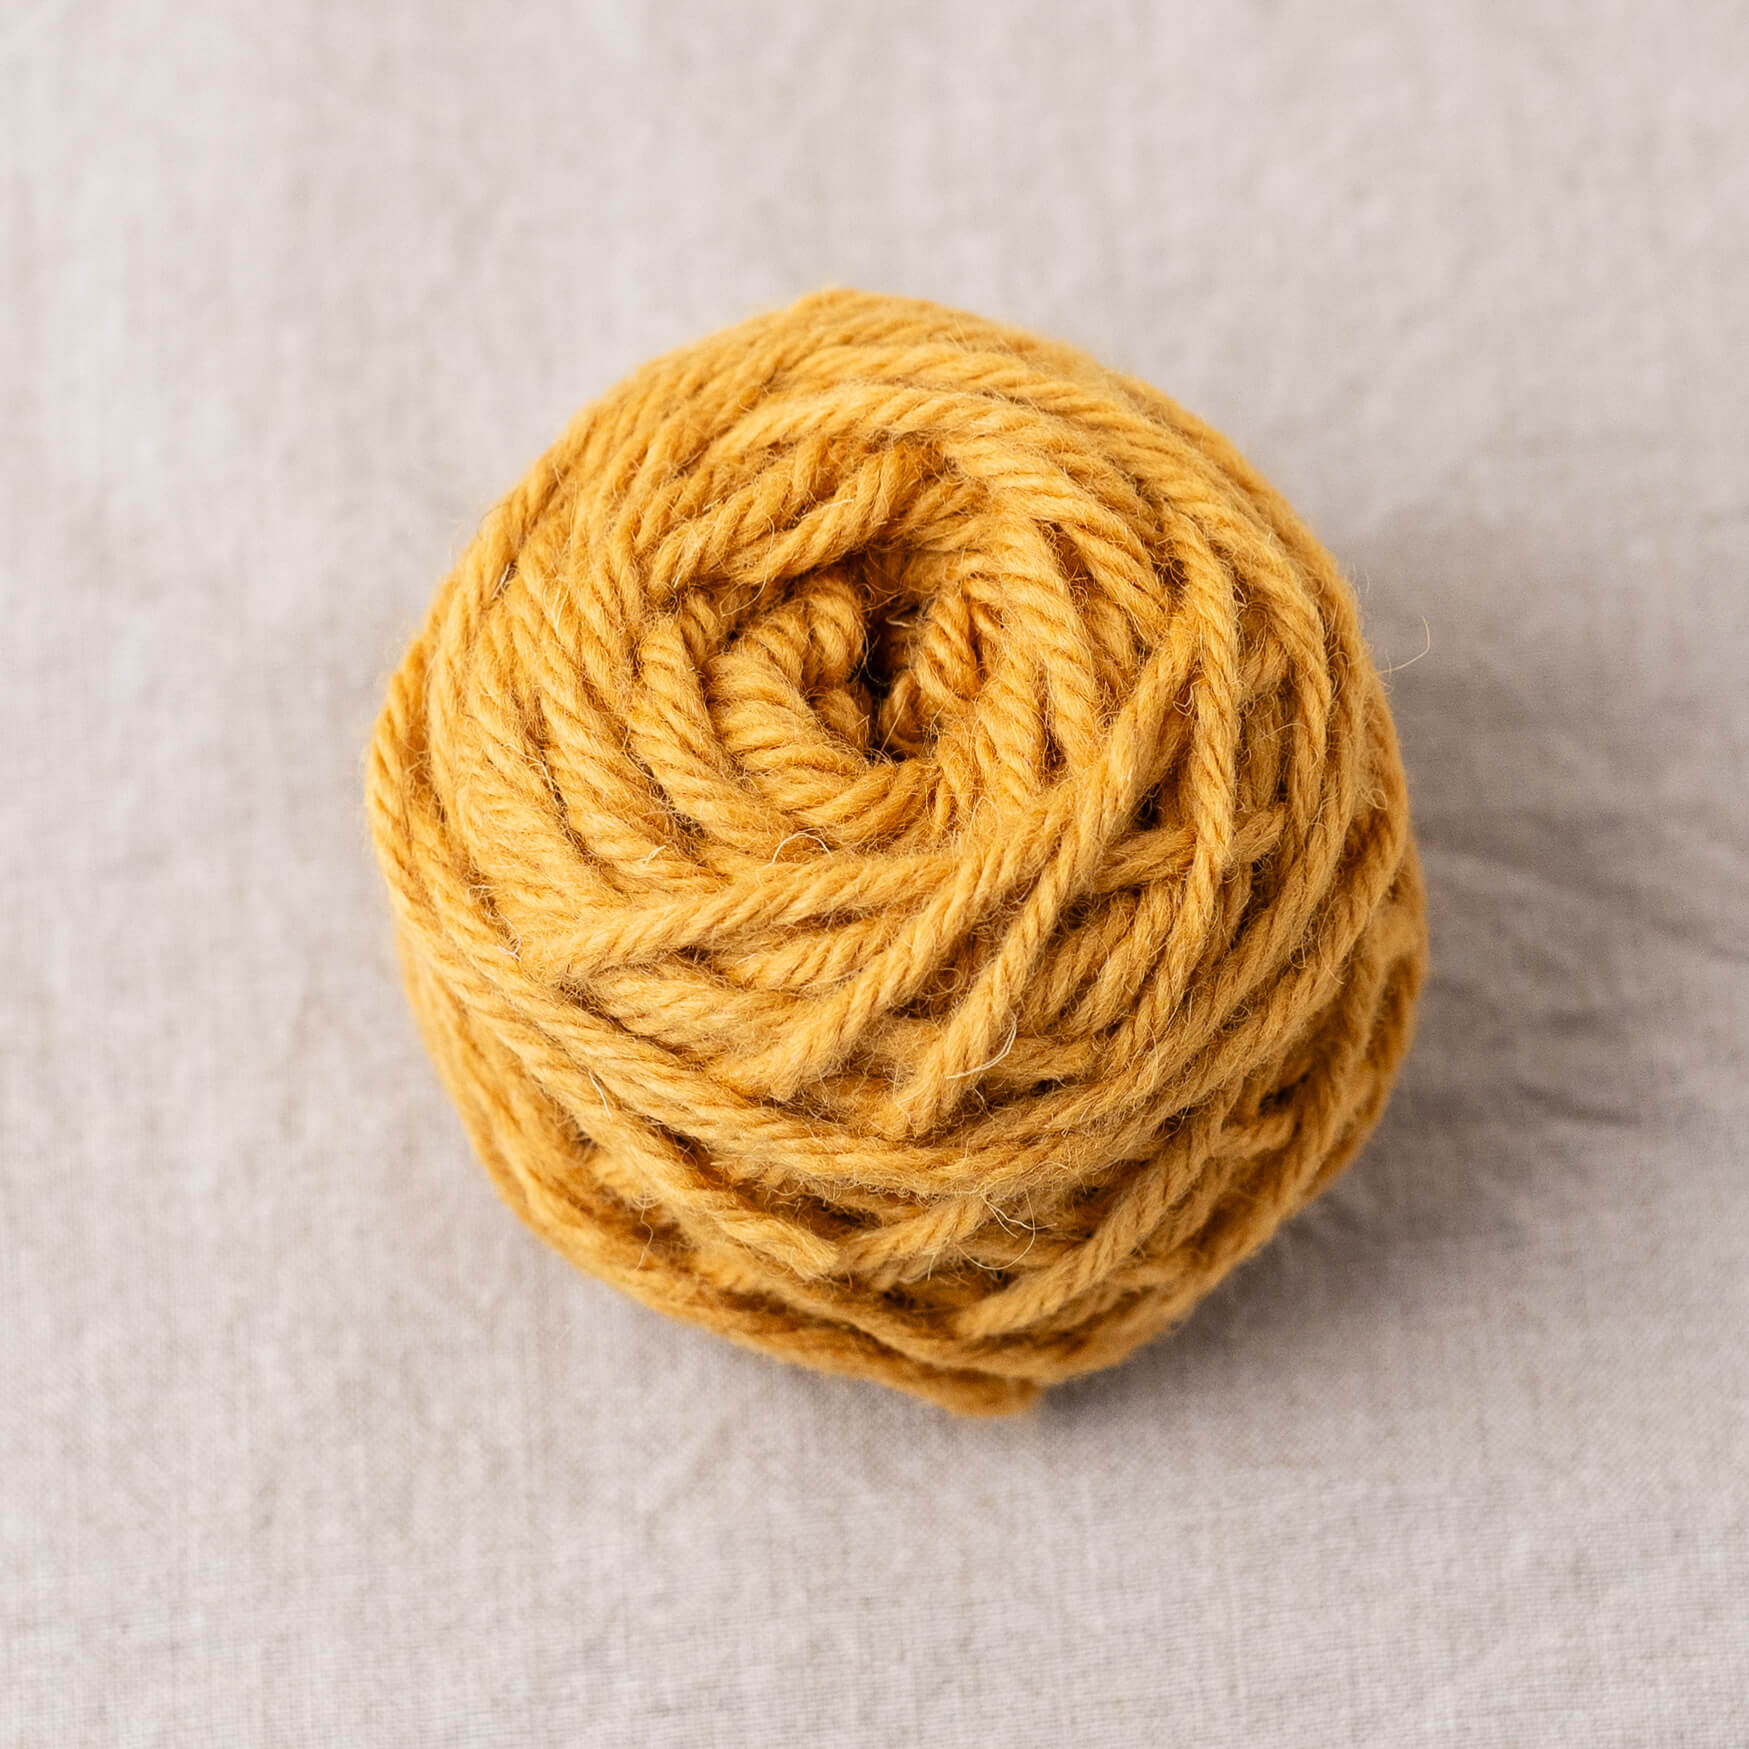
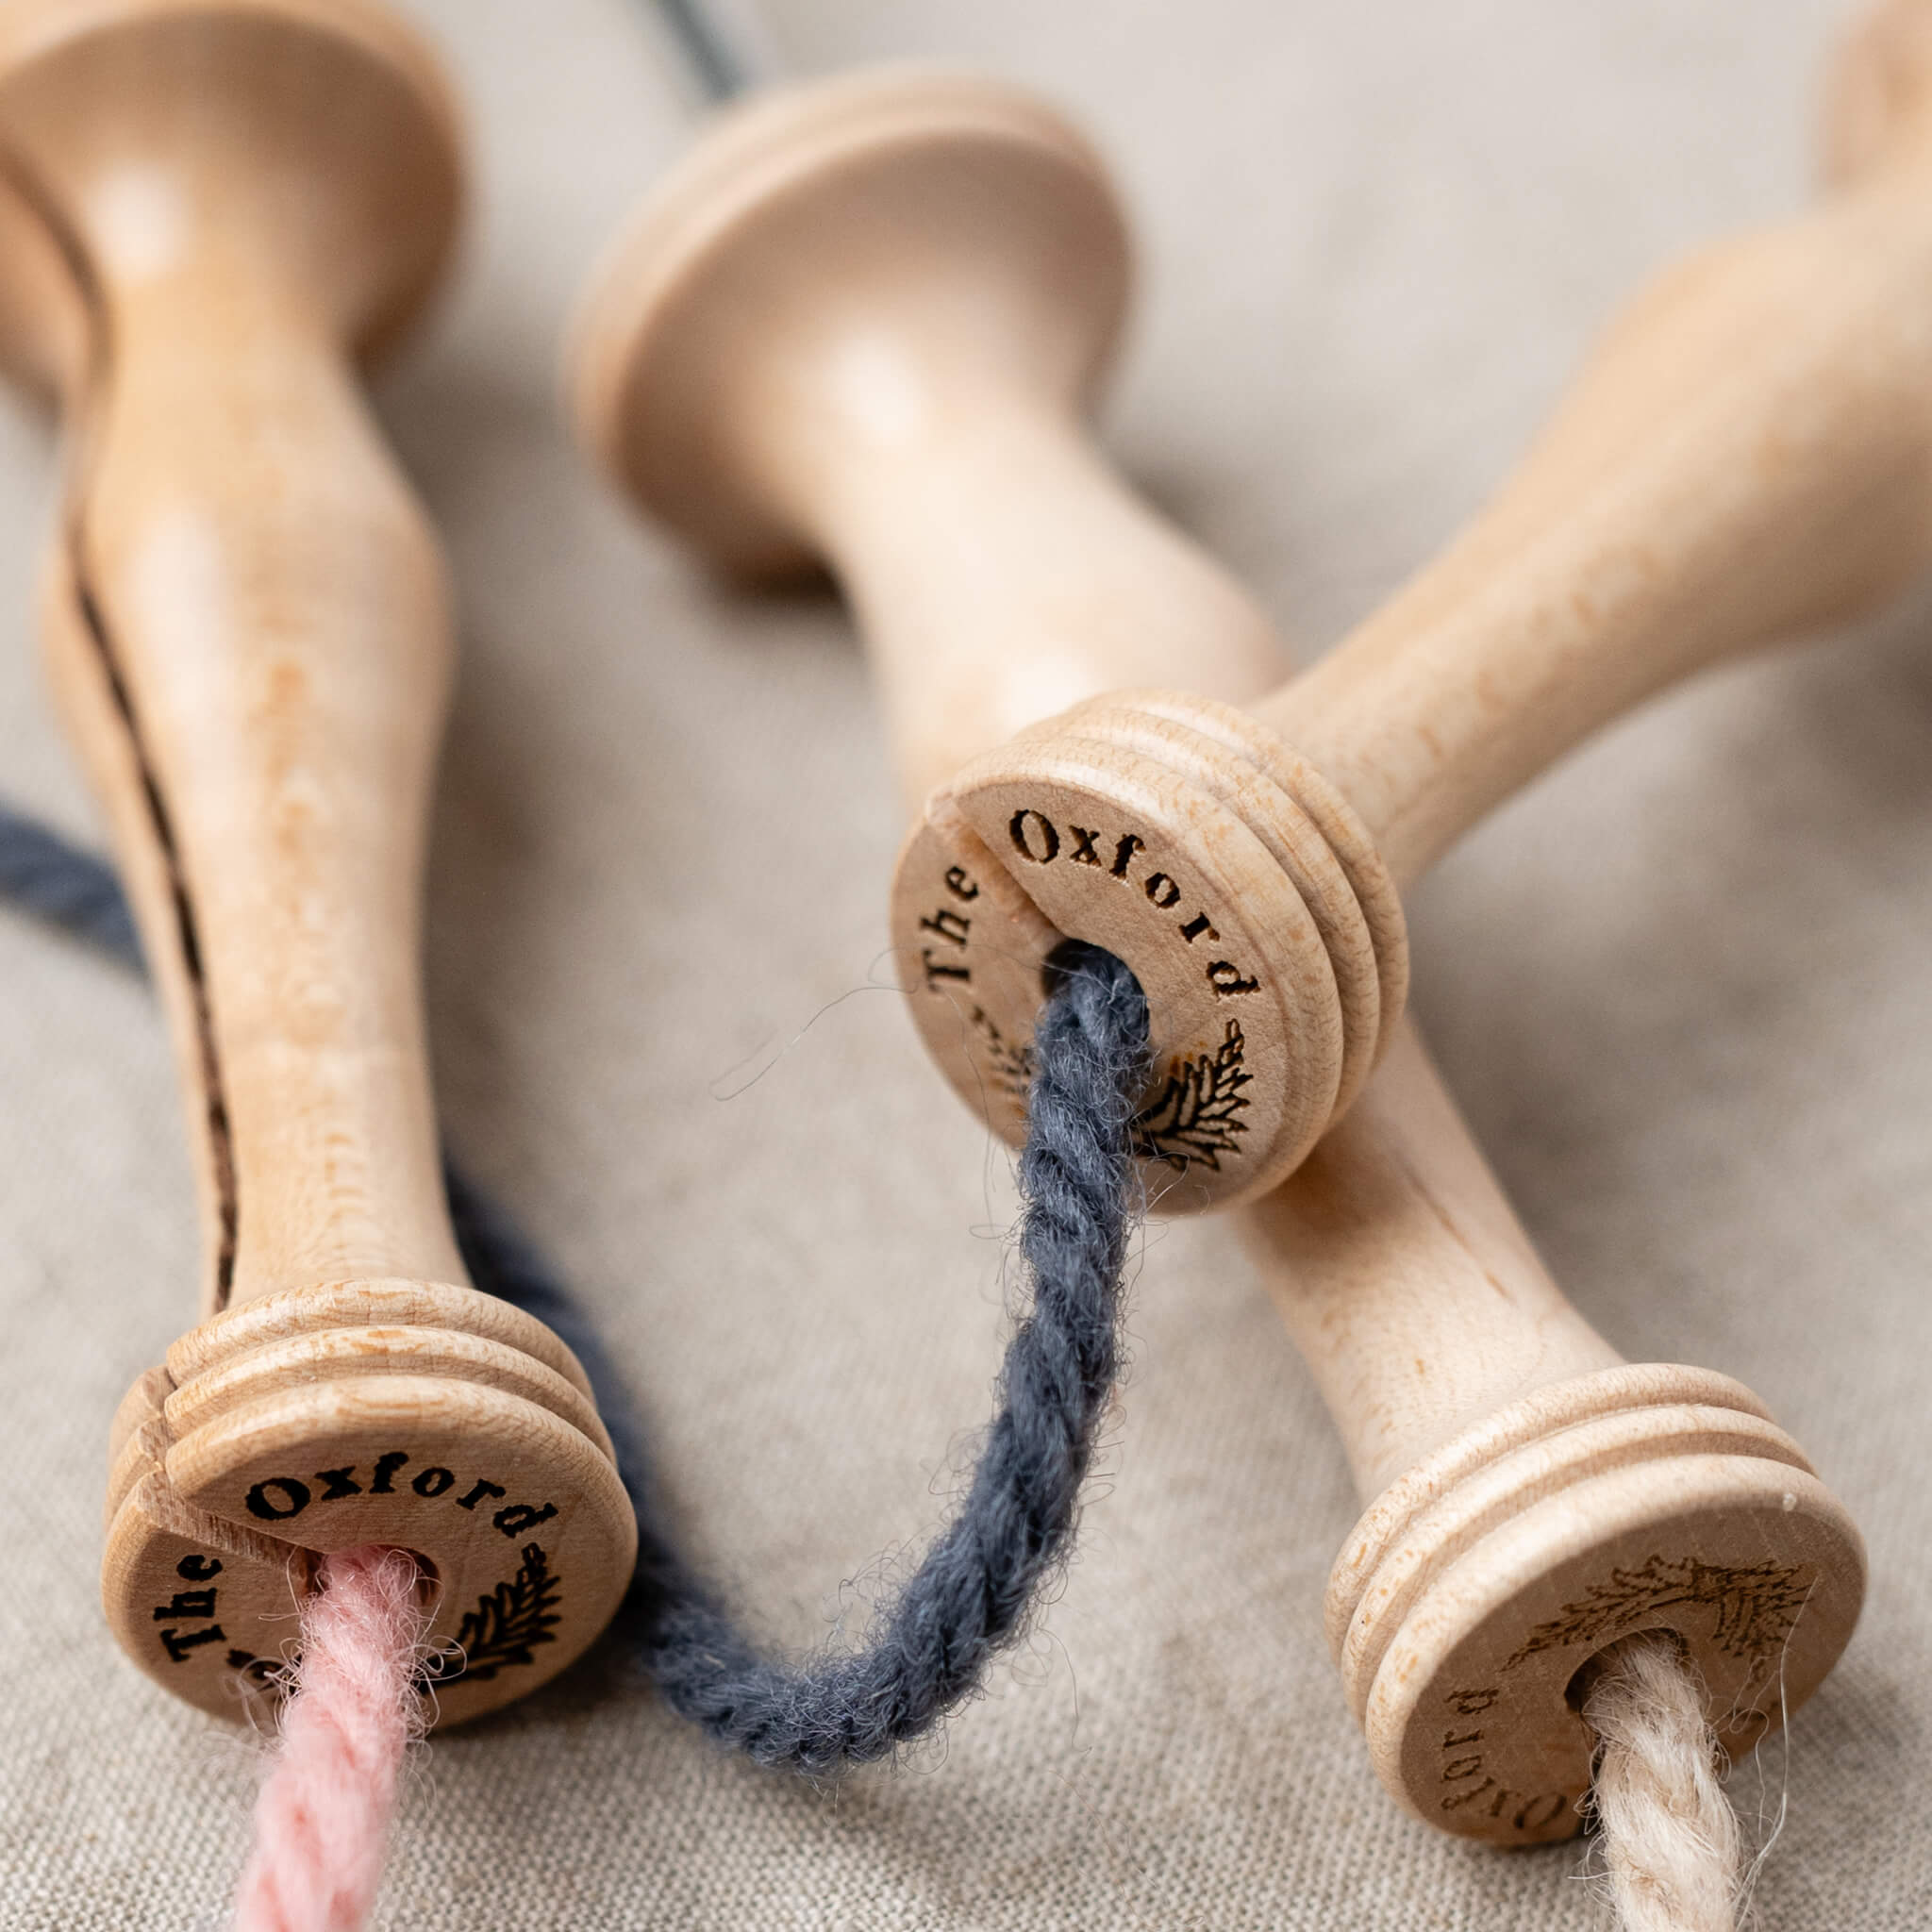
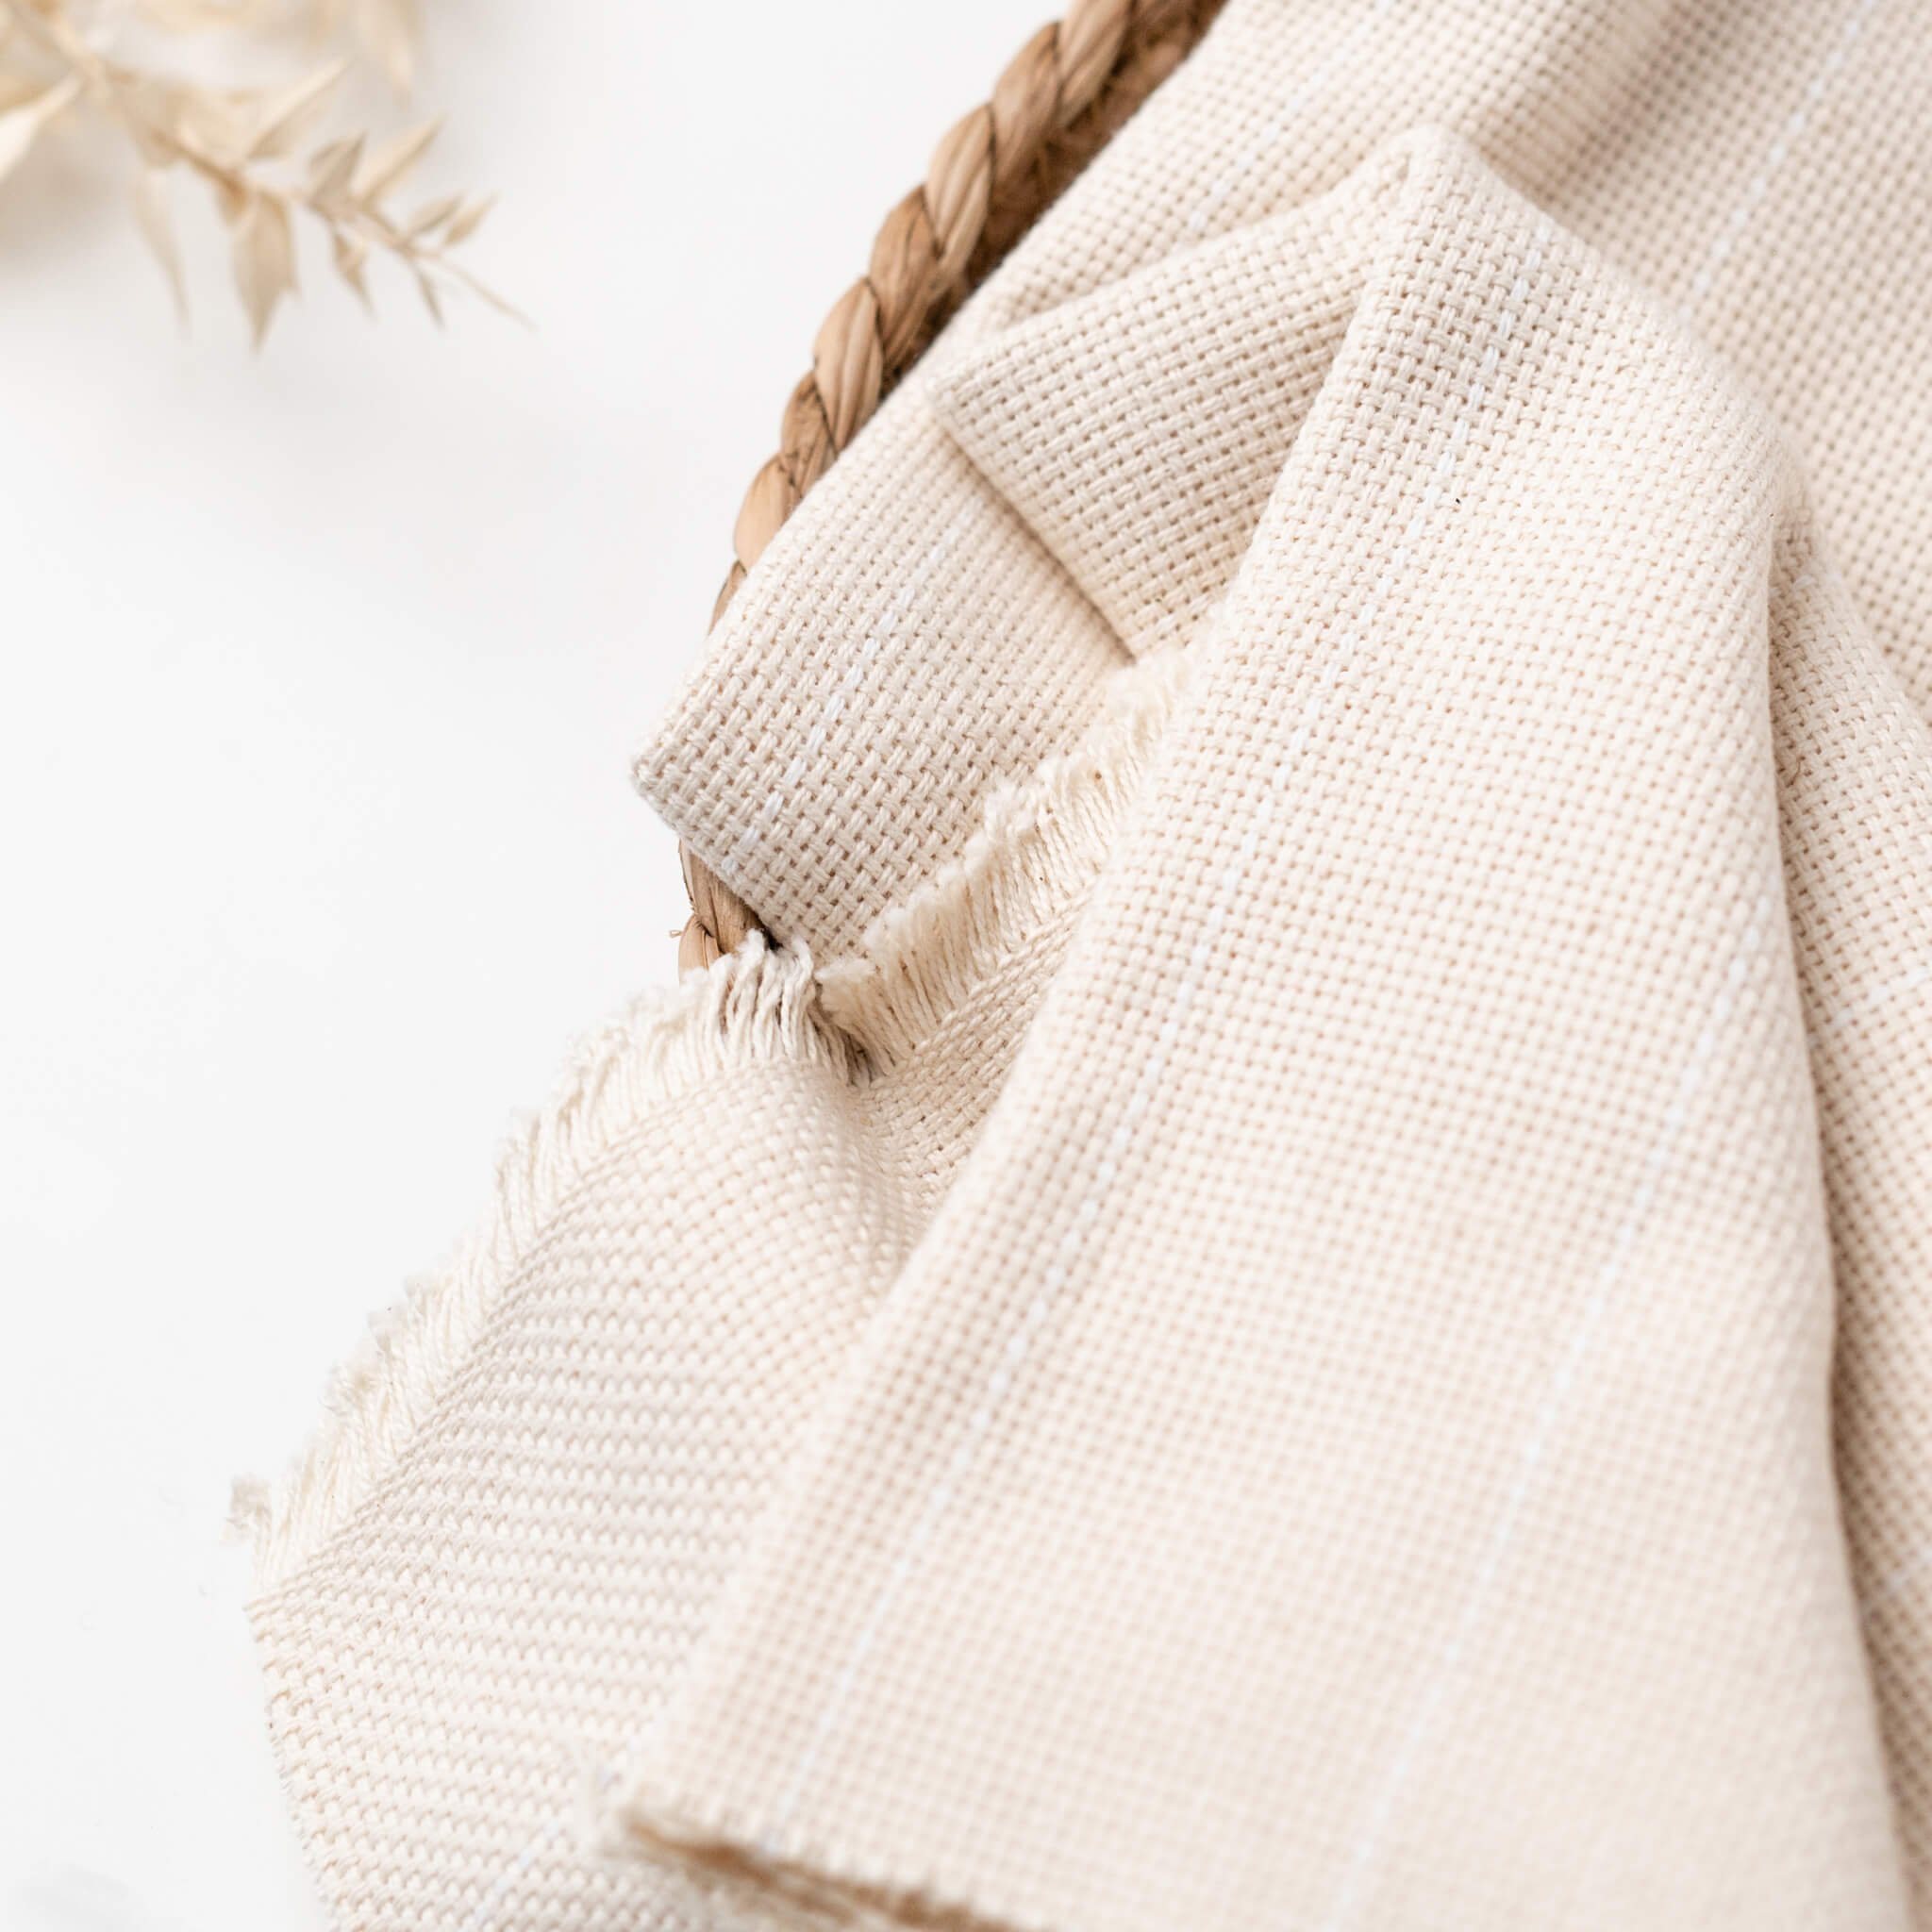
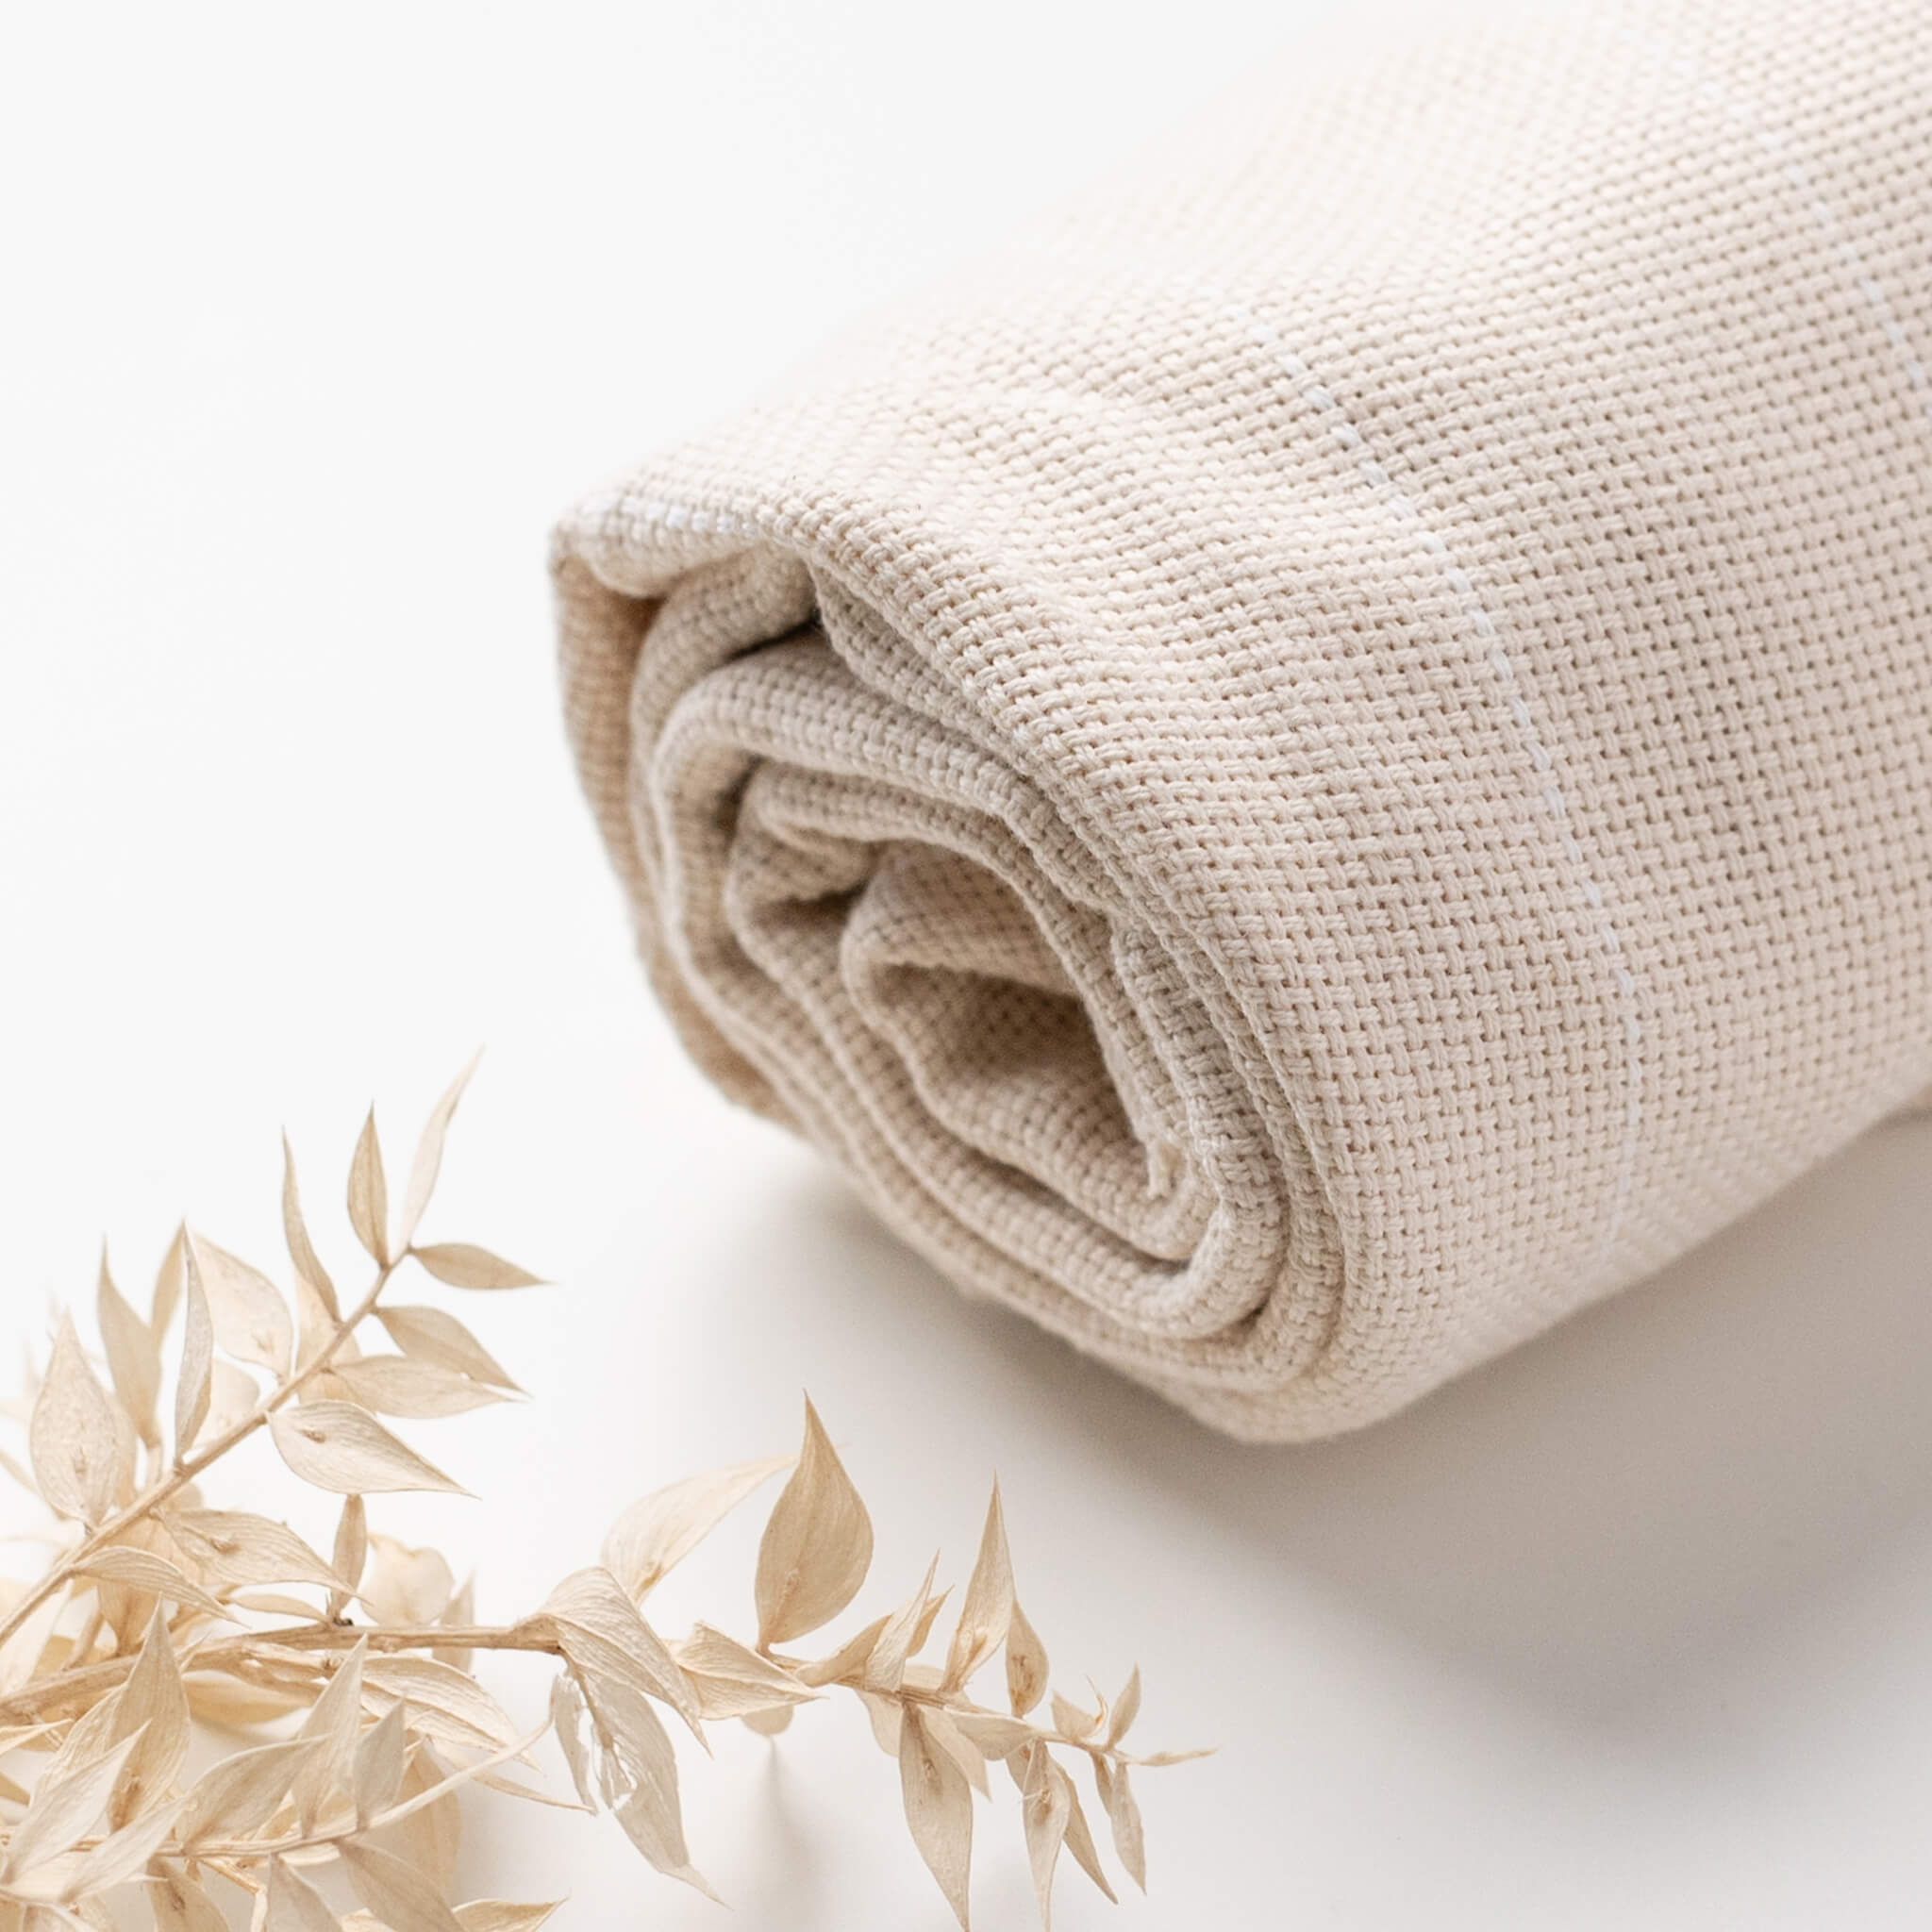
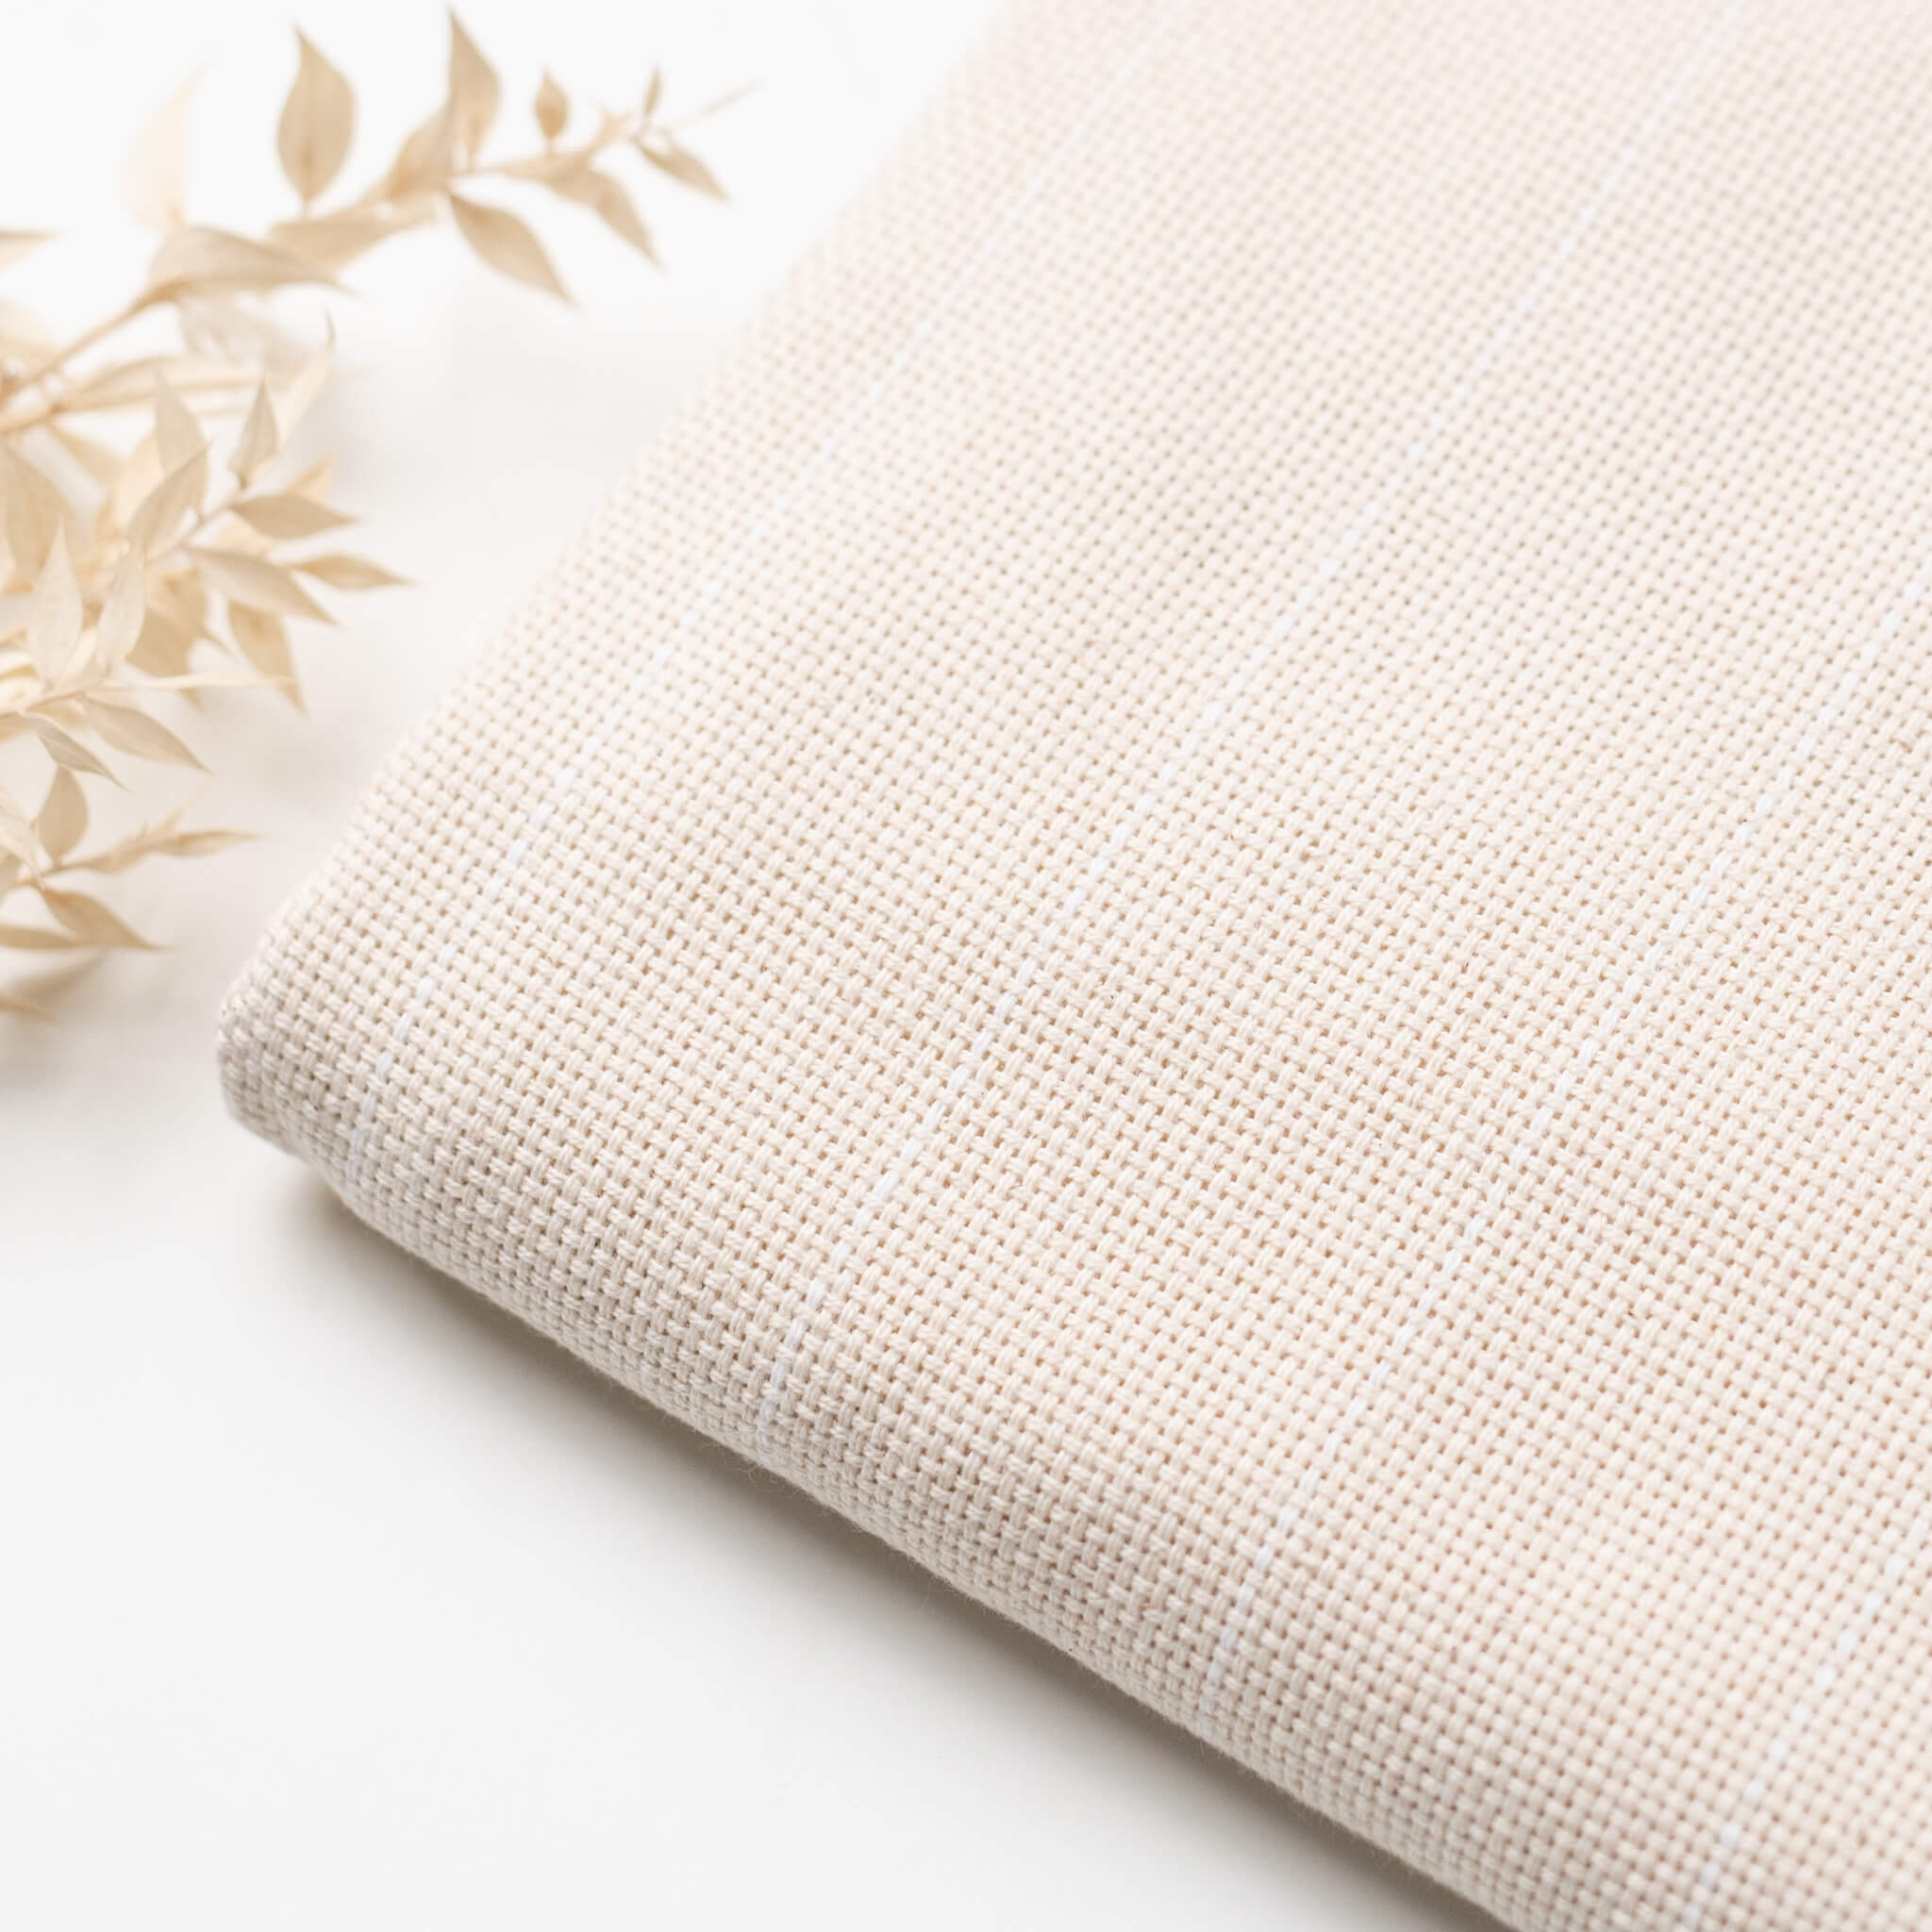
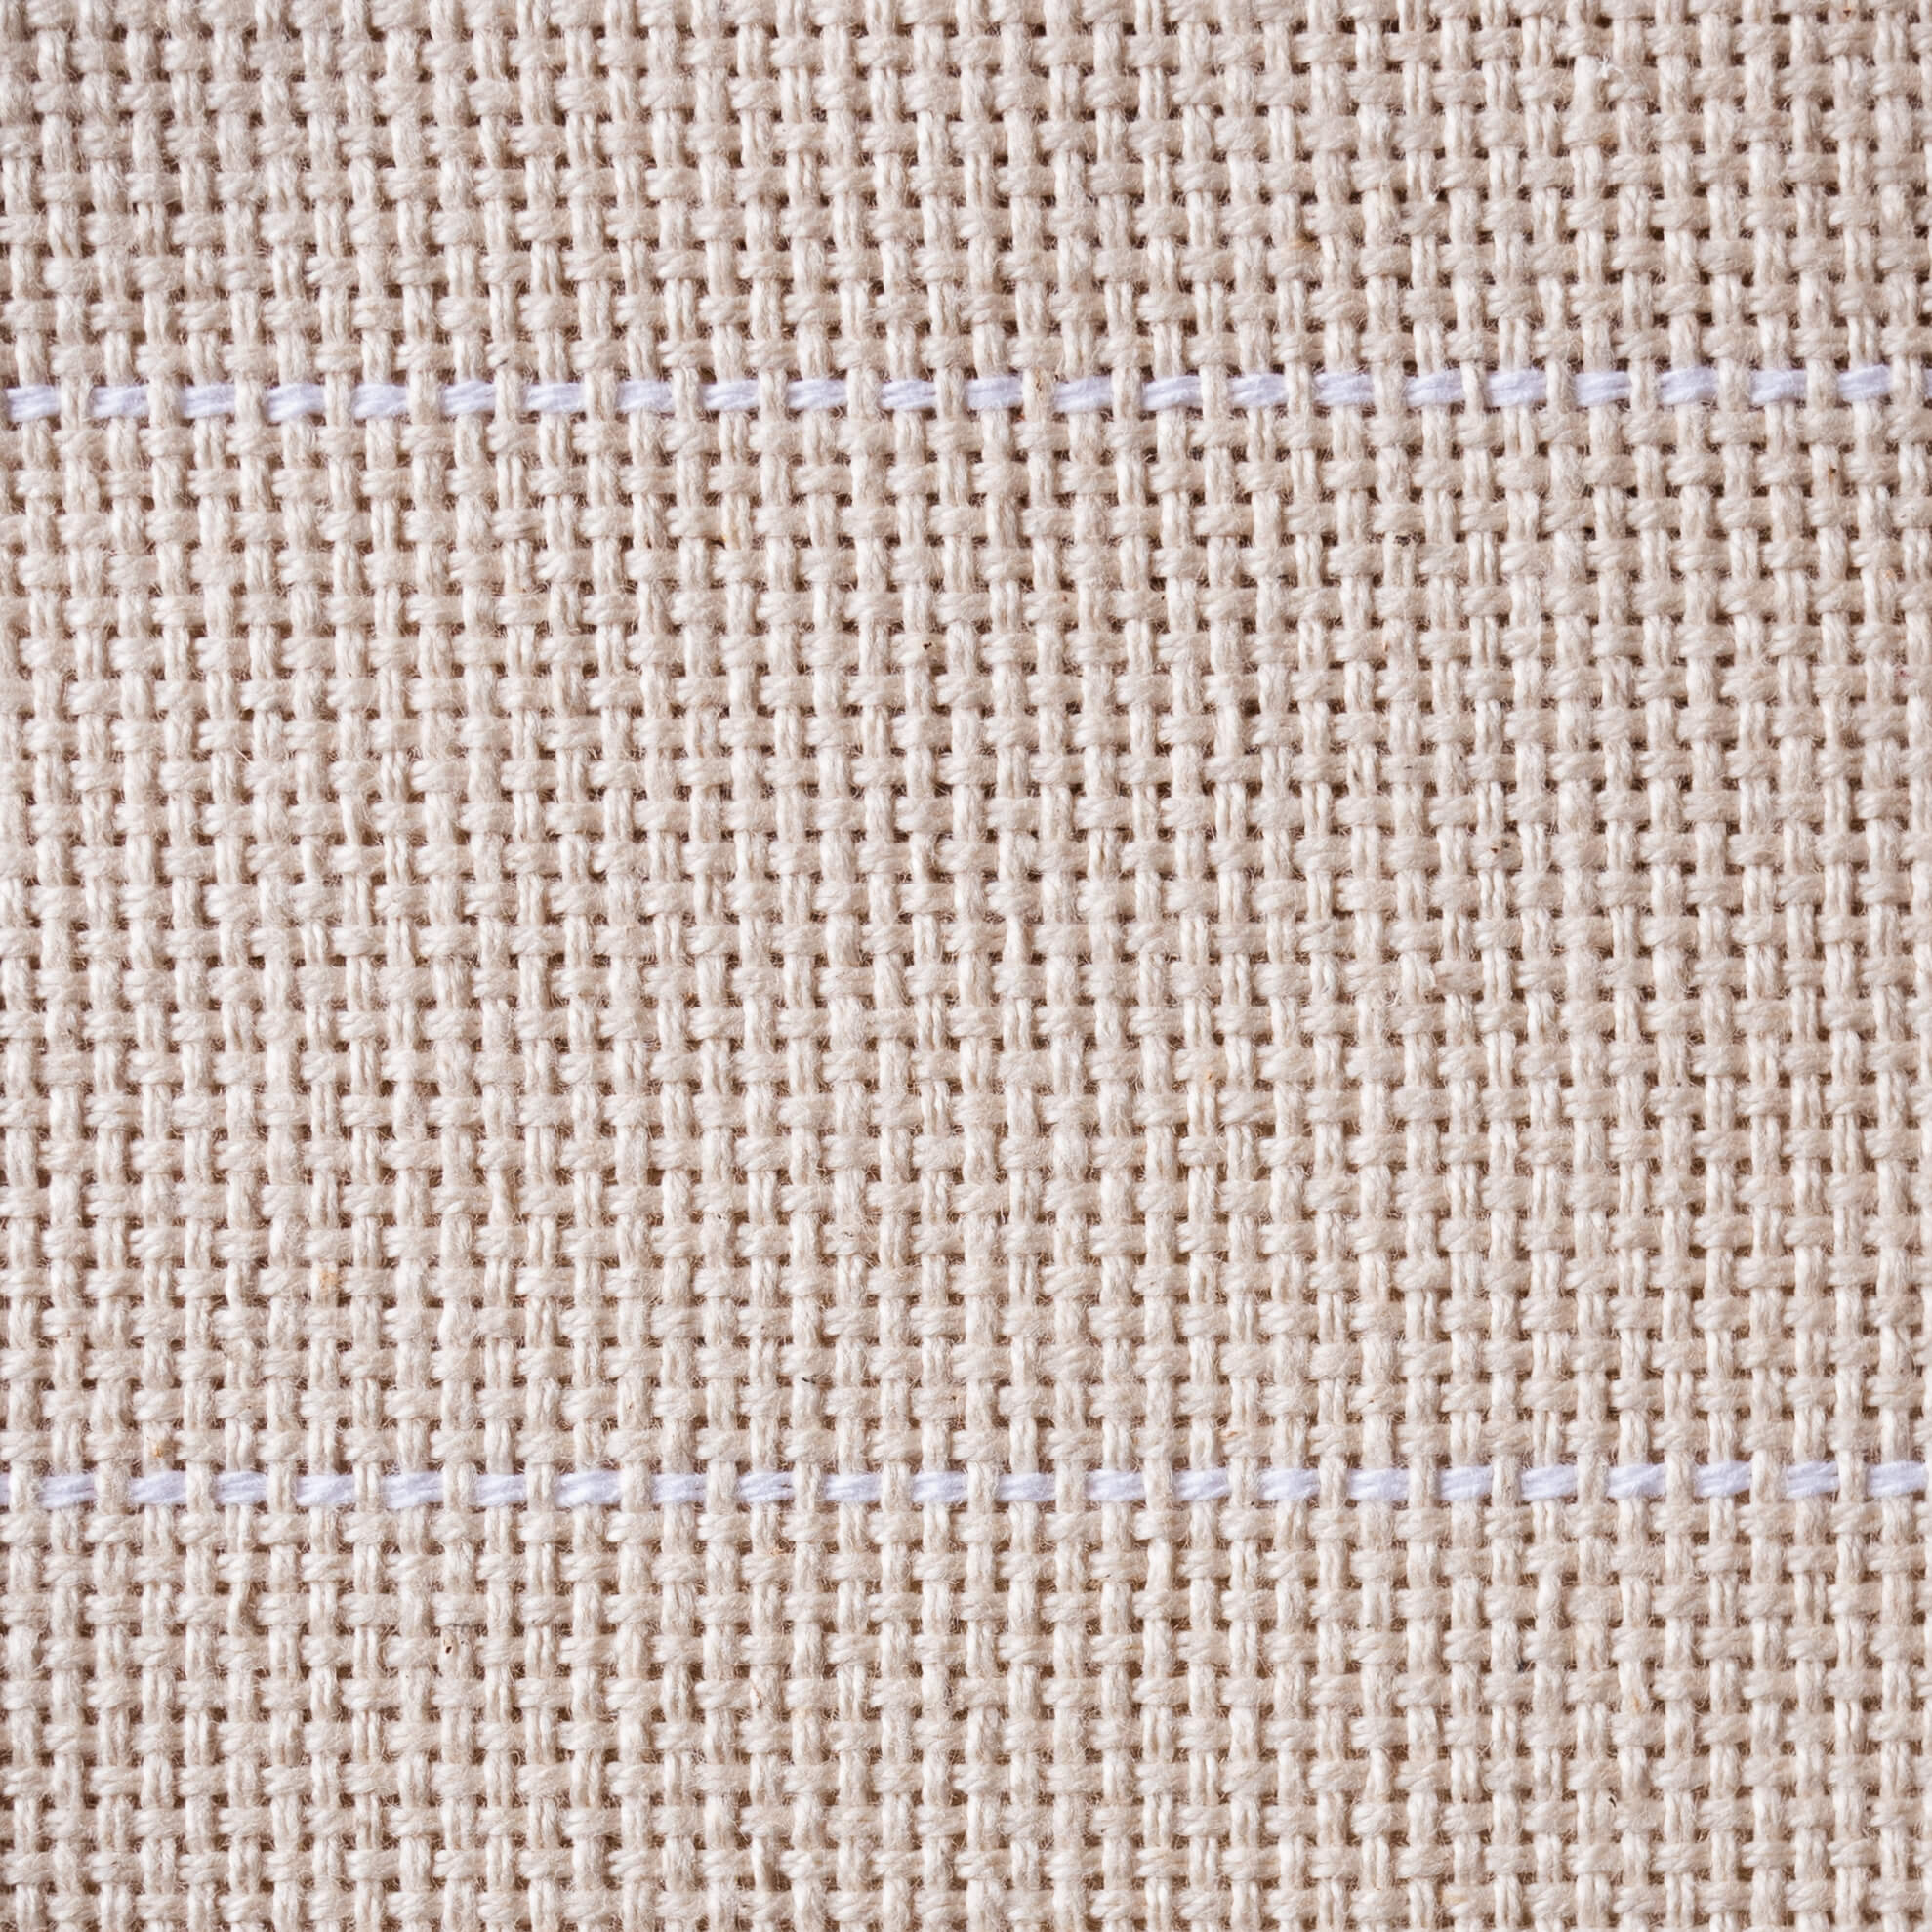
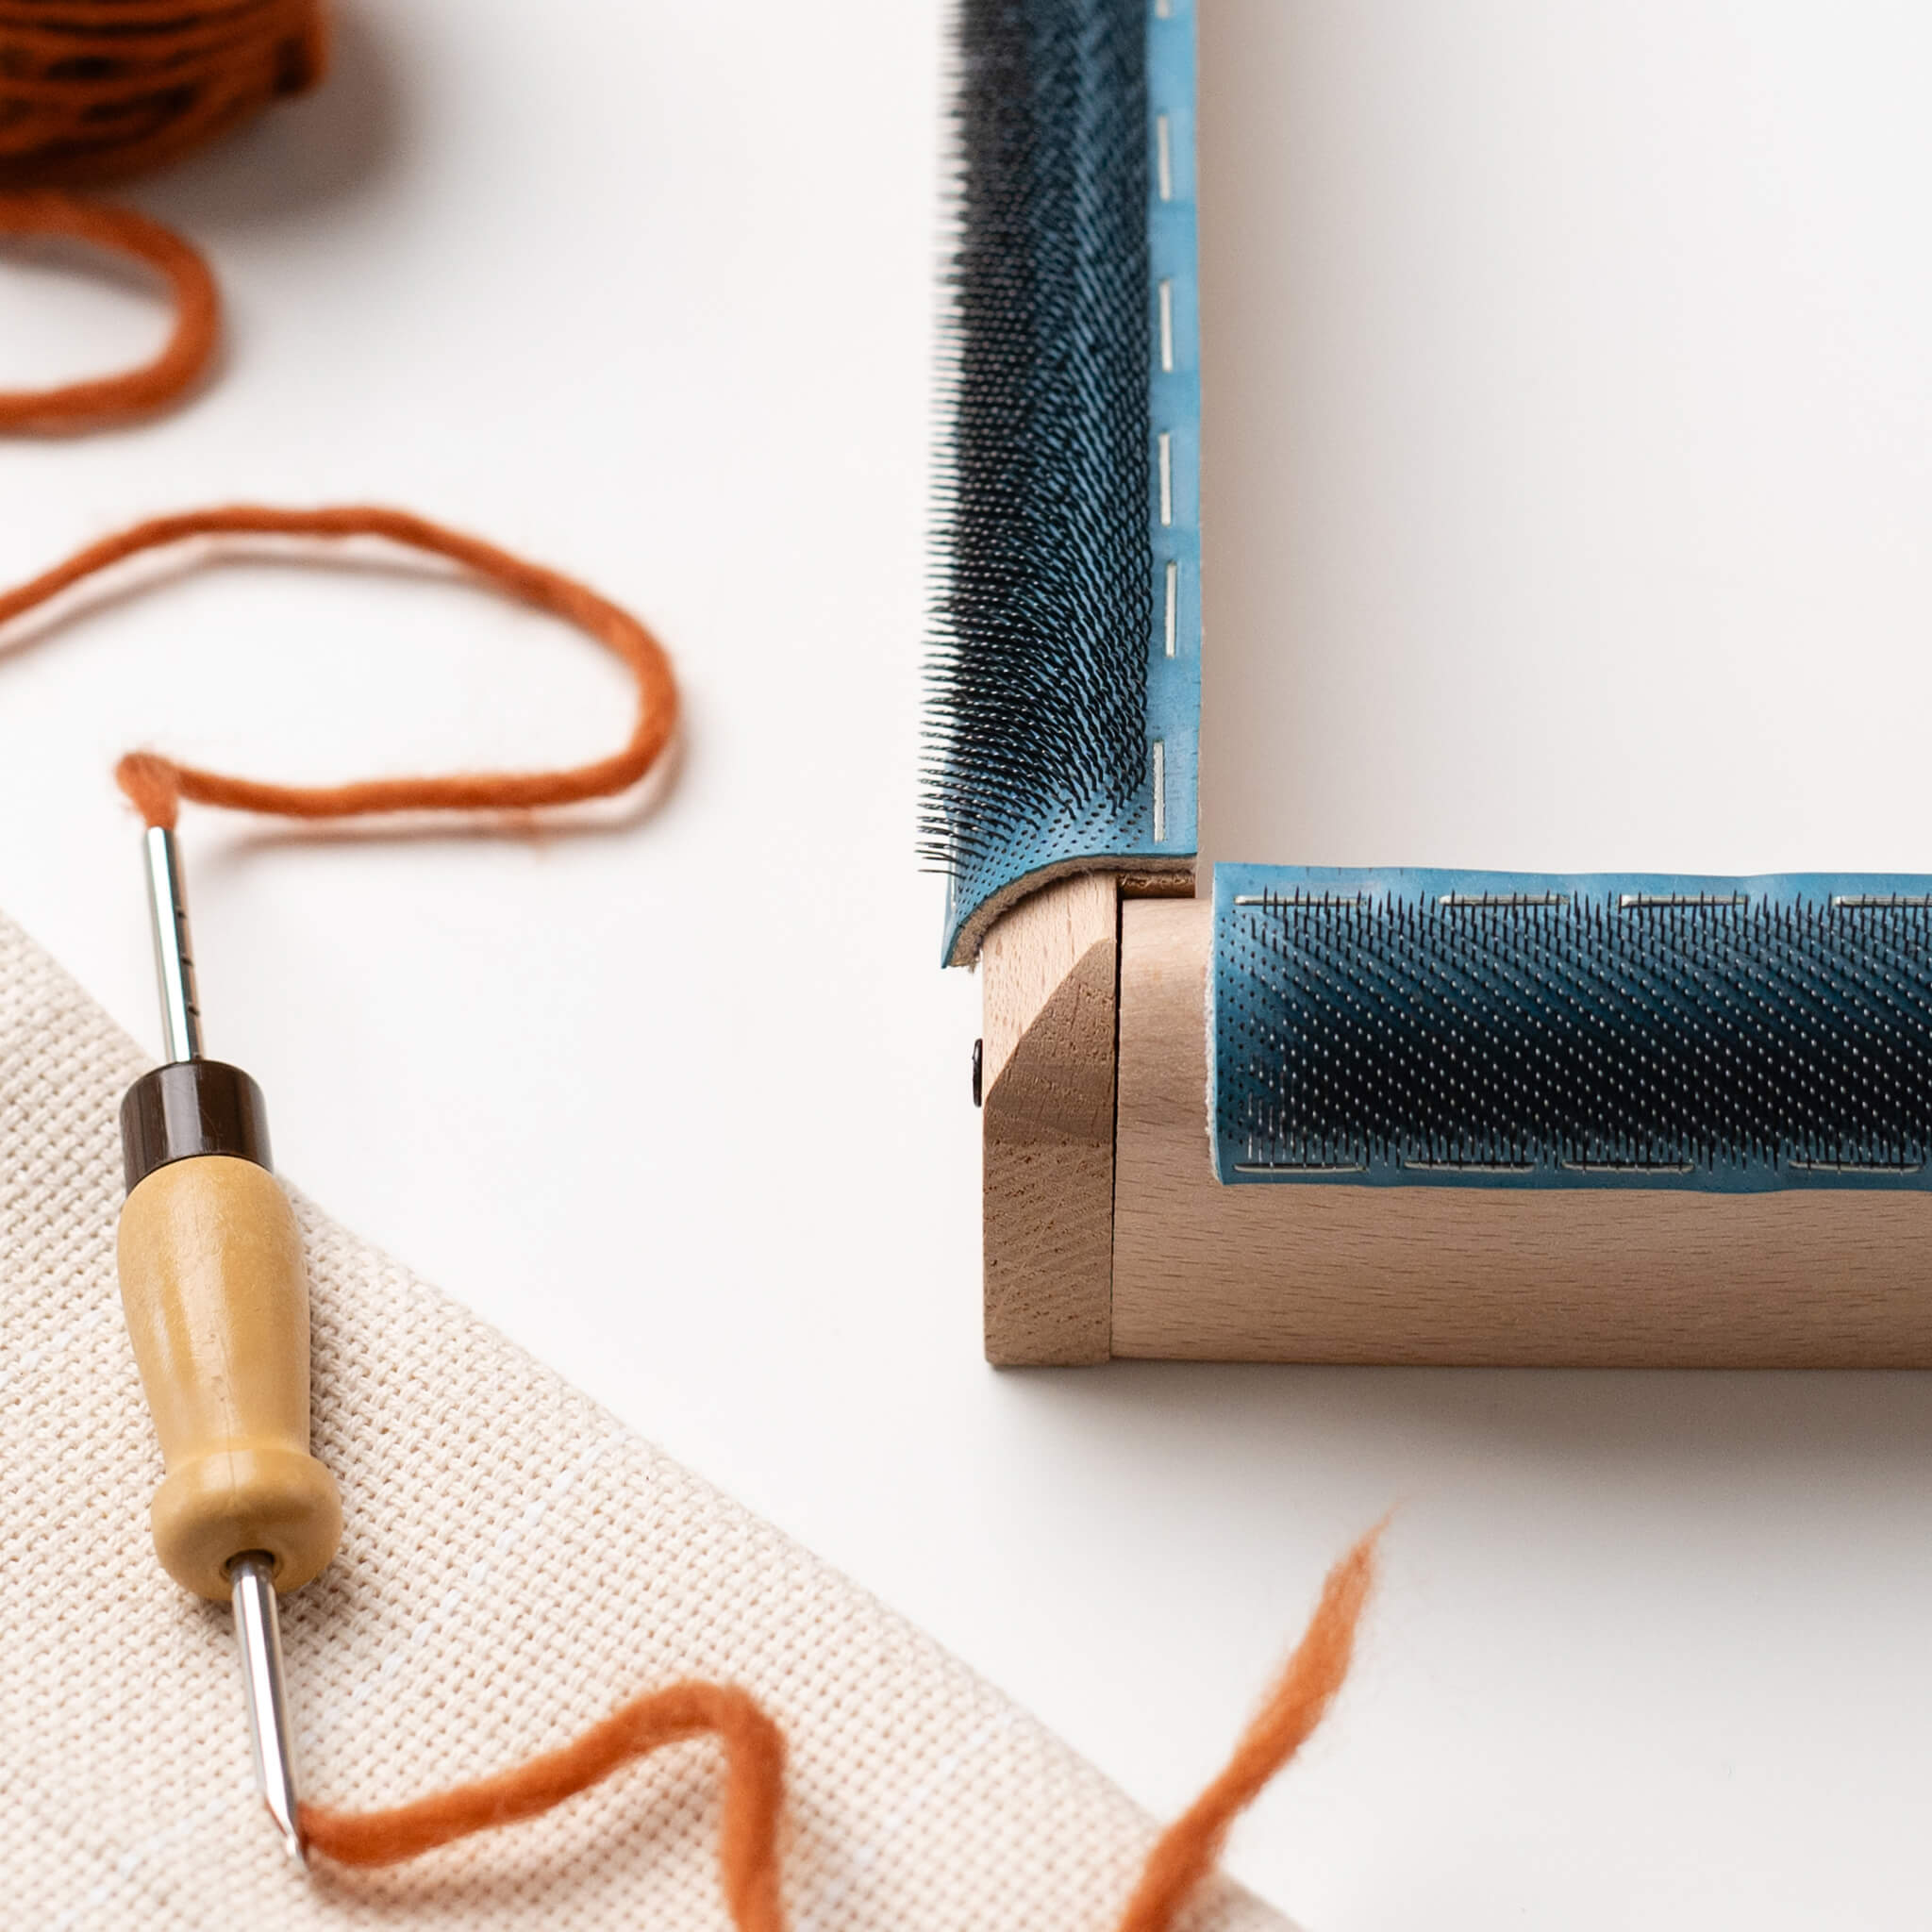
The yarn works beautifully with the regular Oxford punch needles and cotton monks cloth. I choose a palette of seven colours, three warm, three cool and one neutral. This range meant that no thread would be next to another of the same colour, and I noted on the monks cloth where each one would go.
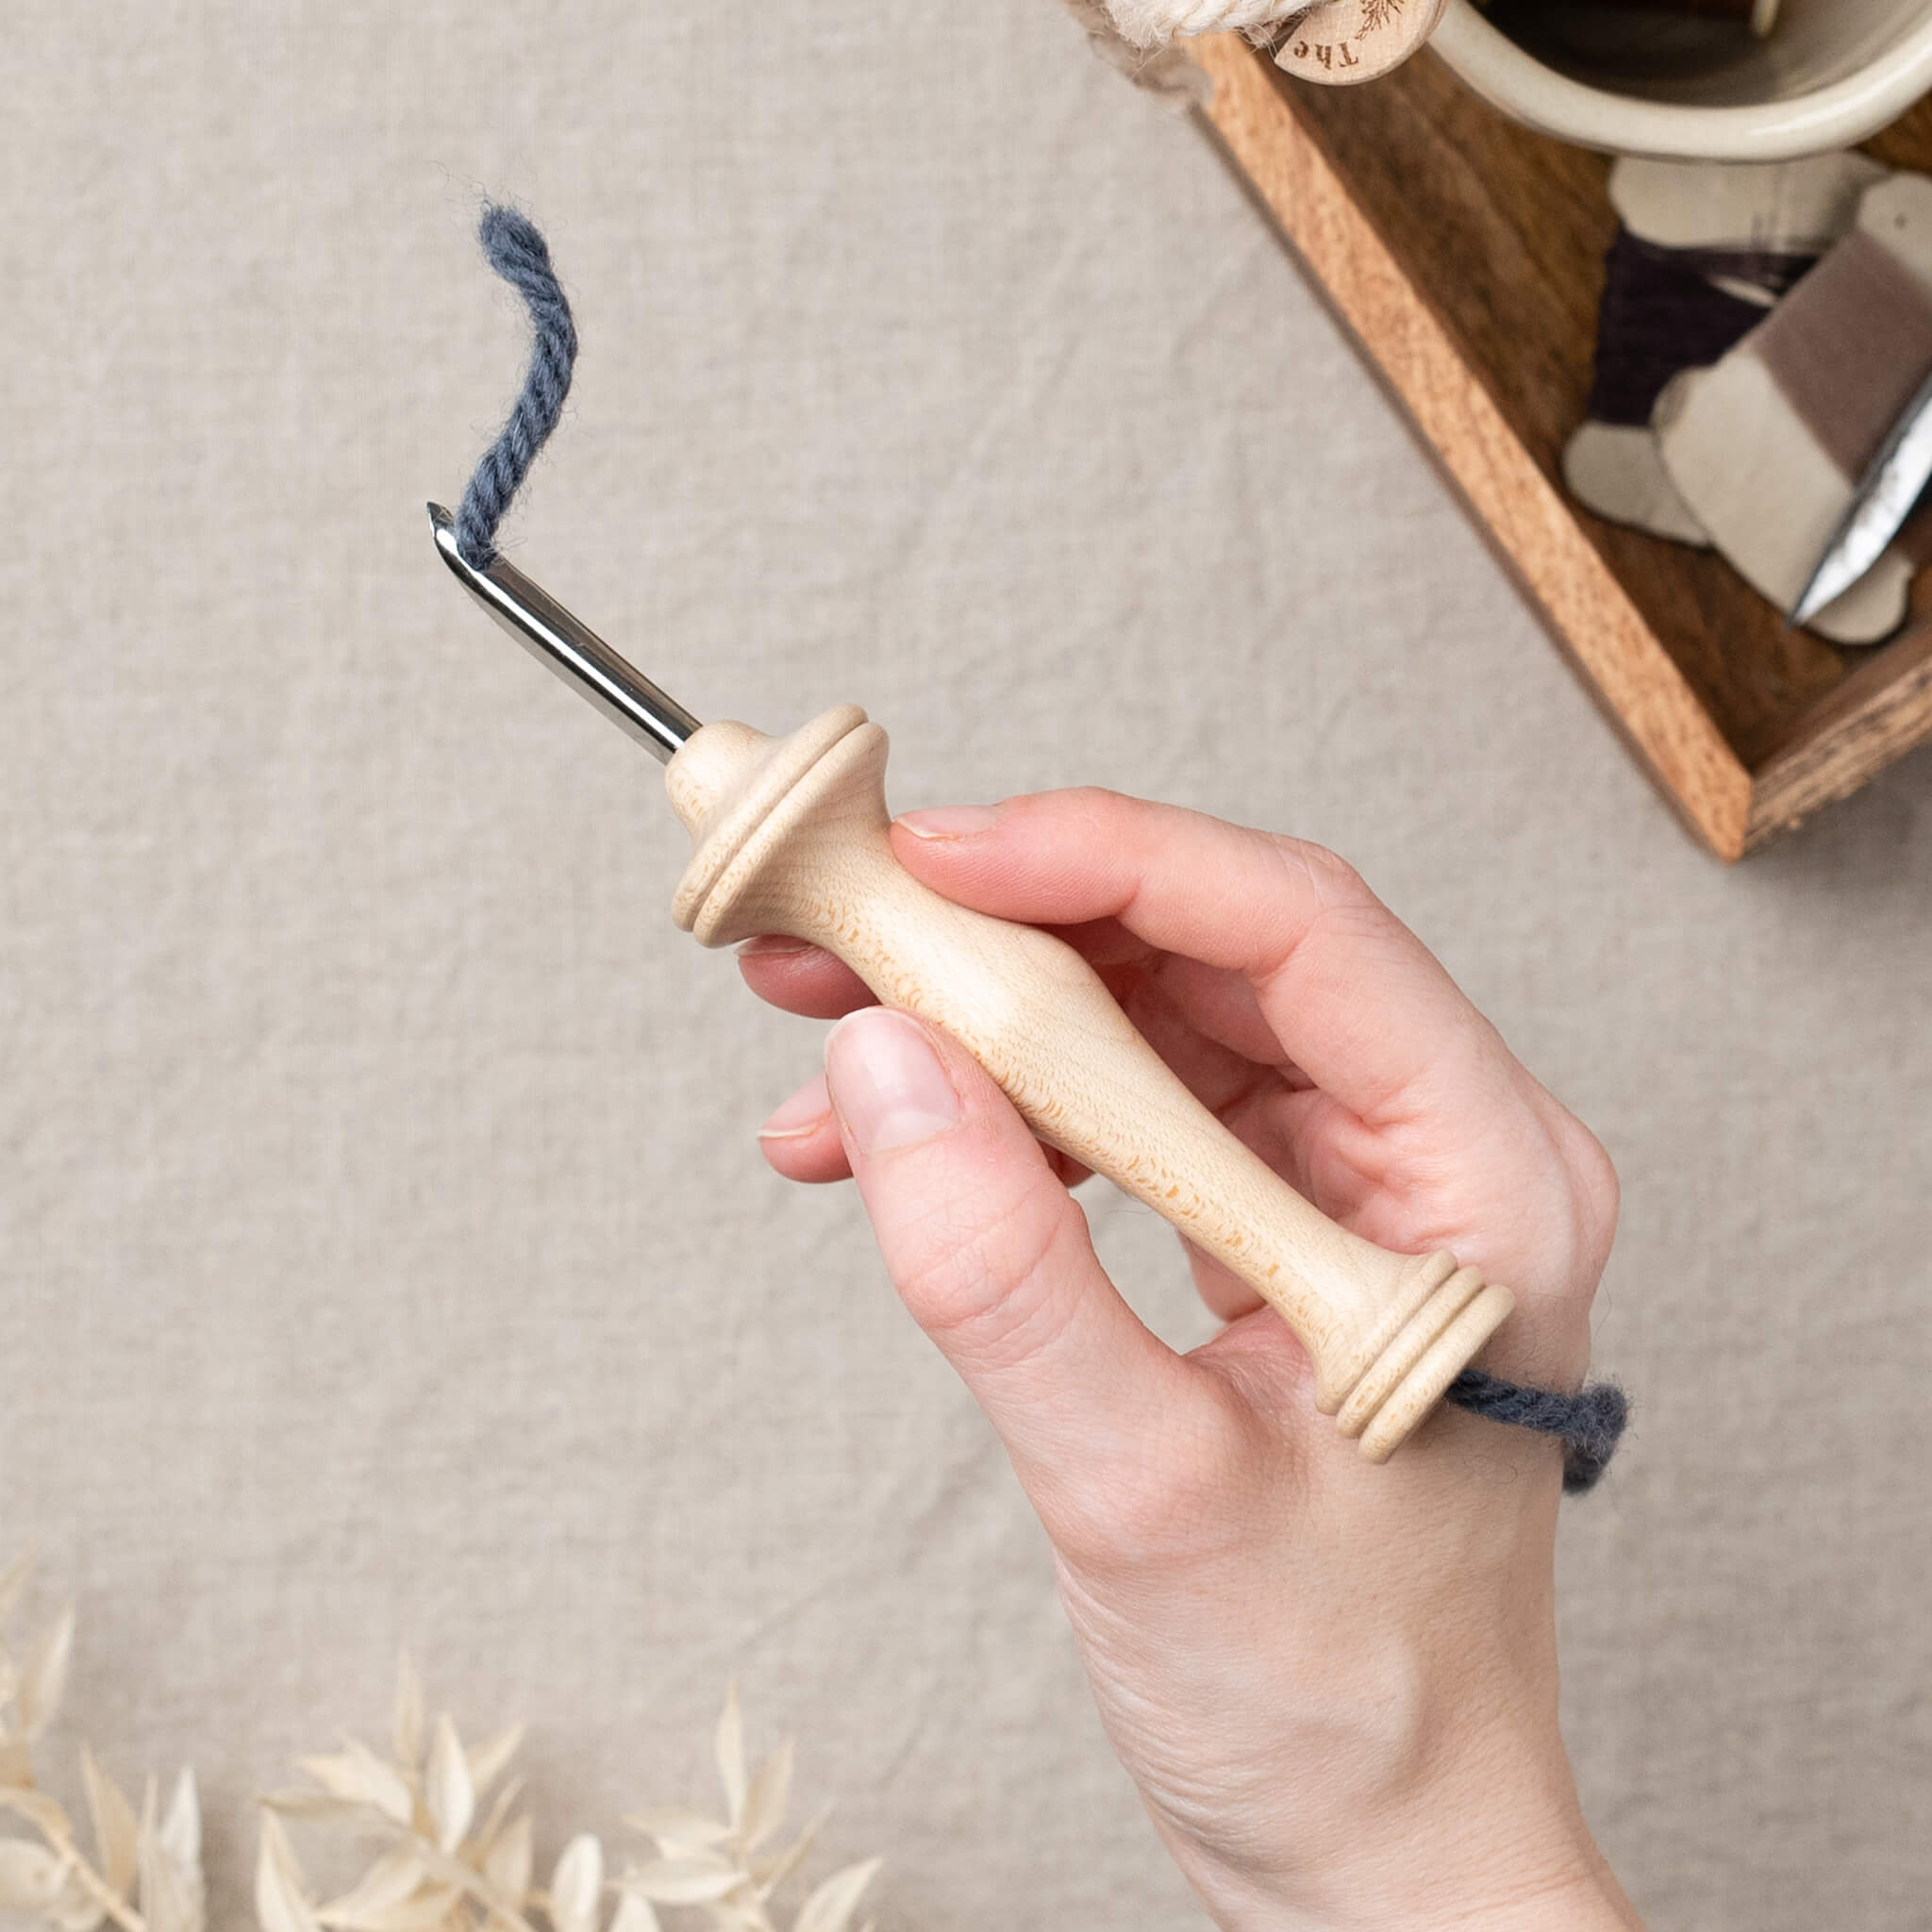
I decided to use just one size of Oxford punch needle, a #9 regular, in order to ensure all the loop stitches were of the same length. I chose the #9 over a #10 regular as I wanted the rug to feel plush underfoot and the extra height of the #9 regular gives a slighter longer loop and thicker feel.
I made my second rug over the course of a month and it took 30 hours. I think it was quicker in part due to the lessons I’d learned from the first, more thorough planning and the fact that it was another year on and I had more experience with punching.
The rug is still in use in my house and is currently in my living room. It was next to the sink for a while – a high traffic area – and held up really well against splashes and a bit of dirt. It’s also been loved (in their own special way) by one dog and two cats. Apart from a couple of small darker marks on the white yarn it’s still looking in pretty good shape!

Learn to make your own punch needle rug
I’ve been teaching punch needle workshops for five years. I teach two different types of workshops regularly; a punch needle hoop wall hanging workshop and an Introduction to Oxford Punch Needle workshop. Both workshops are aimed at complete beginners and those new to punch needle. No prior experience is necessary and students leave having learnt how to punch needle and feel confident to continue at home.
I absolutely love teaching and so far have not taught a workshop to follow on from the beginner level. Last year I started planning a weekend-long punch needle rug making workshop – but as happens from time to time, life got in the way.
I’m planning on looking at this again in 2025 (after some time away for maternity leave!). In the meantime, if you want a bit of guidance on the techniques and materials you need to create your own rug successfully, you can check out my new Introduction to Oxford Punch Needle online course.
The online course provides you with nearly four hours of video content covering everything from tools, to design, to materials and more that you can work through at your own pace. There are also detailed written instructions that you can download and refer to as often as you like. I wanted to give people everything they need to plan and complete their punch needle project with real confidence.
You can find out more about the new online course here.



Comments
Hi Sara – I feel like you wrote this rug-blog especially for me!!! ;-). Can’t wait to start on the online course – my materials have all arrived – they are beautiful, and I’m so excited! After that will start planning my giant rug! Thank you xx
Hi Sara – I feel like you wrote this rug-blog especially for me!!! ;-). Can’t wait to start on the online course – my materials have all arrived – they are beautiful, and I’m so excited! After that will start planning my giant rug! Thank you xx